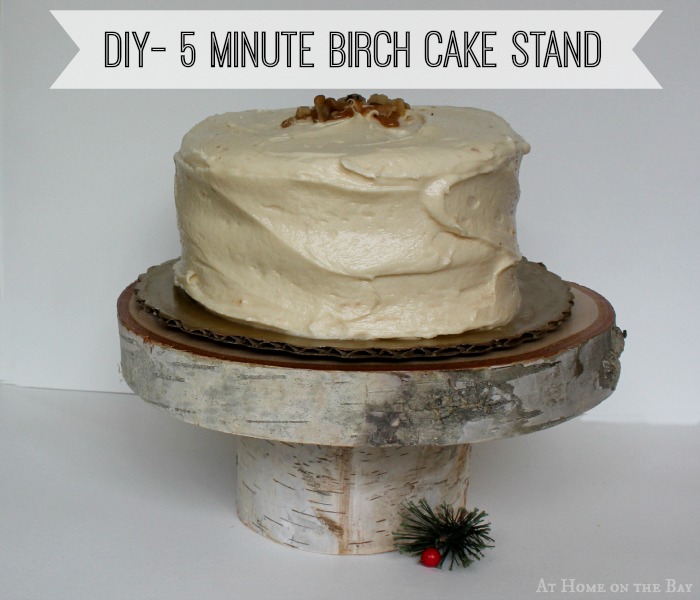
Last year my Christmas décor was red, white and blue. This year I had an amazing idea! Don’t laugh. I decided to change it up a little with a red, white and woodland theme. I already had birch logs that I could make into candle holders. I was halfway there. Then I had another amazing idea. I said not to laugh. What if I displayed the gingerbread house on a birch cake stand. That should be easy. Right? So I asked my husband if he could cut me a slice of tree like I was asking him to get a dish down from a high shelf. I think he is getting used to my crazy requests. He patiently (and without raising his brows) told me he didn’t have the right tools to do the job and I should call a local saw mill. I called the local saw mill and they were happy to oblige, but the wood was all sticky from fresh sap. That wasn’t going to work. Fast forward a few days to me quickly running into Michaels to pick up some Styrofoam. What to my wondering eyes should appear but already kiln dried birch tree rounds and pillars. And that, my friend, is how the DIY 5 minute birch cake stand story begins.
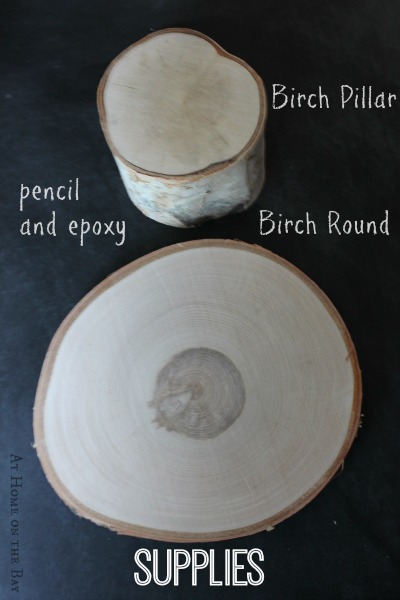
SUPPLIES:
1 birch round
1 birch pillar
epoxy
pencil
The birch rounds and pillars come in all different sizes and heights. They are made by ArtMinds and available at Michaels. I made mine for under $20, but if you use a coupon you could do it for even less.
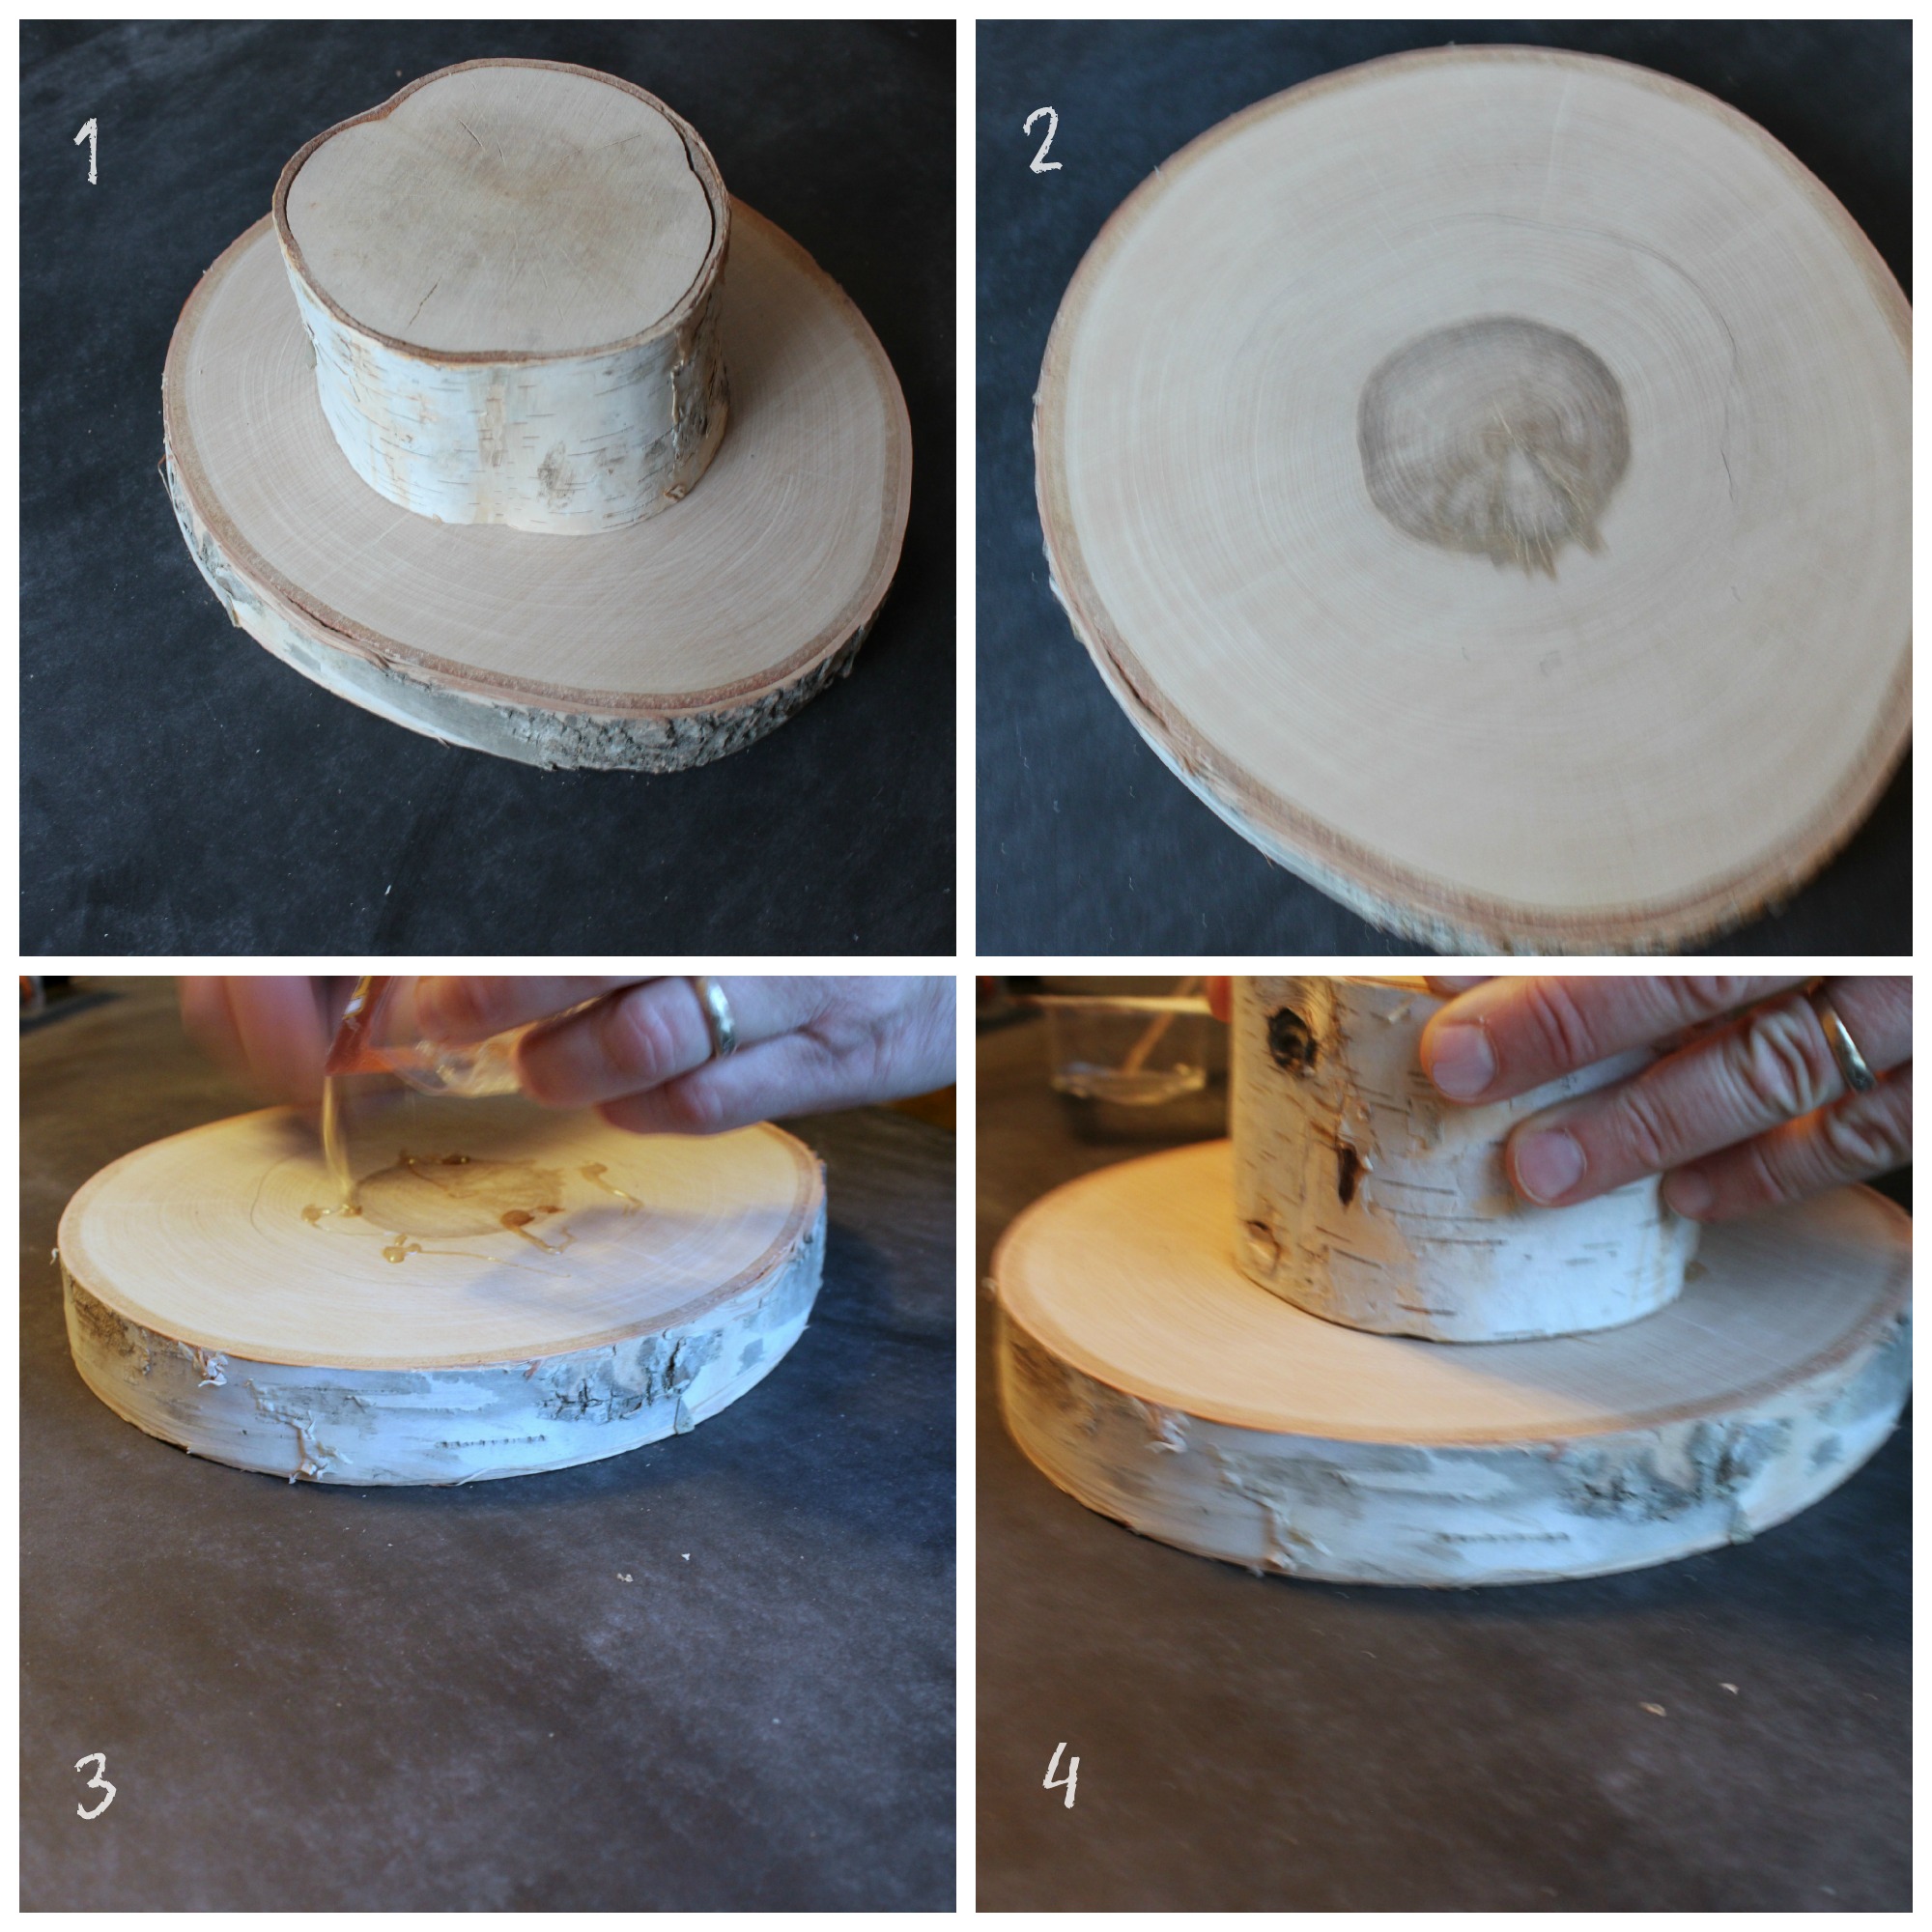
1. Decide where you want to place the pillar part of the cake stand on the base, so that everything is close to level.
2. Lightly trace around the base with a pencil.
3. Mix epoxy according to package directions. I used Gorilla Epoxy which sets in 5 minutes. Spread inside area of pencil mark with wooden tongue depressor or toothpick.
4. Line up base with pencil mark and press in place. Let epoxy dry.
Optional: You can give your cake stand a coat of food safe finish to make it water proof, but that would make it an eight minute project.
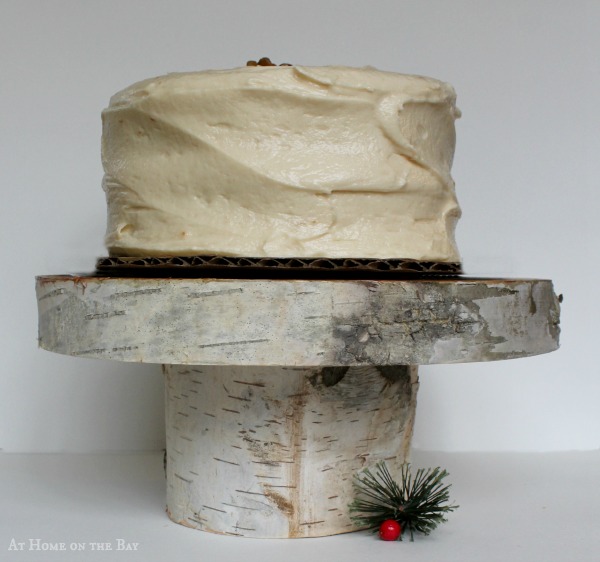
And so the story of the DIY 5 minute cake stand ends, like all good stories, with me eating a piece of cake and living happily ever after.
 P.S. These are not affiliate links, but just helpful links to find the supplies.
Quick and adorable! I’ve never even noticed birch rounds for sale at Michaels. The cake stand will look so cute with a gingerbread house on top! Oh, and the cake looks delish. 🙂
What a great idea! I was just in Michaels (def. not my favorite store this time of year…) and am always amazed at what the discerning eye can find. My birch/zinc containers (see my blog) came from HomeGoods, way back on a shelf, all lonely and forgotten! Anyway, this is a great idea!
This is a sweet project and how nice that you found pre cut birch pieces at Michaels! Every time I see a birch tree laying in the ditch near us I mention it to my husband. We’d have to borrow a truck to get it but it’s free! Oh. and he’d have to cut it up for me. One of these days….
I’m laughing in glee – I love the woodland look and what do hubby’s know!?
Kelly
Your cake stand is beautiful! I love using birch in my Christmas decor too! I was looking for the Gingerbread house but the cake looks delicious! I think this would be a great idea for a wedding cake as well. Hope your pre-Christmas decorating is going well – mine is yet to happen – eek!
I’m not laughing at all. I almost ordered some birch wood pieces on line. Good to know I can just go to Michael’s.