
Sweet Dreams Pillow Tutorial
Here is a quick little pillow to work on while you are at the beach, or sipping sweet tea on the front porch this summer. This project would even be great for a teen or pre-teen to try hand embroidery. There are three different beginner type hand embroidery stitches (I’ve included links to video tutorials.) and five different colors of floss, but once again like any project, you could make it your own with any color combination. It would even be cute in black with white stitches or white with black stitches for a modern look.
Supplies
2 pieces of wool 12 – 1/2″ x 16 – 1/2″ each (I used navy.)
embroidery hoop
DMC 6-strand embroidery floss of your choice (I used 518, 734, 817, 943, 3687)
embroidery needle
Tracing Paper
pencil
scissors
sewing machine
thread
pins
needle
Sweet Dreams pdf
12″ x 16″ pillow form
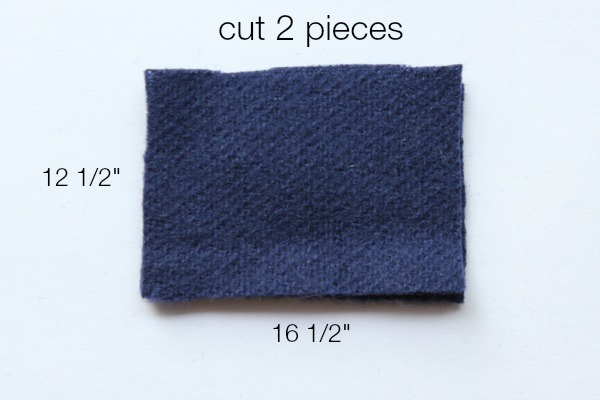
Begin by cutting two pieces of wool 12 1/2″ x 16 1/2″ each. Next, download the Sweet Dreams pdf and print it out on 8 1/2″ x 11″ paper.
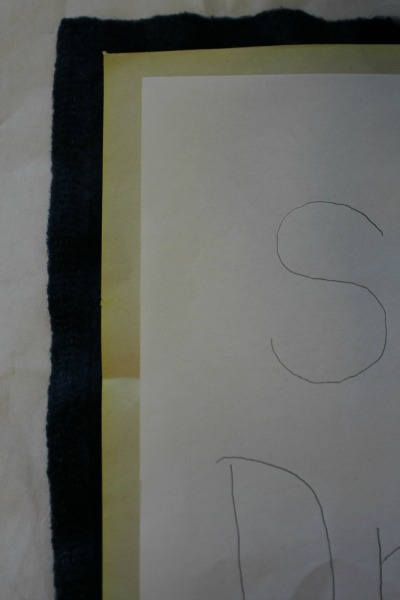
Layer one piece of the wool with the top side up on work surface. Layer a piece of tracing paper with the colored side down on wool. Use a light color (I used yellow.), if you are using a dark fabric, or use a dark color tracing paper, if you are using a light fabric. Center the Sweet Dreams printout on top of the tracing paper with the letters facing up. Trace over letters using a ball point pen, applying pressure firmly. Letters should be transferred onto fabric.
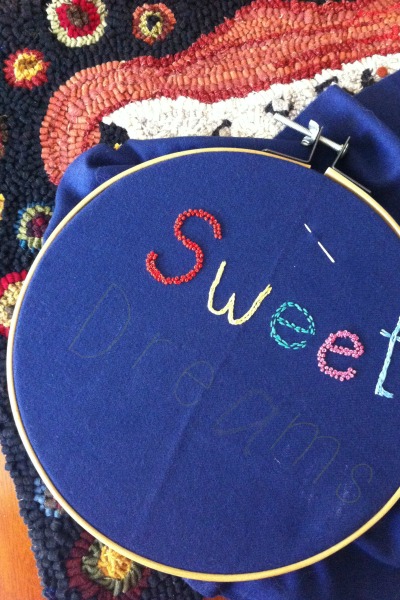
Using an embroidery hoop, place wool with traced design centered in hoop pulling fabric tautly. Begin stitching away.
Here are the stiches and floss colors I used for each letter:
S – French knot – 815 (Medium Garnet)
w – split stitch – 734 (Light Olive Green)
e – running stitch – 943 (Medium Aquamarine)
e – French knot – 3687 (Mauve)
t – split stitch – 518 (Light Wedgewood Blue)
D – running stitch – 3687
r – French knot – 518
e – split stitch – 815
a – running stitch – 734
m – French knot – 943
s – split stitch – 3687
Here are some great video tutorials on how to do each stitch from Needle ‘n Thread: French Knot, Split Stitch, Running Stitch
When you are done stitching, you can give the stitched work a light press to get out any marks from the embroidery hoop. Press from the backside, so as not to flatten the stitches.
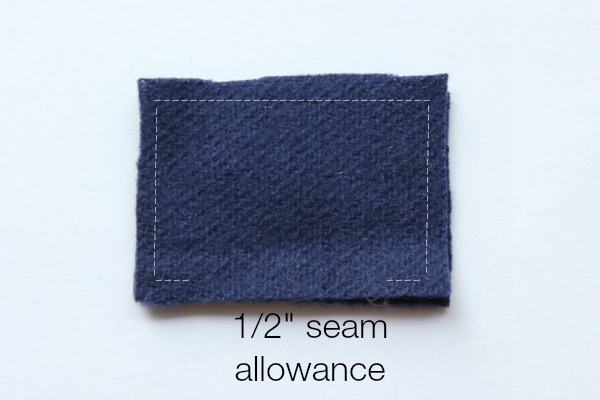
Place the stitched piece right side facing up and place the second piece of fabric right side facing down. Pin in place and stitch around 3 sides using a 1/2″ seam allowance and leaving an opening on the fourth side (see above).
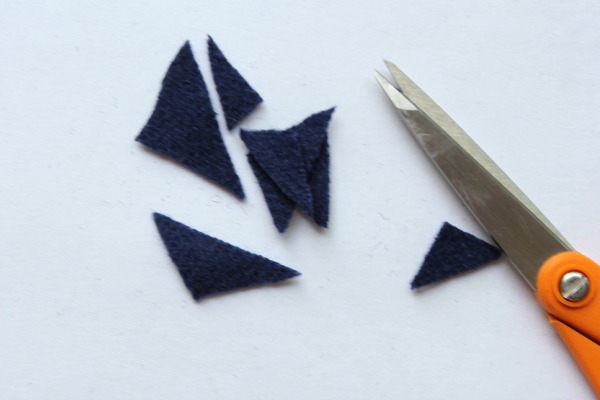
Clip corners and turn right side out. Stuff with pillow form.
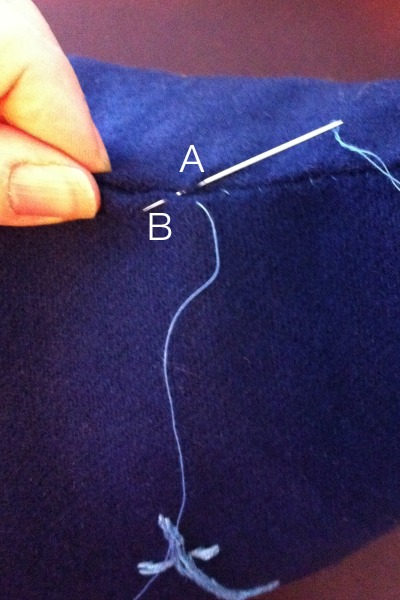
Thread a needle. Using a blind stitch (see above) sew the pillow opening shut.
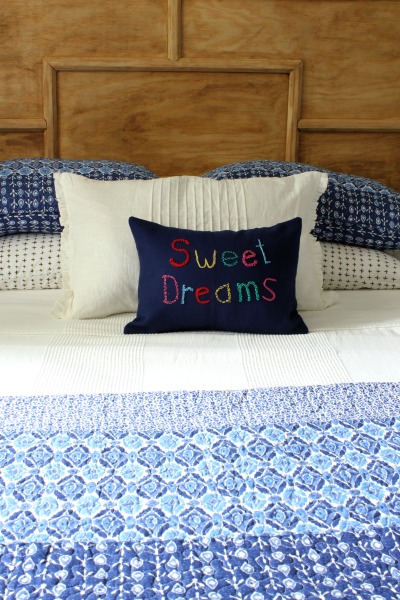
Enjoy!

[…] Sweet Dreams Pillow Tutorial […]