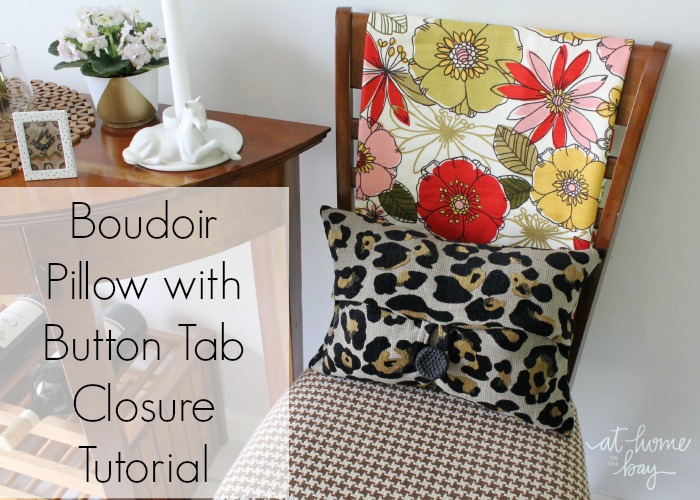
Don’t worry. Boudoir just means the size of the pillow which is 12″ x 16″, and you don’t have to have a boudoir to make one. You can use this pillow in any room you want. I promise.
I’ve never been a big fan of animal prints, but I was looking for a black and white graphic print to add a little fun pattern to the side chairs in the dining room. I saw some cow prints that were cute, but then I found this great design (I think it is a cheetah print) at Hobby Lobby and decided to give it chance. You can use any decorator weight fabric for this pillow.
Supplies:
1/2 yard home decor fabric
one 1-1/2″ – 1-3/4″ button
one 12″ x 16″ pillow insert
thread, scissors, measuring tape, pins, sewing machine
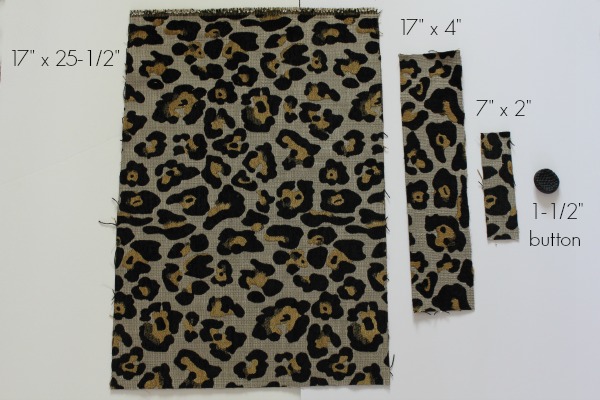
Cut one of each from fabric:
17″ x 25-1/2″ piece
17″ x 4″ piece
7″ x 2″ piece
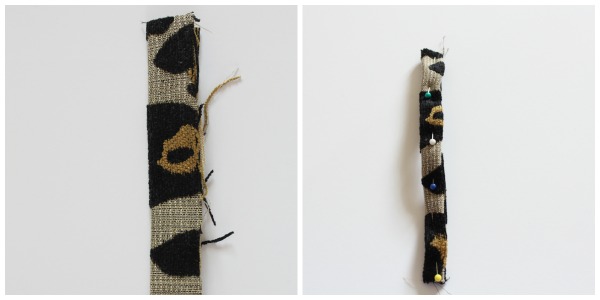
To make the button tab, fold the 2″ x 7″ piece in half length wise, press. Fold each side in toward the center line again, press, and pin in place.
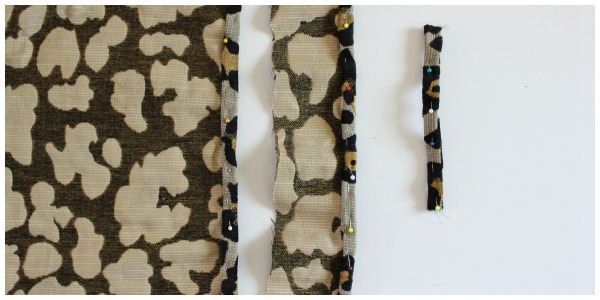
To hem the finished edges of the pillow opening, fold one of the 17″ edges on each of the pillow pieces in a 1/2″, press, fold in 1/2″ gain, press and pin in place. Sew all three pieces along the pin lines using a 1/4″ seam allowance.
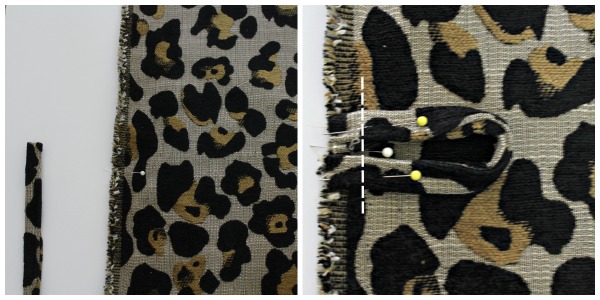
To add the button loop, face the 17 x 25-1/2″ piece face up. Find the center of the 17″ un-hemmed side of the large piece by folding in half. Mark center with a pin. Pin loop to each side of center mark facing the loop in as shown above. Baste in place.

Next, lay the loop edge face side up and place the 17″ x 4″ piece face side down, lining up the unfinished edges. Pin in place. Sew along the 17″ side using a 1/2″ seam allowance. Turn right sides out and press.
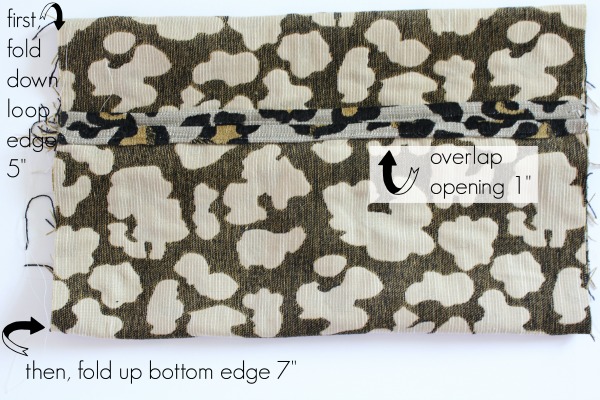
Now, place the fabric right side up and fold down the loop edge 5″ toward the center. Then fold up the bottom finished edge 7″ overlapping the finished edges one inch. Pin sides and sew using a 1/2″ seam allowance. Clip corners and turn pillow right side out.
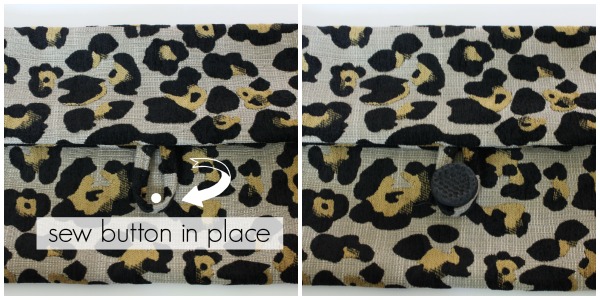
Mark the placement of the button and sew in place. Insert pillow form and button.
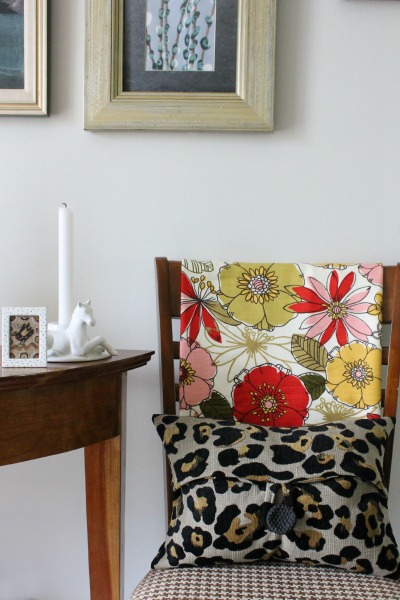
I’m still not sure how I feel about the animal print, but I am going to live with it for a while.
What do you think about animal prints … yay or nay?
Not much of a fan . . . Zebra would be my choice, if i wanted an animal print. Would love to see the cow fabric however as i love cows!! (Maybe because i live in the dairy state?!)
Ha! I hate the word boudoir so much that I call that size a lumbar pillow in my Etsy shop 😉
Cute, cute, cute! We love all animal prints in Texas – must be a “western” thing!
Who knew? I have a few boudoir pillows and I’m sure a new cover is in order.
Animal prints. I’ve not been a fan, but i did have one leopard print that has been a nice accent with my more traditional pillows over the years. Recently, when i had my purse stolen, I replaced it with a zebra print summer bag. I love it! It is SO out of character for me, but don’t you like the freedom that getting older gives you when it comes to personal style? At least there’s that! 🙂
After living in Arizona for a year, I really do like the occasional animal skin in decorating.