At Home on the Bay

DIY, Decor and More

  • At Home on the Bay
  • Home
  • About
    • About
    • Advertising and Disclosures
    • Featured
  • My Home
    • Blue Hill Bay Home Tour
    • Cleveland Home Tour
  • Inspiring Homes
  • Projects
    • Craft Projects
    • Sewing Projects
    • Furniture Projects
    • DIY Lighting Projects
    • Decor Projects
  • Recipes
  • Free Printables
You are here: Home / artwork / DIY Impressionist Landscape Art

DIY Impressionist Landscape Art

February 12, 2012 By Mary


Someday I would like to invest in a nice piece of artwork, but I’m not exactly sure what I want and artwork is expensive. Being the die hard DIYer that I am, I wanted to try my hand at painting something to hang until  “someday”. I am not an artist (as you can see), but I had so much fun creating these that I thought I would share the process for others who want to try their hand at painting. I decided to paint an impressionist style landscape, because it doesn’t have to be detailed and the more imperfections the better (and I knew that it would definitely have imperfections). So grab a cup of tea and the following supplies and join me for some fun.
(Warning: If you are an artist, you’ll want to stop reading here.)


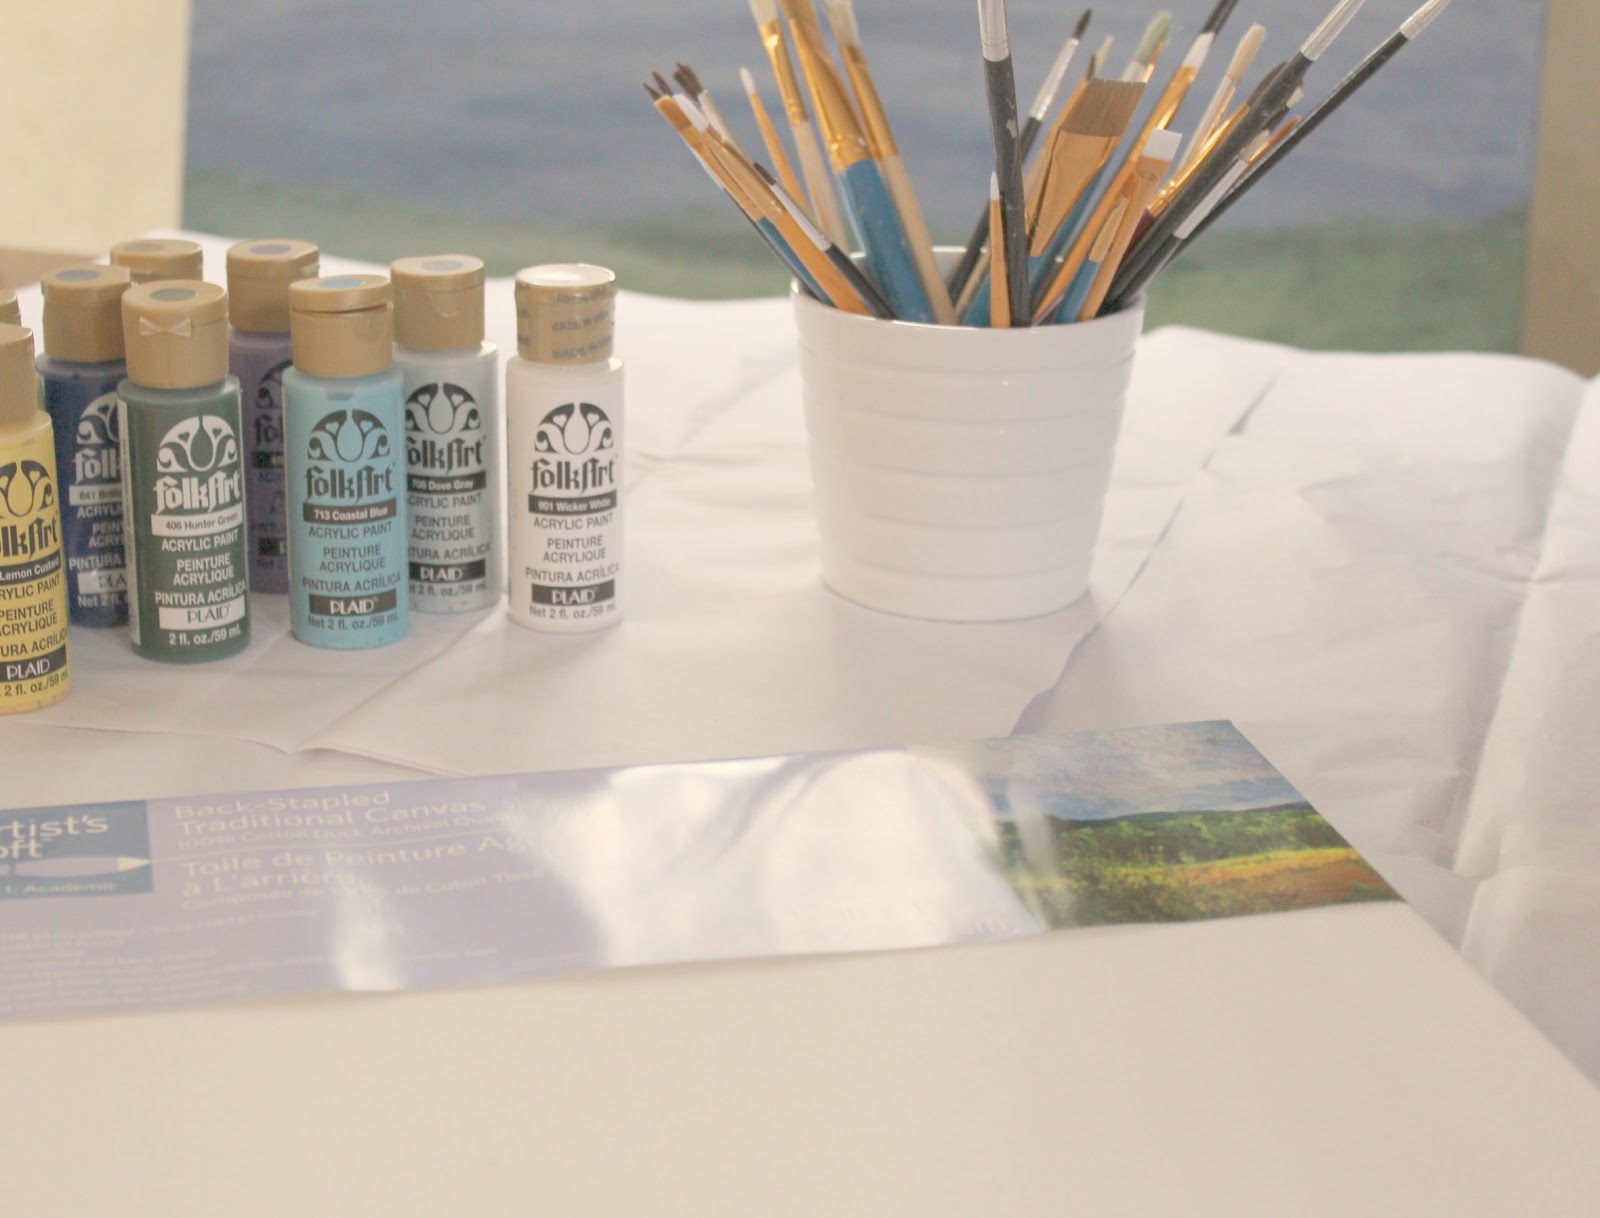
Folk Art Acrylic Paint by Plaid:
901 Wicker White
708 Dove Gray
713 Coastal Blue
641 Brilliant Blue
406 Hunter Green
954 Fresh Foliage
735 Lemon Custard
410 Lavender
945 Maple Syrup
12 x 12 in. Artists Canvas
(or any size you would like)
Assorted Brushes

I made the large canvas first and then I bought the 12 inch square canvas to show the tutorial.  To begin with, I divided the canvas into 3 areas  – sky, ocean and foreground.  You can use a pencil to mark the areas, because the markings will be covered by the paint.


For the sky I squirt dabs of paint right onto the canvas.  I used Wicker White, Dove Gray and Coastal Blue.


Using a flat brush, I spread  the colors across the canvas (don’t forget the sides).


The idea is to have streaks of color (dark and light) to create the effect of light.   If your paints get too blended, you can add little touches of extra paint.


Do the same for the ocean and foreground.
Ocean colors: Brilliant Blue, Dove Gray and Coastal Blue
Foreground colors: Hunter Green, Fresh Foliage and a smidgen of Lemon Custard
It should look something like this when you are done.


I thought about stopping here, but I “brushed” on, because I was having too much fun.


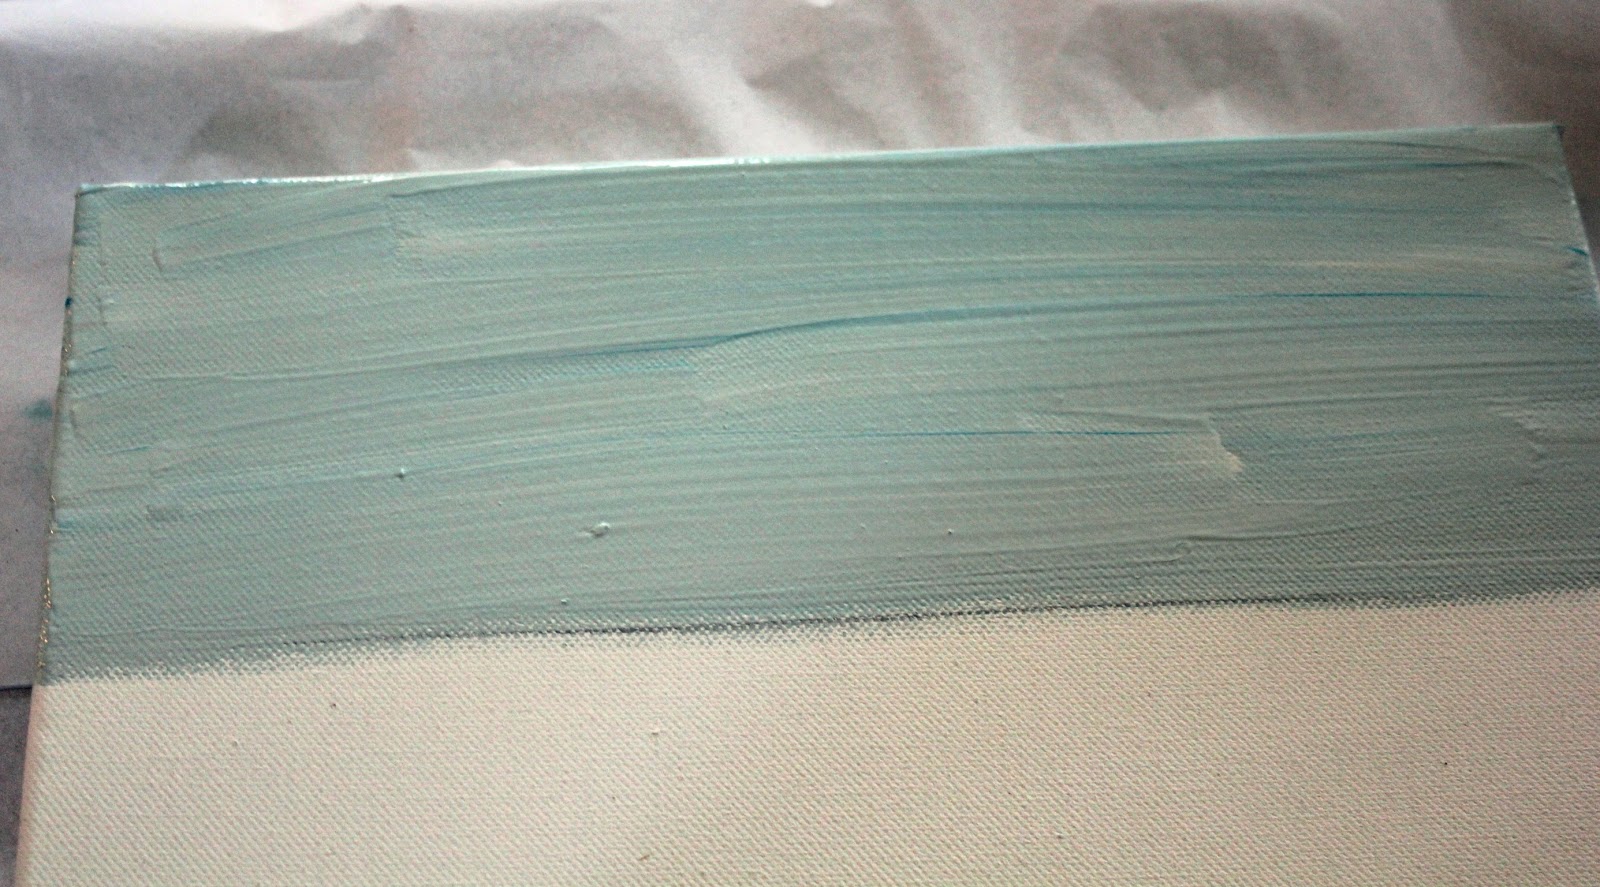
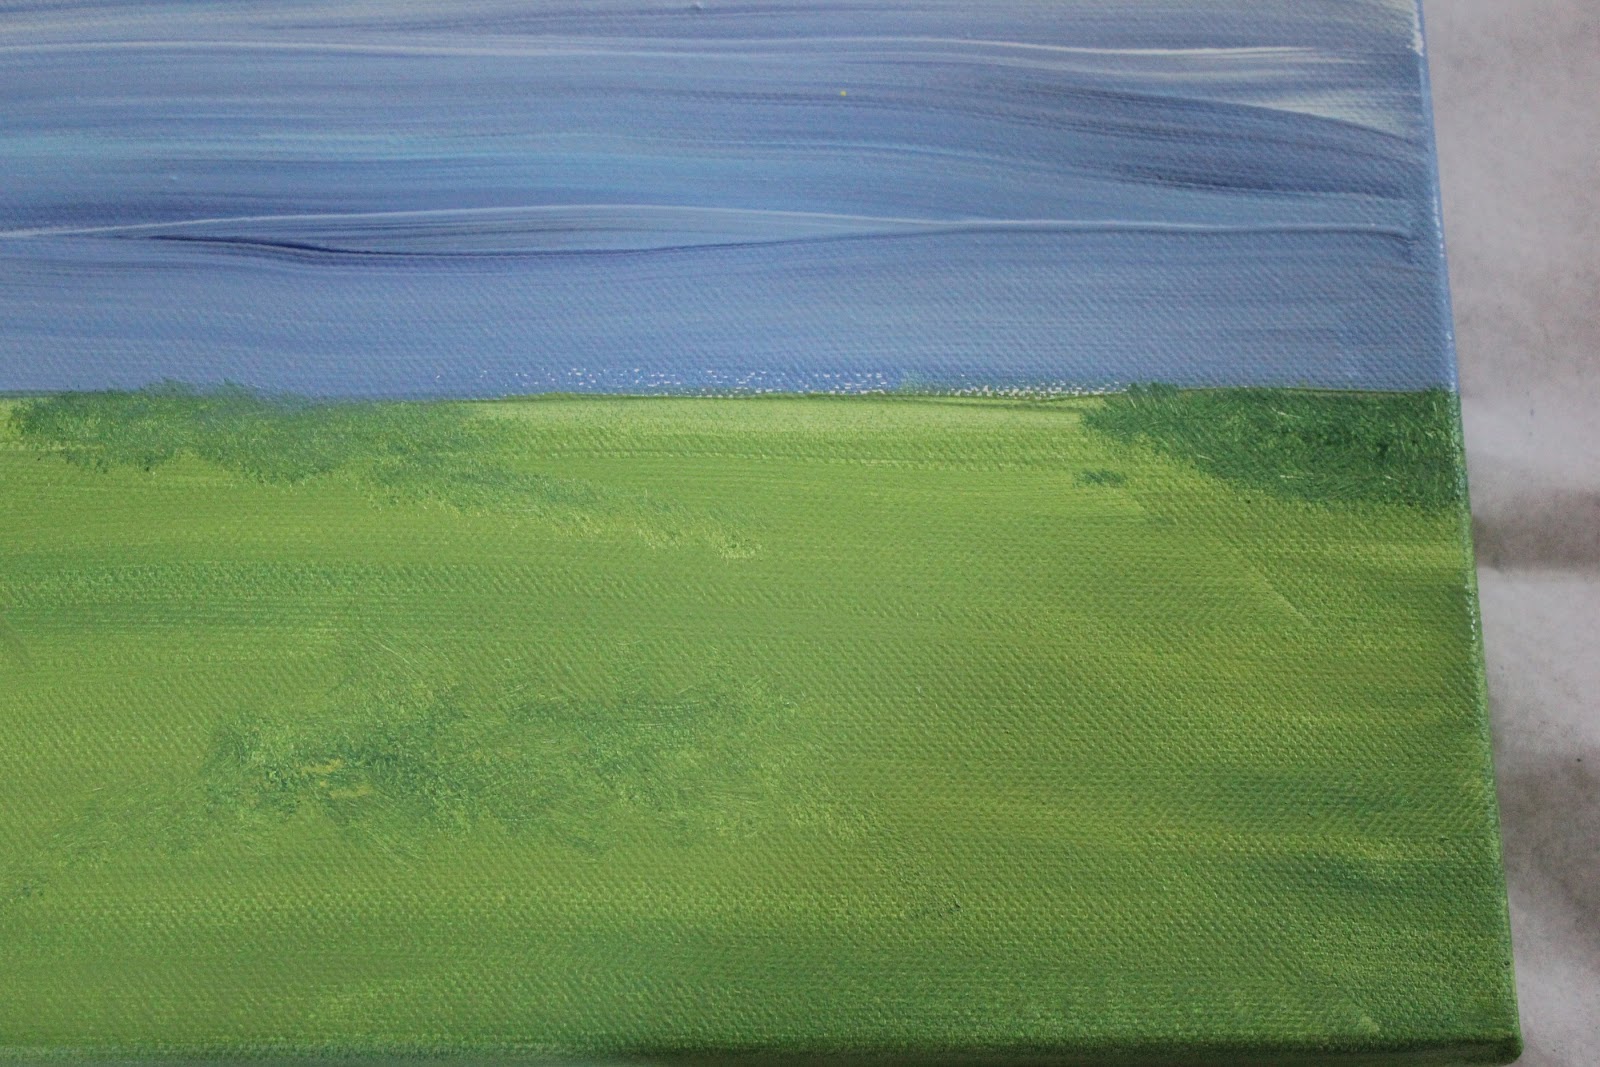
We live on a bay on the coast of Maine, so I wanted to add some shrubs, islands, mountains and a sailboat.  For these next steps I put some dabs of paint onto a paper plate.  I dipped my brush into several colors of paint and used a stippling effect – pouncing the brush on the canvas.  I added some Hunter Green and Fresh Foliage and small bits of Lemon Curd in the foreground areas.  I found that the more layers you have the better.


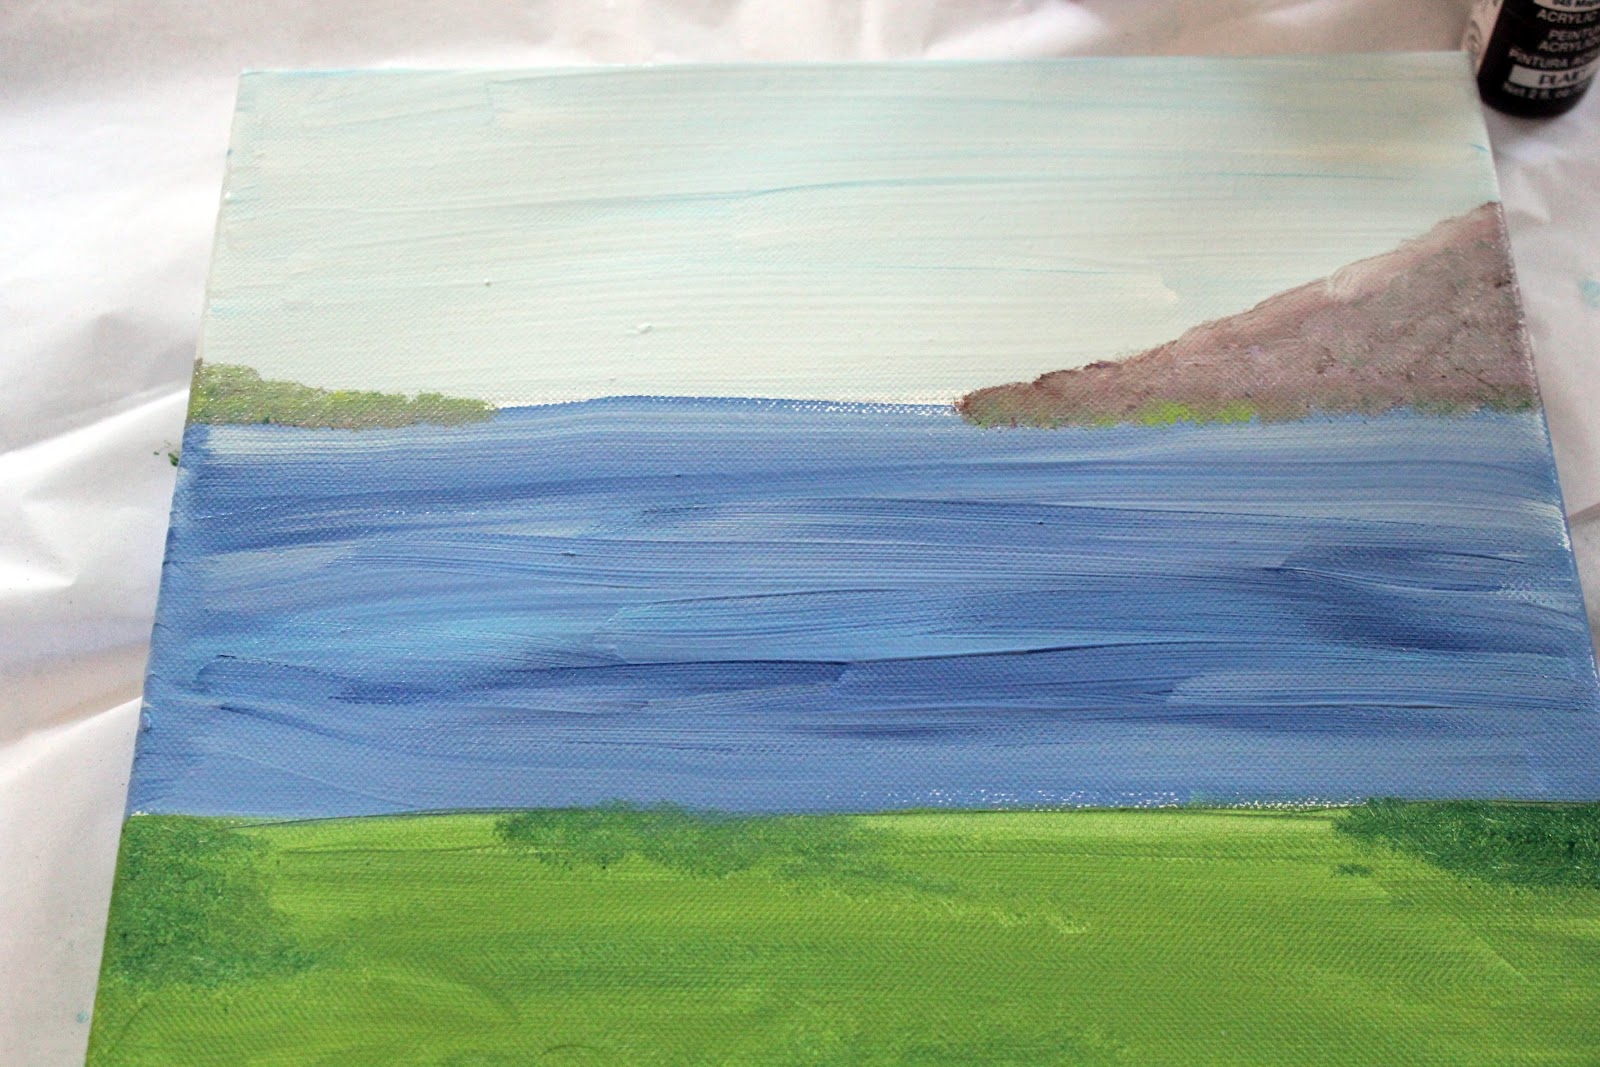
I used Lavender and Maple Syrup (brown) for the mountain on the right and Foliage Green, Hunter Green and Maple Syrup for the left side island.  I stippled some green along to coastline of the mountain.


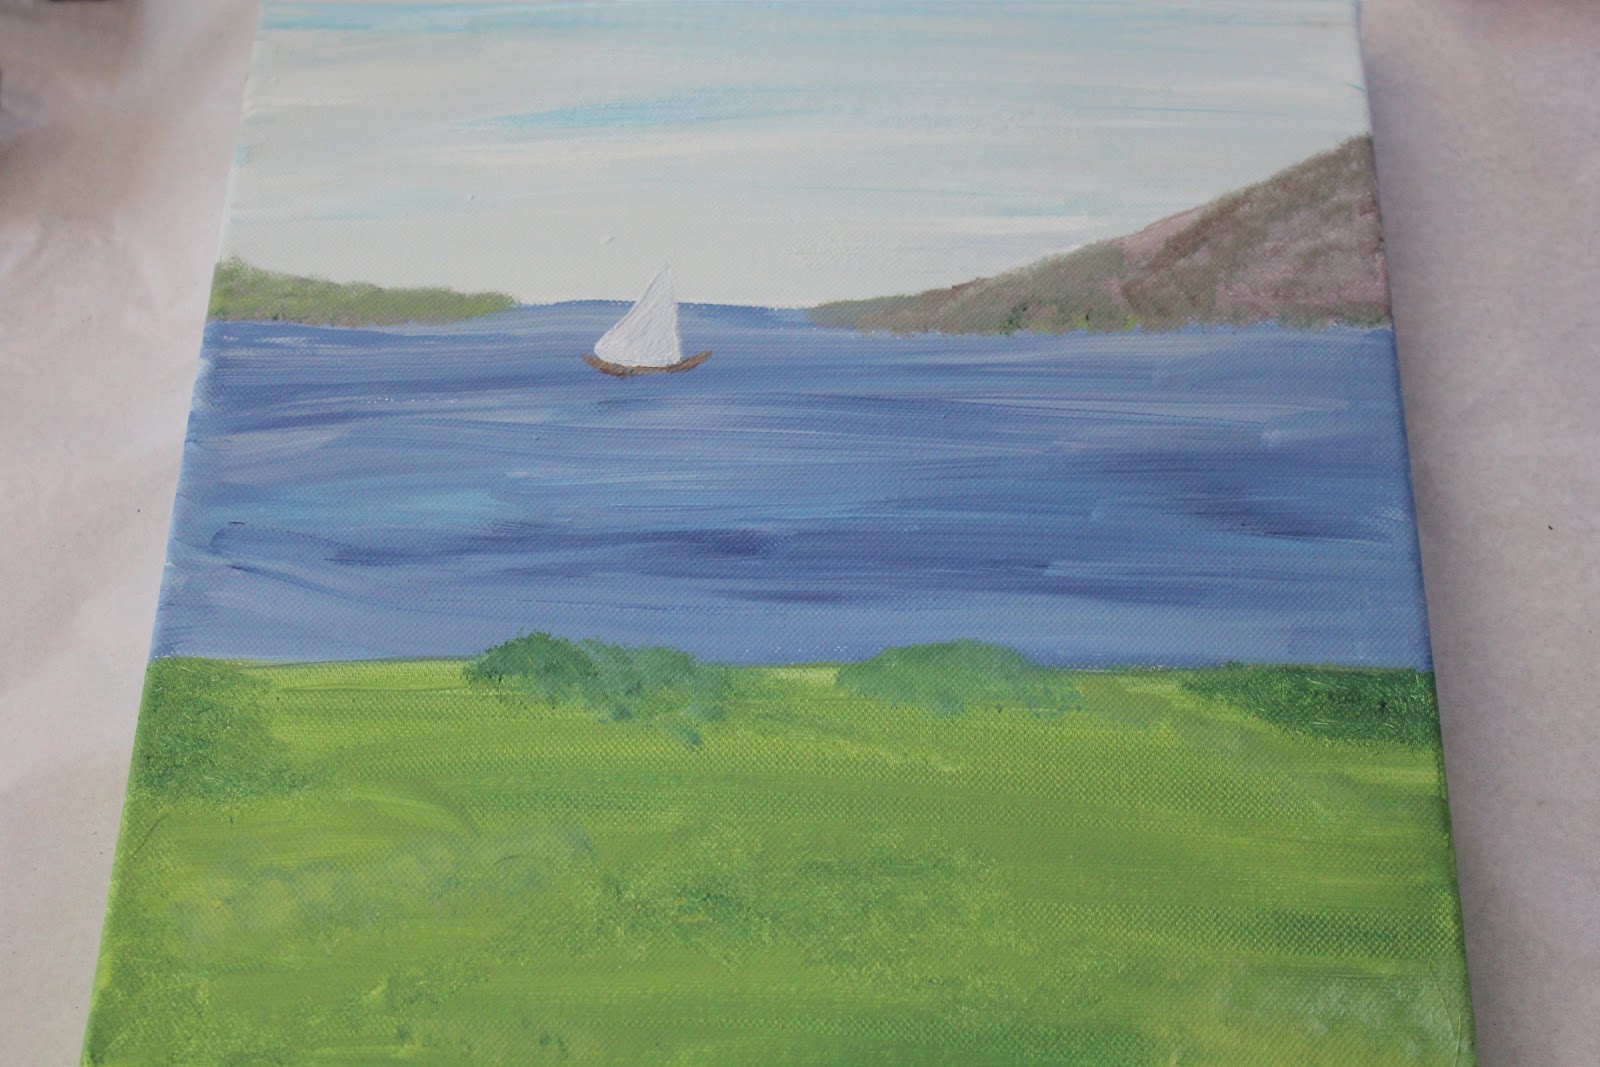
Keep layering paint.  The more the better.  I added a sailboat.  When you are happy – you are done.

Now it is time to let the canvas dry before the last step.  This is a good time to wash your brushes and grab another cup of tea.


When the canvas is dry, mix some of the wicker white with water.  It should be the consistency of skim milk.    Brush the watered down white paint onto the canvas and then wipe and dab it off with a paper towel.  You are trying to mute the painting.


(excuse the sunlight glare)

Once you have cover the entire canvas with the muted white – you are done.

Here’s a detail shot of the large canvas.


I think this would be a fun girl’s night out or kids party project.  I hope you will give this a try and have fun with it, because if it doesn’t work out you can always paint over it.


fb-share-icon
Tweet
Pin Share
«
»

Filed Under: artwork, crafting, painting

Comments

  1. Penny @ The Comforts of Home/Flea Market Makeovers says

    February 13, 2012 at 11:20 am

    Love this!! Thanks for the tutorial. I think it turned out wonderful!

  2. thistlewoodfarm says

    February 13, 2012 at 4:37 pm

    What a beautiful painting! I definitely think there is an artist in all of us. Everyone needs a creative outlet and you have found yours.

    blessings,
    karianne

  3. Elizabeth (Blue Clear Sky) says

    February 17, 2012 at 7:13 pm

    Love this too! I think it looks wonderful and so much prettier than the mass produced stuff you see at places like HomeSense.

  4. Jamie @ Sew Rockin' says

    February 21, 2012 at 11:21 pm

    That came out really nice! I get really impatient with painting because I like every line precise but this looks easy…I will have to try it out sometime.

  5. Aimee - ItsOverflowing.com says

    February 22, 2012 at 12:10 am

    Oh my goodness…looks so GREAT! Thanks for sharing at Overflowing with Creativity! I can’t wait to see what you link up at my party tomorrow! I LOVE following you…you’re so inspiring! Just a little reminder, my giveaway for 1000 free FULL color business cards ends at midnight!! Stop by and enter to wiN!

    ***I featured you today on my blog!***

    XO, Aimee

  6. Lisa Scibilia says

    March 6, 2012 at 11:42 pm

    It’s so lovely! I have often thought how fun it would be to try a landscape (with absolutely no painting experience – other than walls and furniture!) Yours came out beautifully – truly! Makes me want to buy some paints and a canvas tomorrow and give it a try!

  7. Finding Home says

    March 15, 2012 at 12:19 pm

    Wow – this is so great, thanks for sharing the step by step! TAke care, Laura

  8. Anonymous says

    May 29, 2012 at 6:24 pm

    I’m loving your site! I came here from Pinterest via the wingback slipcover post, and am finding other great tutorials for projects I want to do. Great ideas! I’ve been planning to do an abstract beach/ocean/sky paintings and your project gives me some great pointers! Thanks again!

    Jen

Hi There, I’m Mary!

Welcome to At Home on the Bay where I share my love for DIY, decorating, sewing, thrifting and baking all while living in our little slice of Heaven on Blue Hill Bay.
. Read More…


Please follow & like us :)

RSS
Follow by Email
Facebook
Facebook
fb-share-icon
Pinterest
Pinterest
fb-share-icon
Instagram


Search This Blog

Categories

Like us on Facebook!

At Home on the Bay

Please follow & like us :)

RSS
Follow by Email
Facebook
Facebook
fb-share-icon
Pinterest
Pinterest
fb-share-icon
Instagram

Copyright © 2026 · Darling theme by Restored 316

[footer_backtotop] · · · Copyright © 2026 At Home on the Bay · · · Log in

»
«