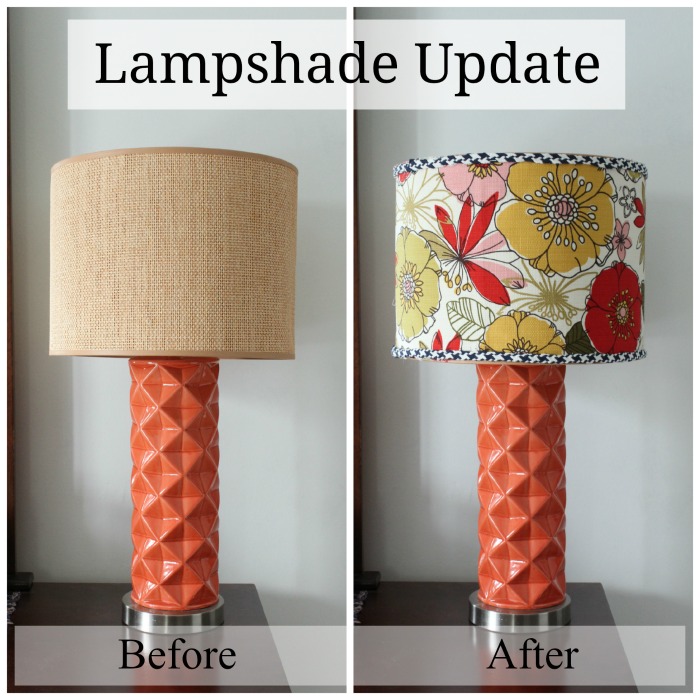
Easy Lampshade Update
My husband bought me these two lamps at the Cleveland Flea this summer. I had my eye on them and he secretly bought them while I wasn’t looking. I loved the shape and color. They needed lampshades, but I thought they would be easy enough to find. These lamps deserved some really cool shades to fit their colorful personalities, and it turns out cool shades are not that easy to find in the right size and at a reasonable price. I did have two faded lampshades, in the size I needed, that used to be in the living room in Maine. I also had some leftover fabric from a pillow project, and some contrasting fabric that I thought would make the perfect *bias trim.
*You can find a tutorial on how to make bias tape for the trim here at The Seasoned Homemaker. You will need 2 times the circumference plus two inches for each shade. My shade was 41 – 3/4″ in circumference, so I made 85 – 1/2″ of bias tape for each shade.
There are so many ways to cover a lampshade, but here is how I did it.
Supplies
Decorative Fabric (I used 1 yard to cover 2 shades)
*Bias tape
Glue Gun
Binder clips or clamps
scissors
tape measure
iron
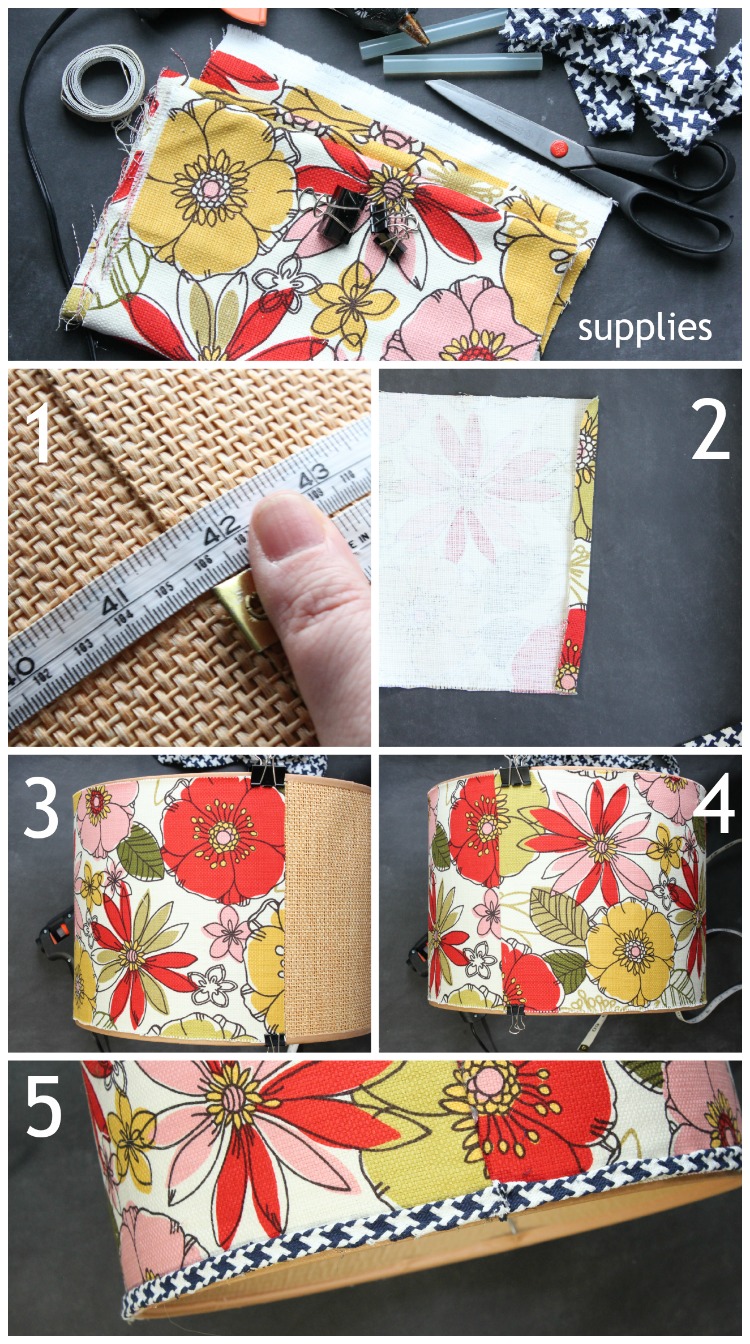
1. Measure length and width of the lampshade. My lampshades were 10″ wide and 41 – 3/4″ in circumference. Add an inch to the circumference measurement. For my lampshade I cut a 10″ by 42 3/4″ piece of fabric.
2. Iron the fabric. Fold both of the short edges under 1/2″ and iron.
3. Start at the back seam of the shade. Using the binder clips, line up the folded edge against the seam. Clip in place at the top and bottom of the shade.
4. Wrap fabric around shade. Pull tautly lining up all edges. Using a hot glue gun, glue the second folded seam down over the first.
5. Starting at the back seam, hot glue the bias tape to each edge of the lampshade covering up the raw edges of the fabric for a finished look. Clip any excess bias tape with the scissors at the back seam.
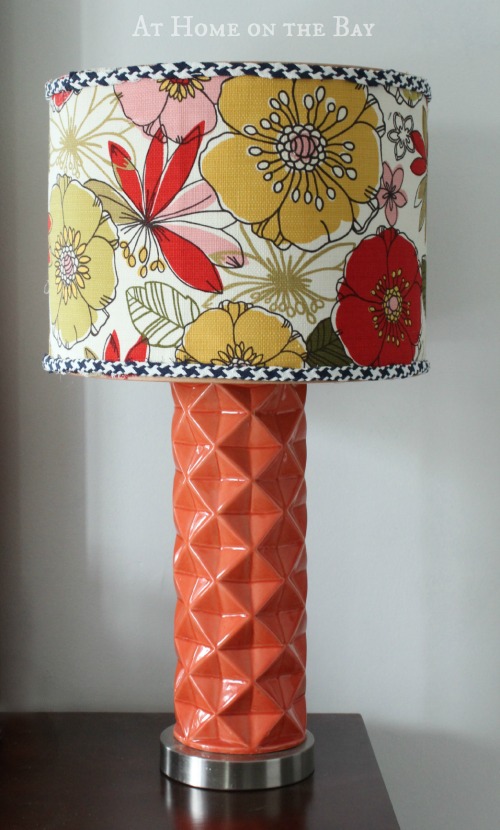
The colorful pattern and contrasting trim are just what my lamps were begging me for.

Lovely job. I have a pair of lamps which are also desperately in need of new shades. Great tutorial, will probably give it a try.
i remember when he bought you those!!!! i loved them! and love the fun shades!
wow love them a lot gorgeous xx
Love the lamps; love the new shade! The update took these to “WOW!”
Perfect – they look great!