Now that the kids are back to school, and fall schedules are being put into place, I’ve been thinking about some easy fall decorating ideas around the house. What is easier than adding a seasonal pillow, and brown plaid says it all – welcome fall.
Supplies needed for one 12″ x 16″ pillow:
2 pieces of plaid wool 13″ by 17″ each
2 doilies to fit pillow (approximately 9″ and 8″ in circumference)
1 pillow insert 12″ x 16″ or a bag of polyfill
Sewing needle, pins, matching thread and scissors
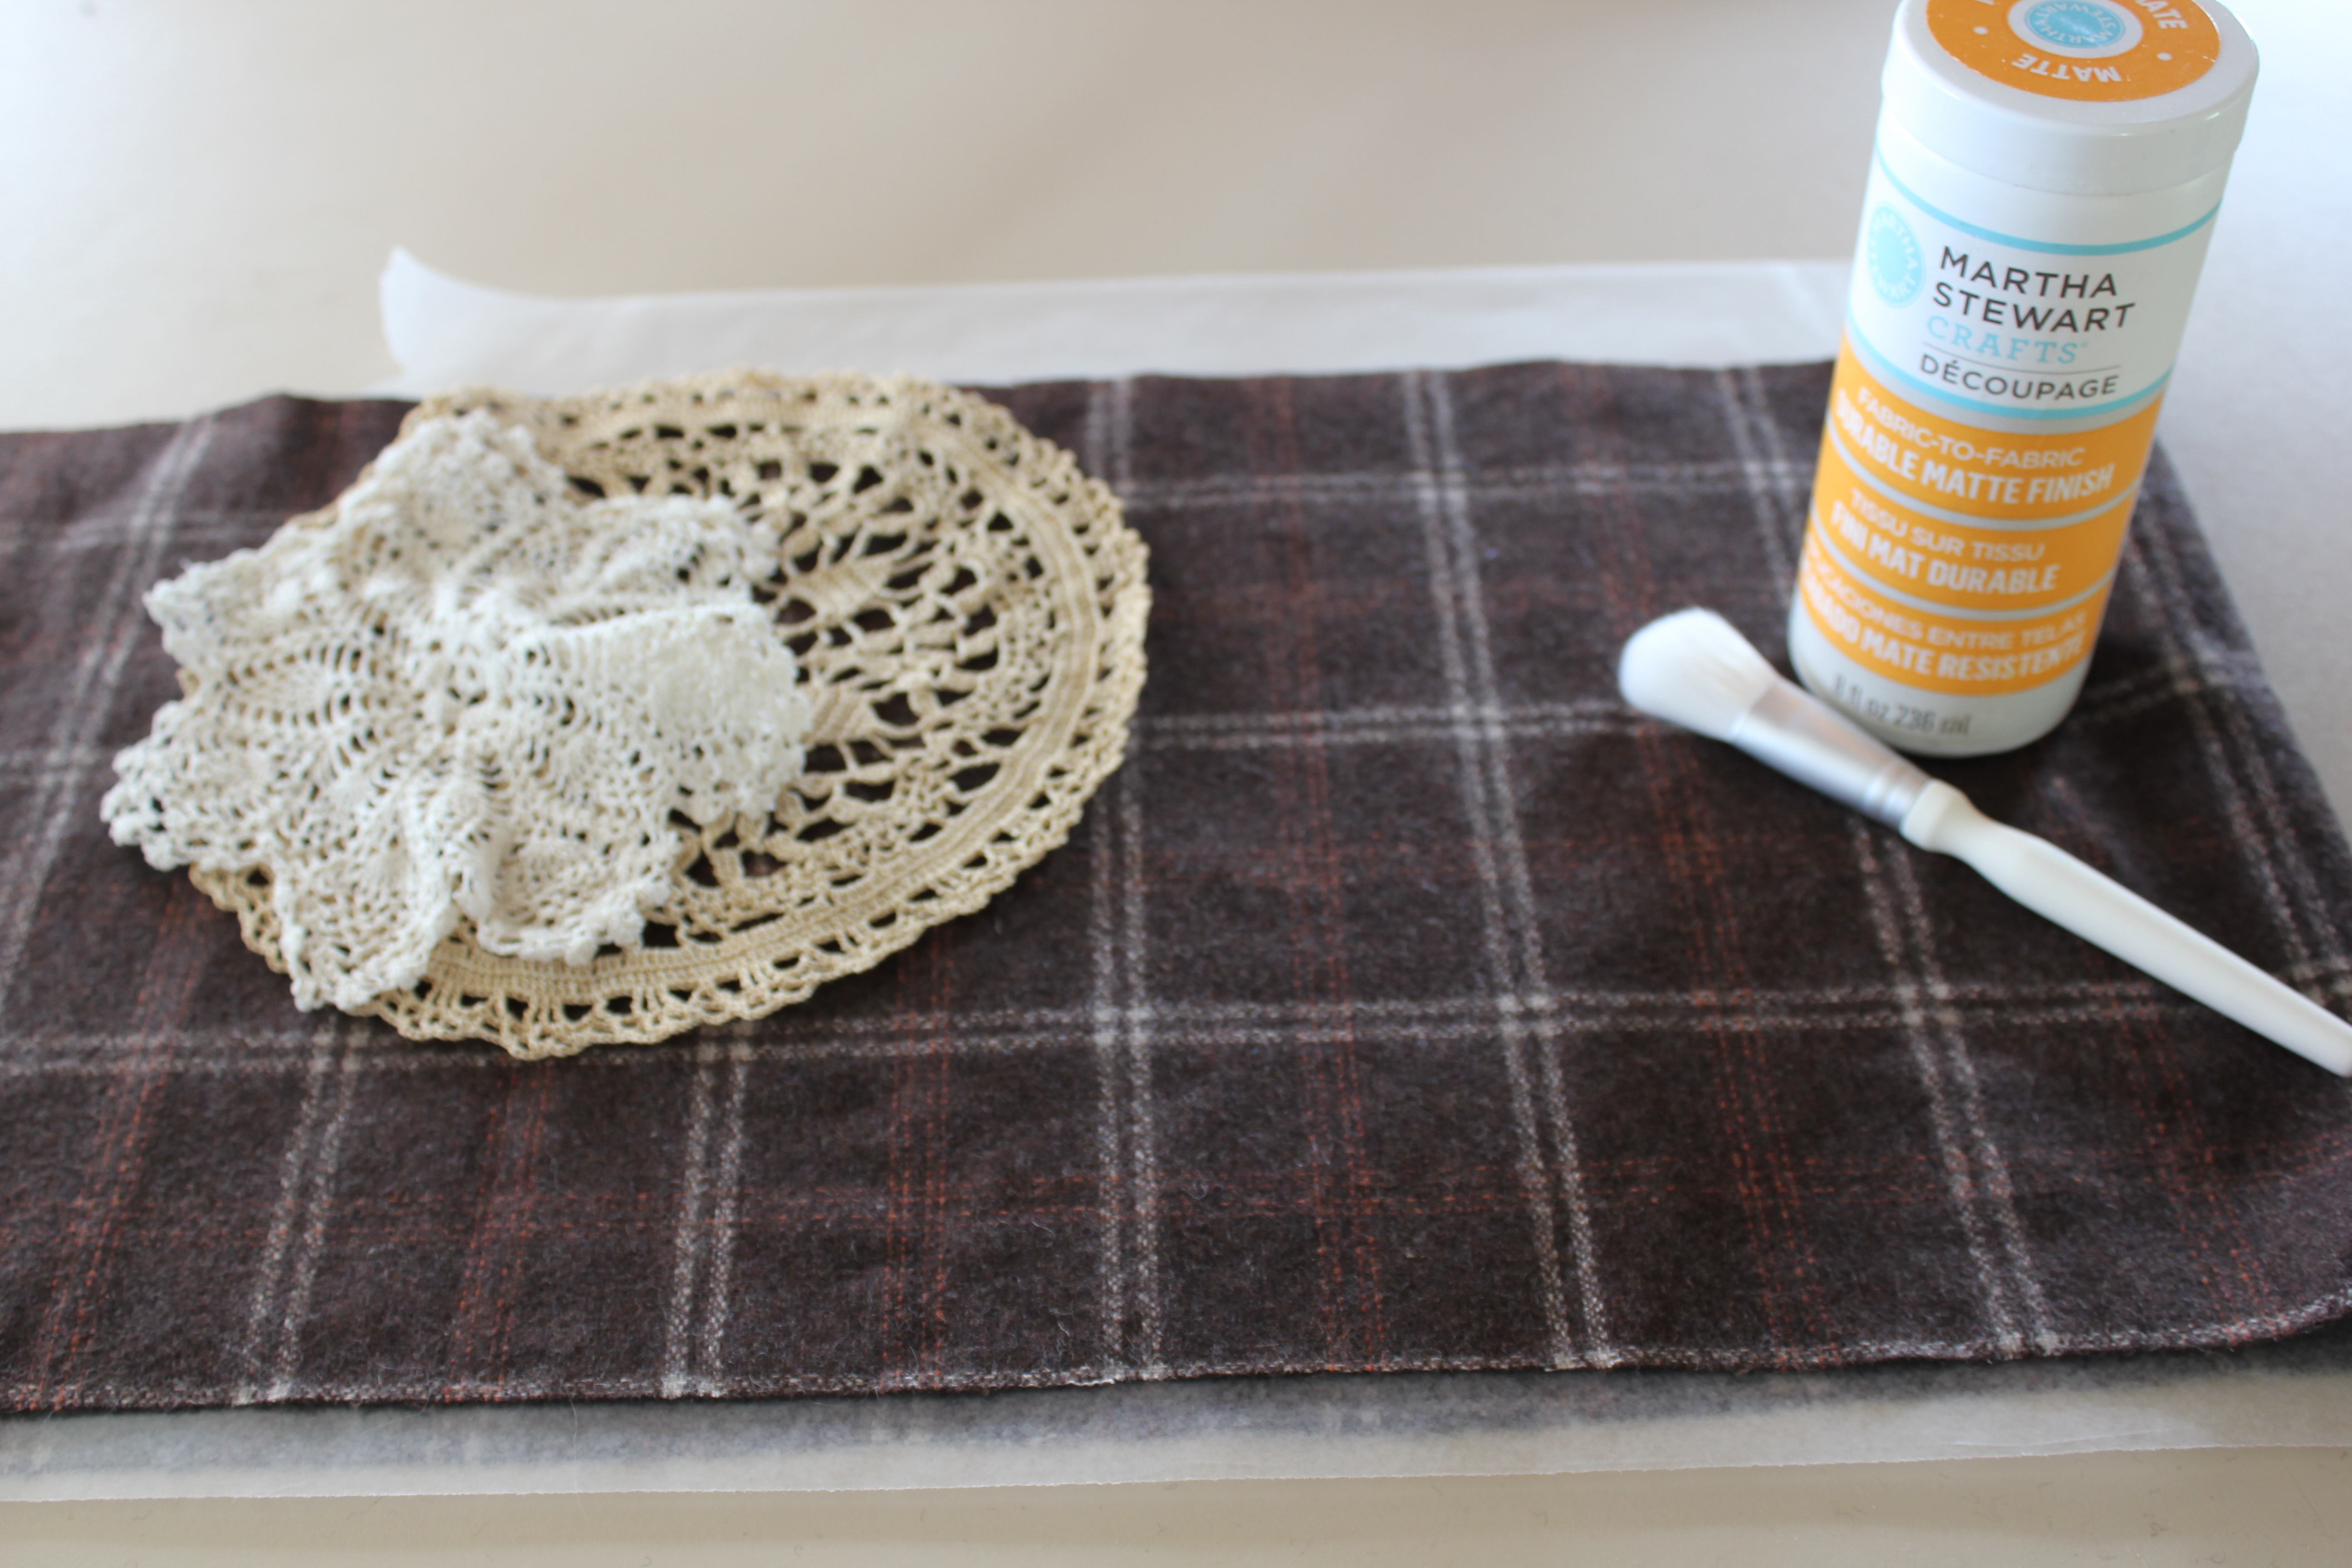
Martha Stewart Crafts Fabric Decoupage and brush (optional)

Step 1: Center larger doily on top of one of the pieces of plaid and pin down. Cut the second doily in half and place cut edges under larger doily and pin into place. Optionally to eliminate the bulky pins, I used Martha Stewart Fabric Decoupage to tack down the doilies. I added a little of the decoupage medium to the back side of the doilies and then positioned them into place and let them dry. (If you use this fabric decoupage method, you can skip step 2.)
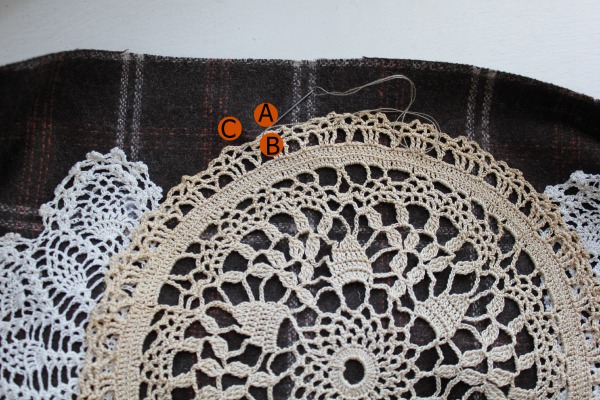
Step 2: Hand stitch the doilies in place using and applique stitch. Working from right to left, make a knot in your thread and bring the needle up from the underside of the fabric next to the doily (A). Catch a few threads of the doily and bring the needle back down through the fabric (B), as close to (A) as possible. Bring needle back up about 1/8″ away to the left (C). Continue all the way around the large doily and then work around the two side doilies. Knot threads on backside of pillow fabric.
Step 3: Place pillow top and pillow bottom right sides together (doilies should be on the inside). Using a 1/2″ seam allowance, and starting 2-1/2″ in on the 17″ side, sew all the way around the pillow, stopping 2″ after you turn the last corner, leaving a 12″ opening. Turn pillow right side out and stuff with pillow insert or polyfill.
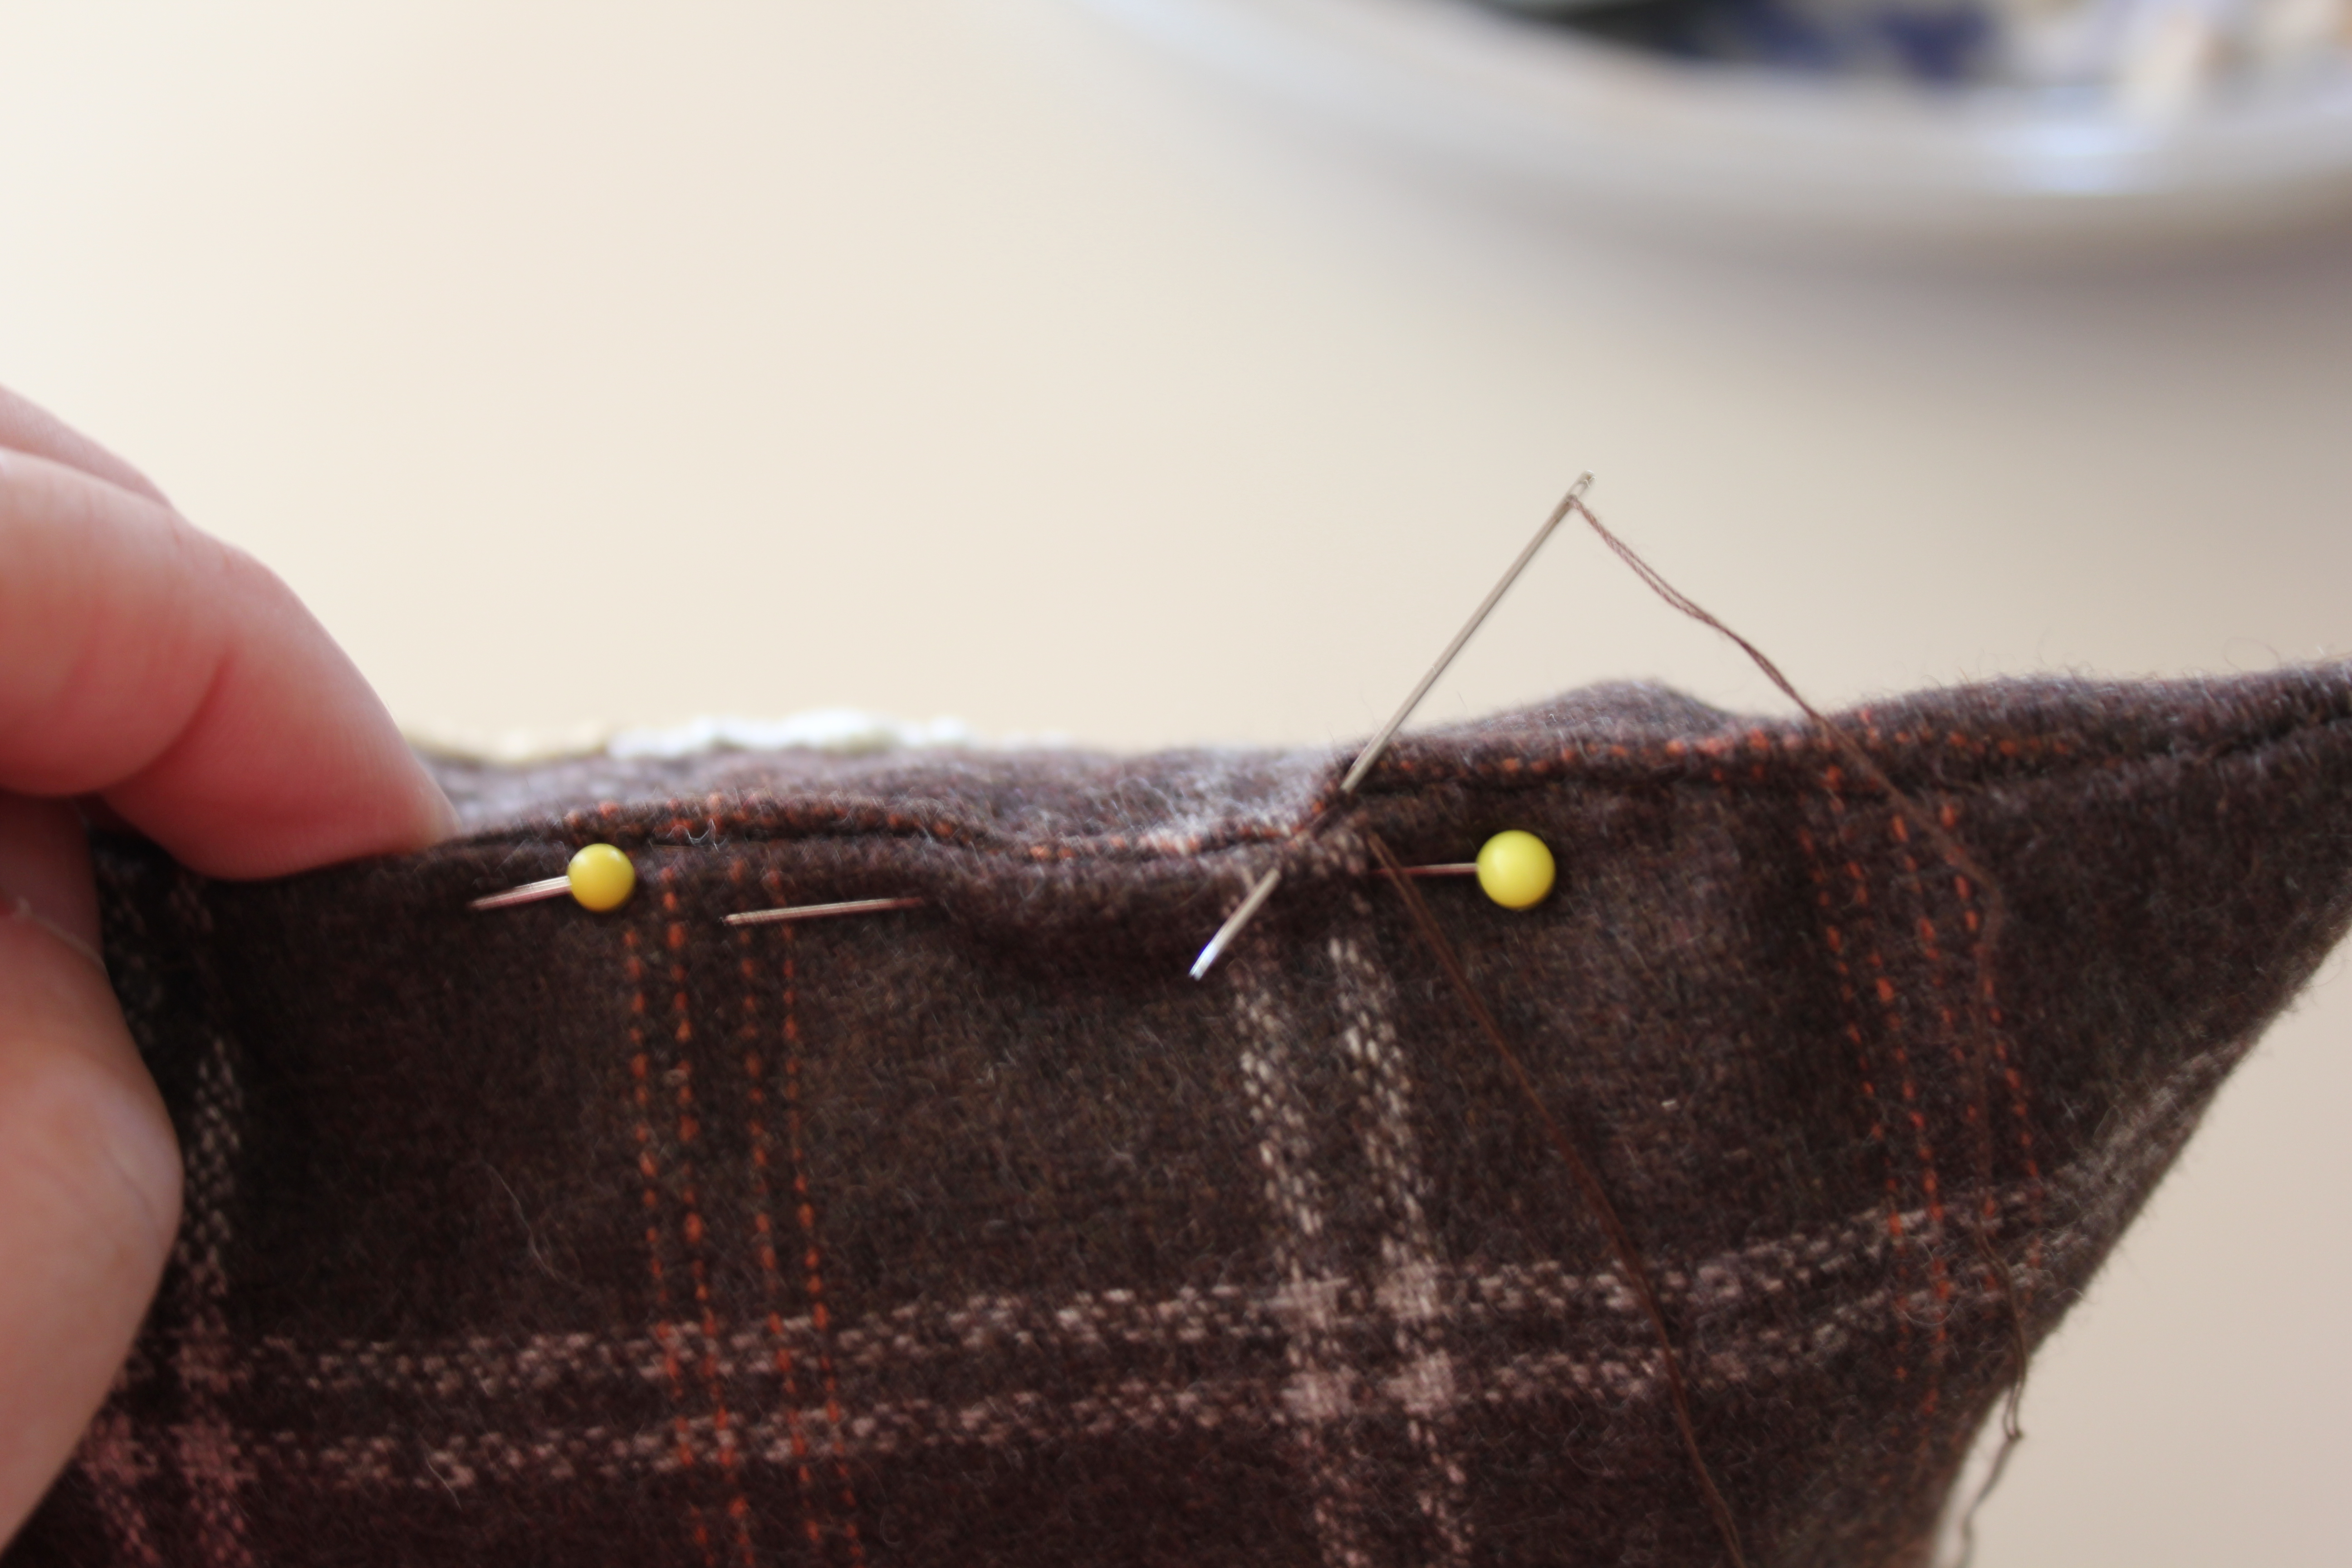
Step 4: Pin closing together, tucking in the 1/2″ seam allowance. Using a blind stitch, in which a few threads from each side of the closure are grabbed, stitch the opening closed. Your are done.
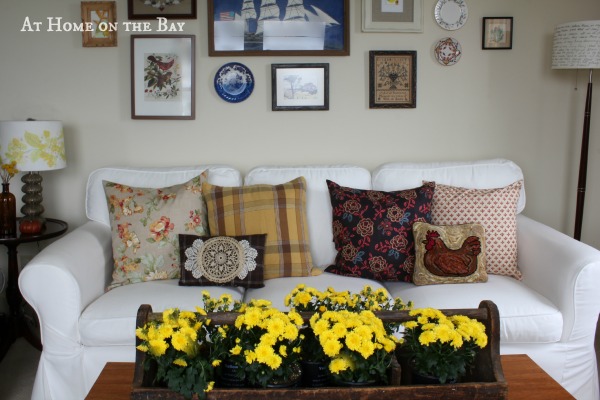
Enjoy your fall inspired pillow.
***
Visit these other blogs for more inspiring fall ideas.

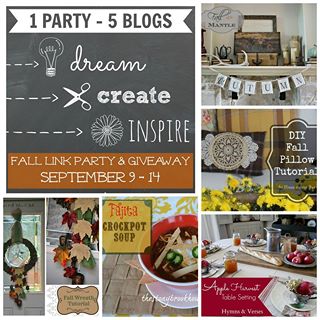
Now, it is your turn to show us what you’ve been up to this fall.
Click over here to link your fall projects, recipes and décor, and enter for a chance to win a $100 Target gift card.
 Sharing with:
Oh Mary, I Love your pillow! I didn’t know about fabric decoupage. The doilies look so pretty against the brown plaid…just lovely!
Love doilies! They are so classic. Also didn’t know Martha (my fav!) was making a fabric decoupage….gonna have to check that out! Thanks!
Mary, this is great! I actually love to crochet doilies and this is a fantastic way to use them! Can’t wait to do this!