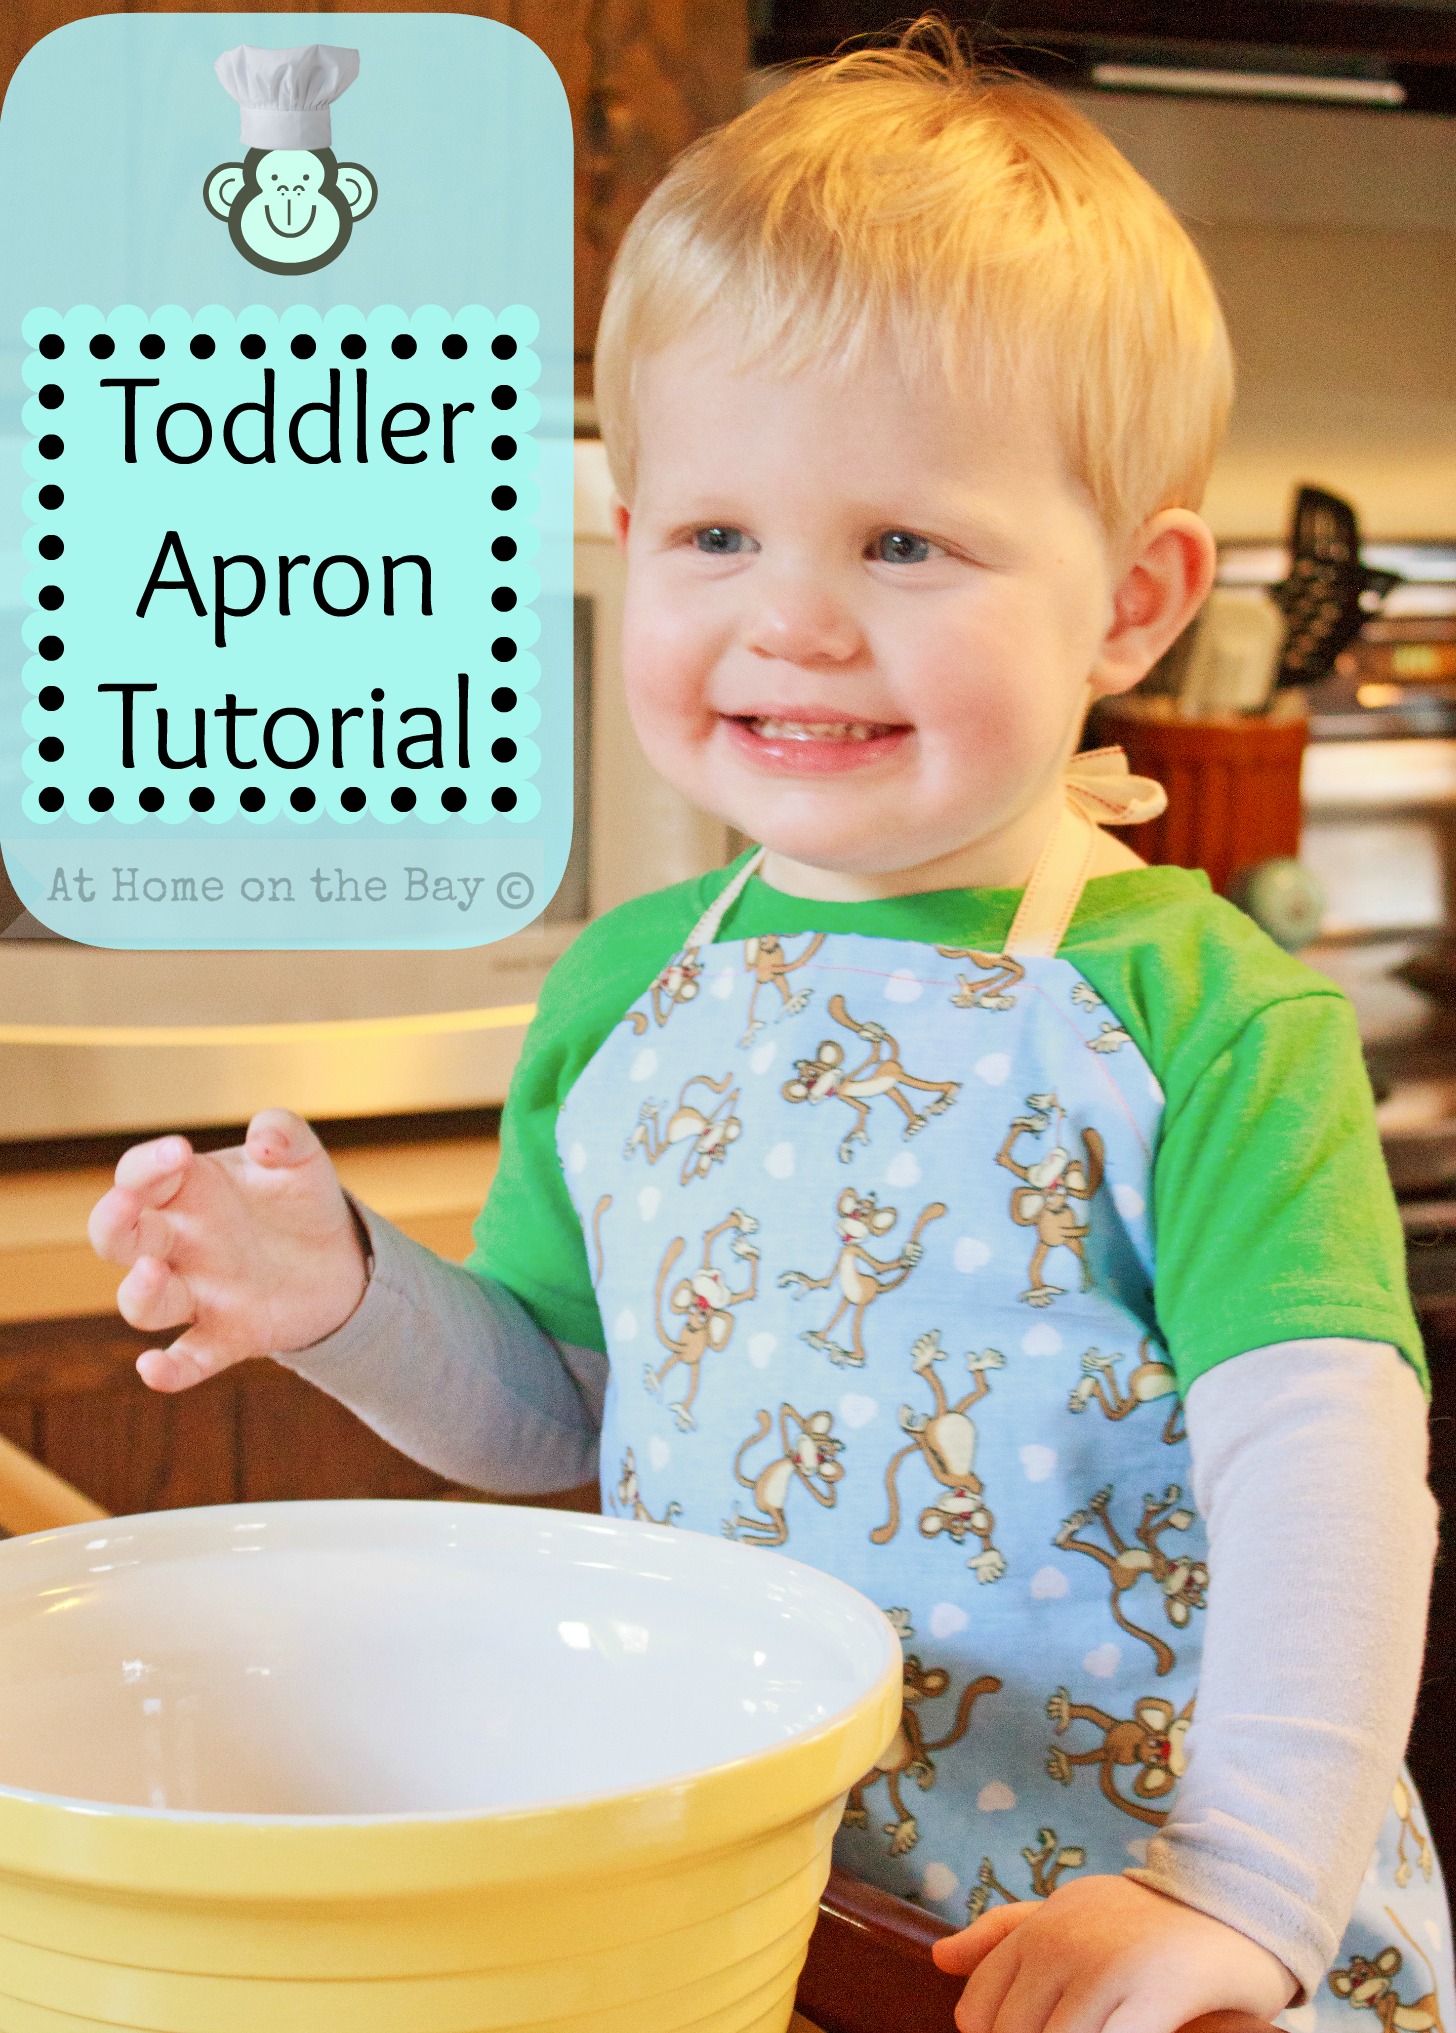
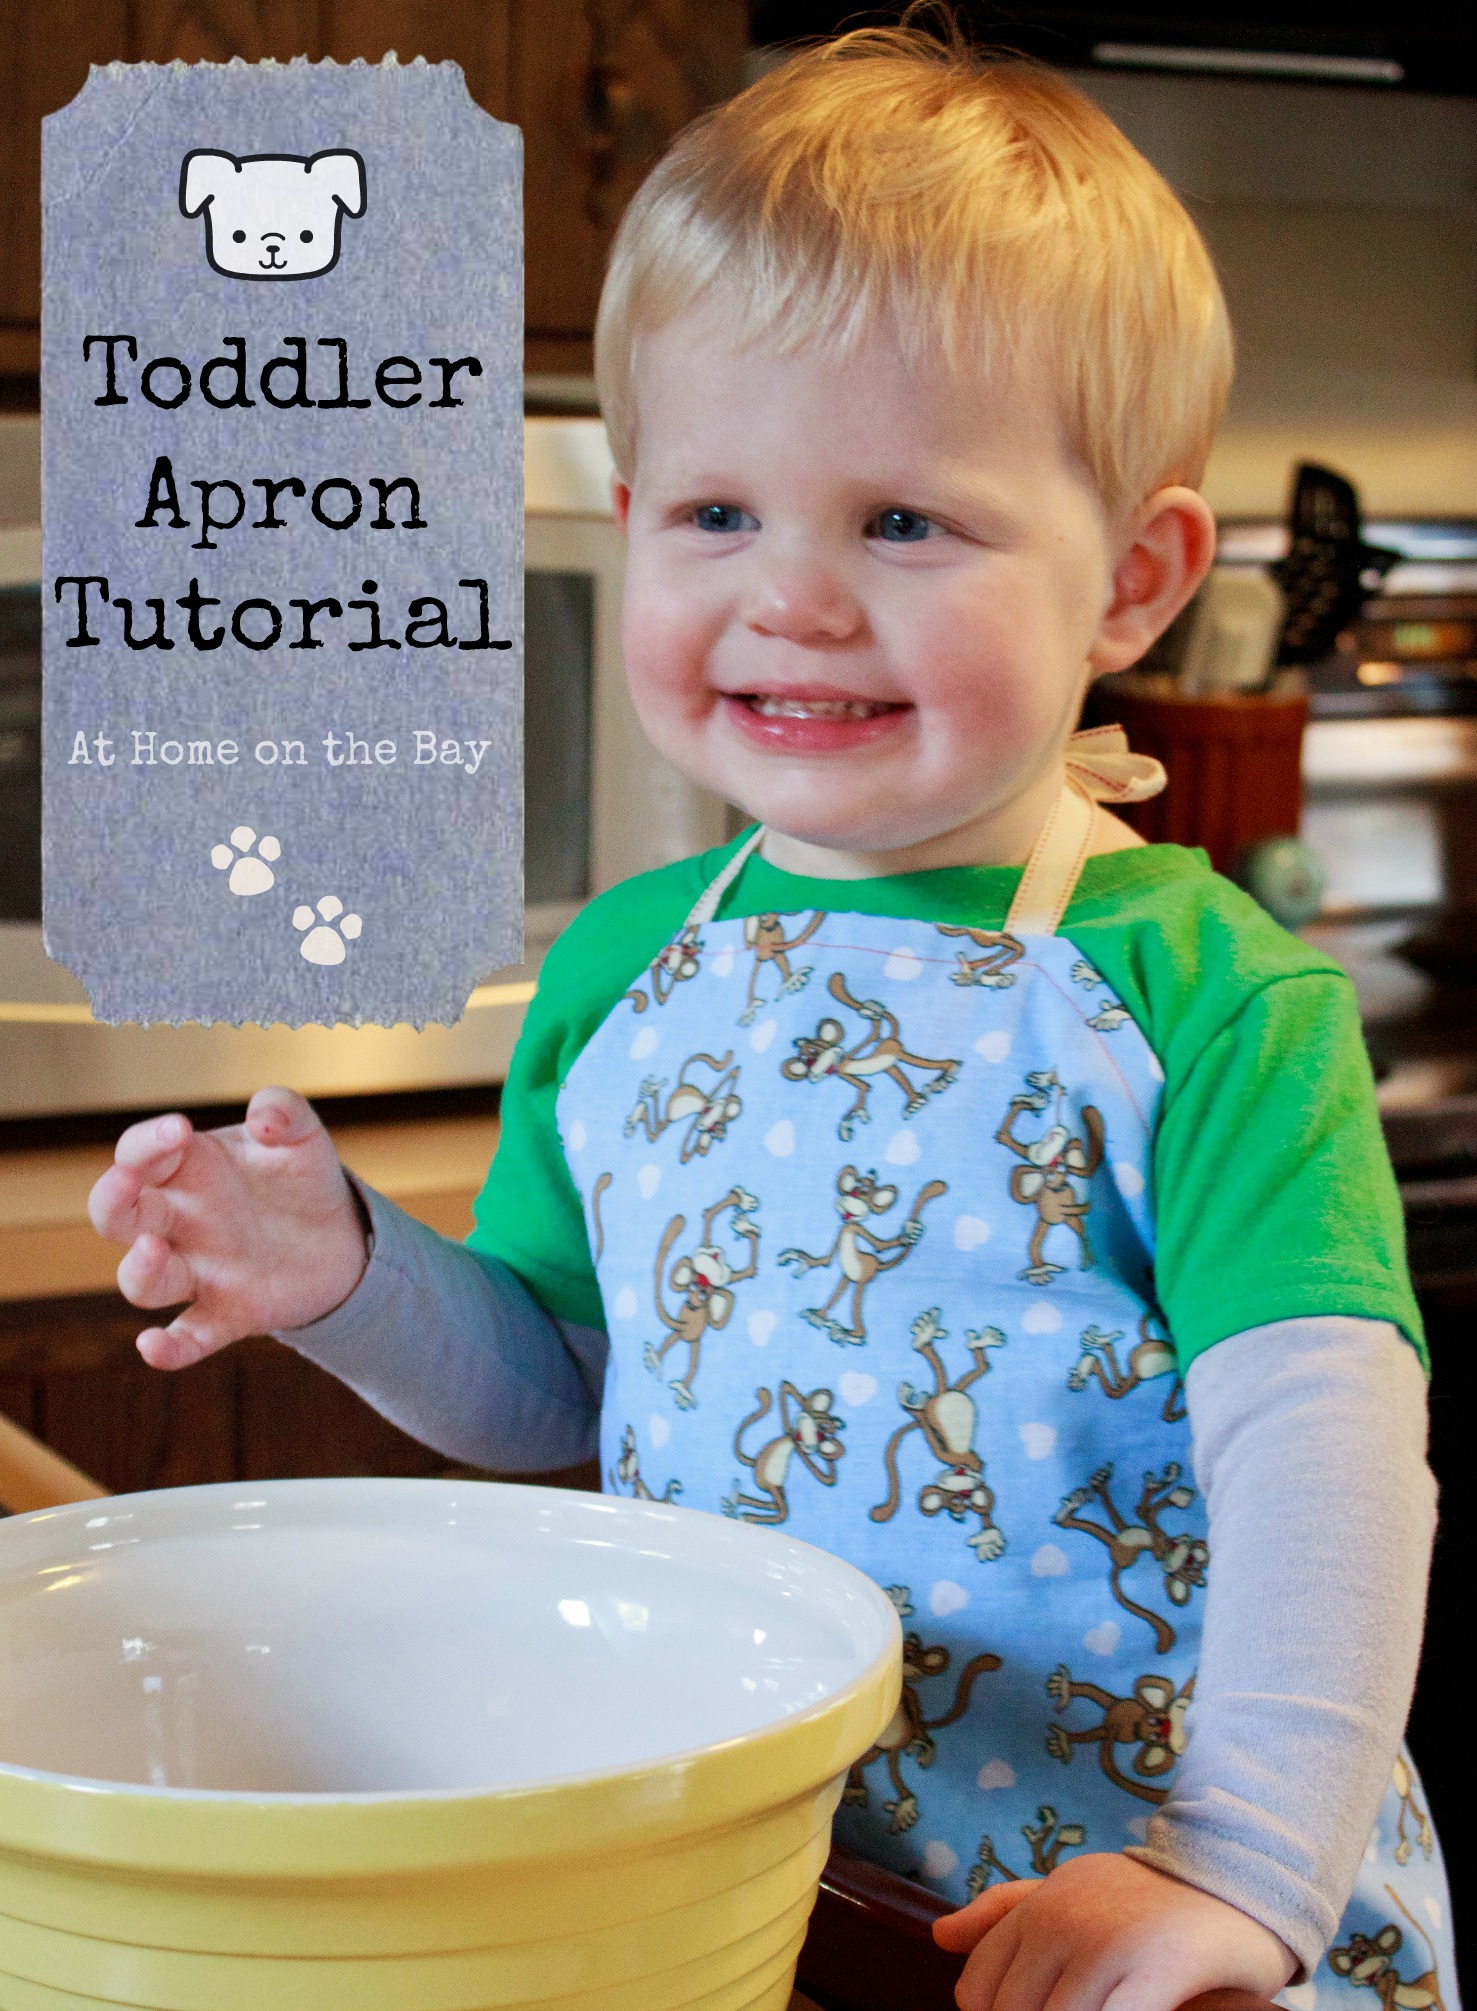
Isn’t my apron model adorable? My 2 year old grandson was nice enough to be my model. I paid him with promises of peanut butter chocolate chip cookies.
This toddler apron is reversible and fits children from 2 – 5 years old. I used two fat quarters from Joann Fabrics. They are the perfect size and come in many fun colors and patterns.
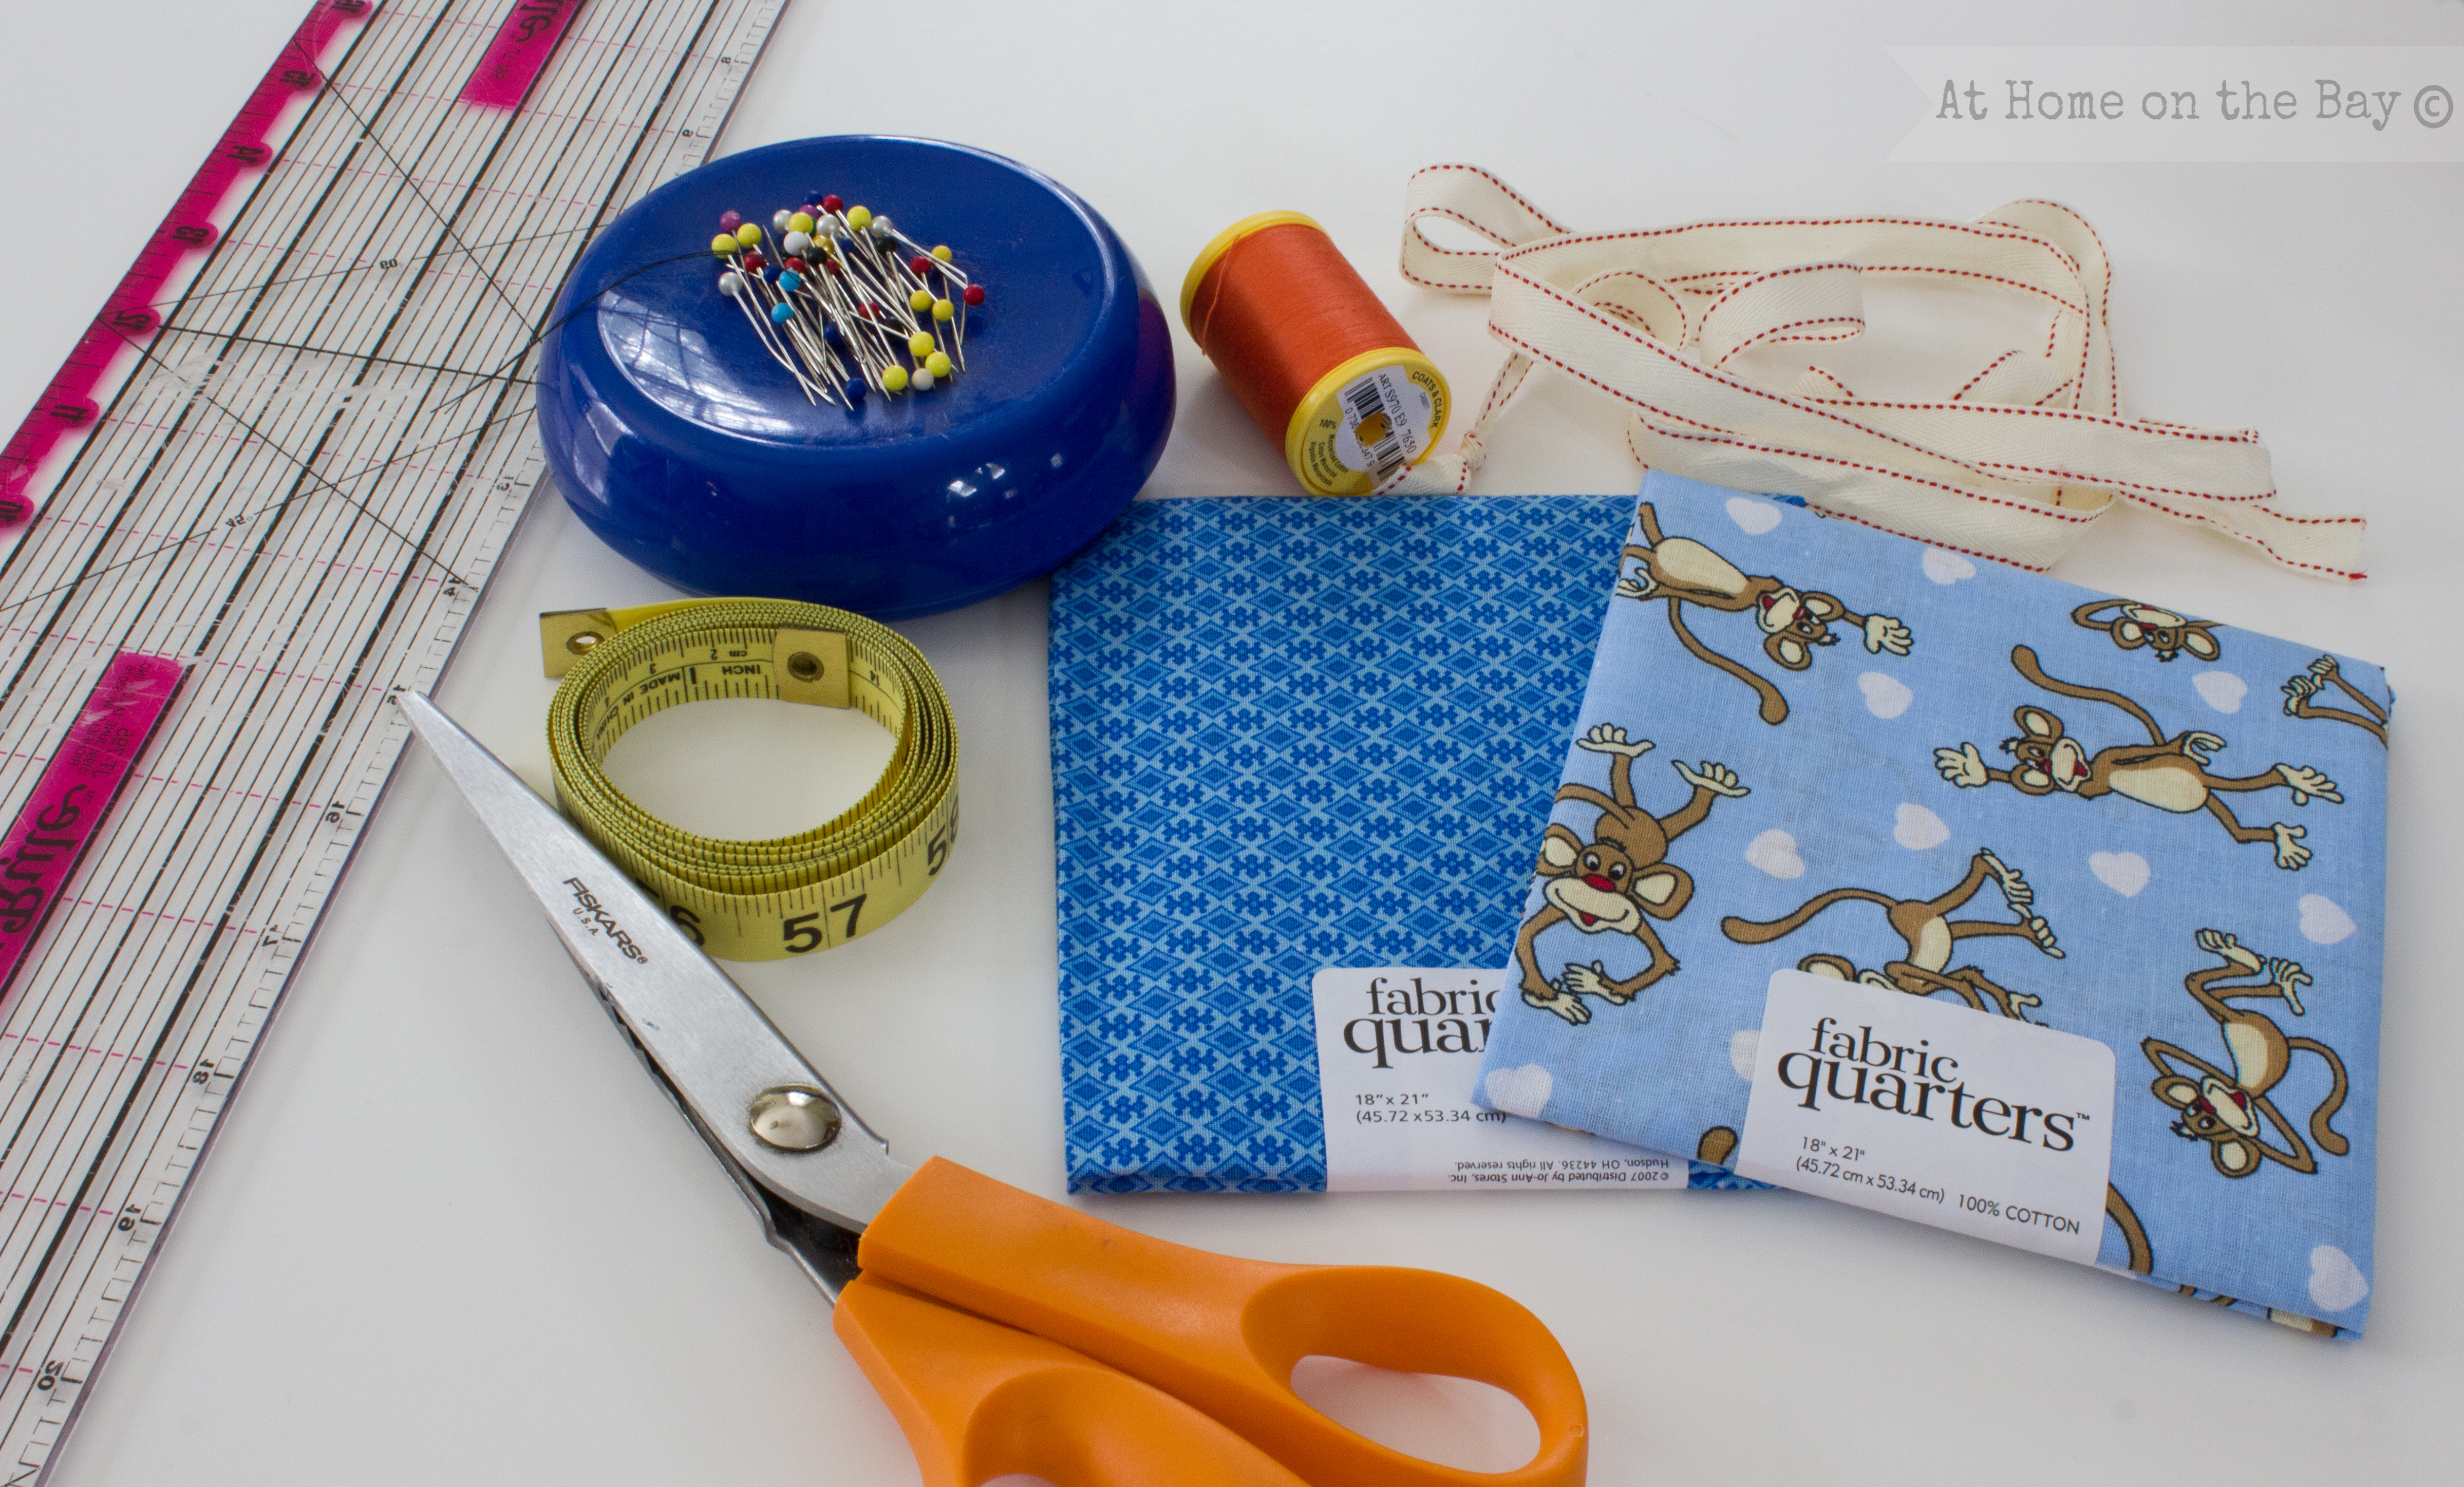
Supplies:
2 fat quarters – 22″ x 18″ each
40″ of ribbon
Coordinating Thread
Sewing machine, ruler, marker, scissors, pins
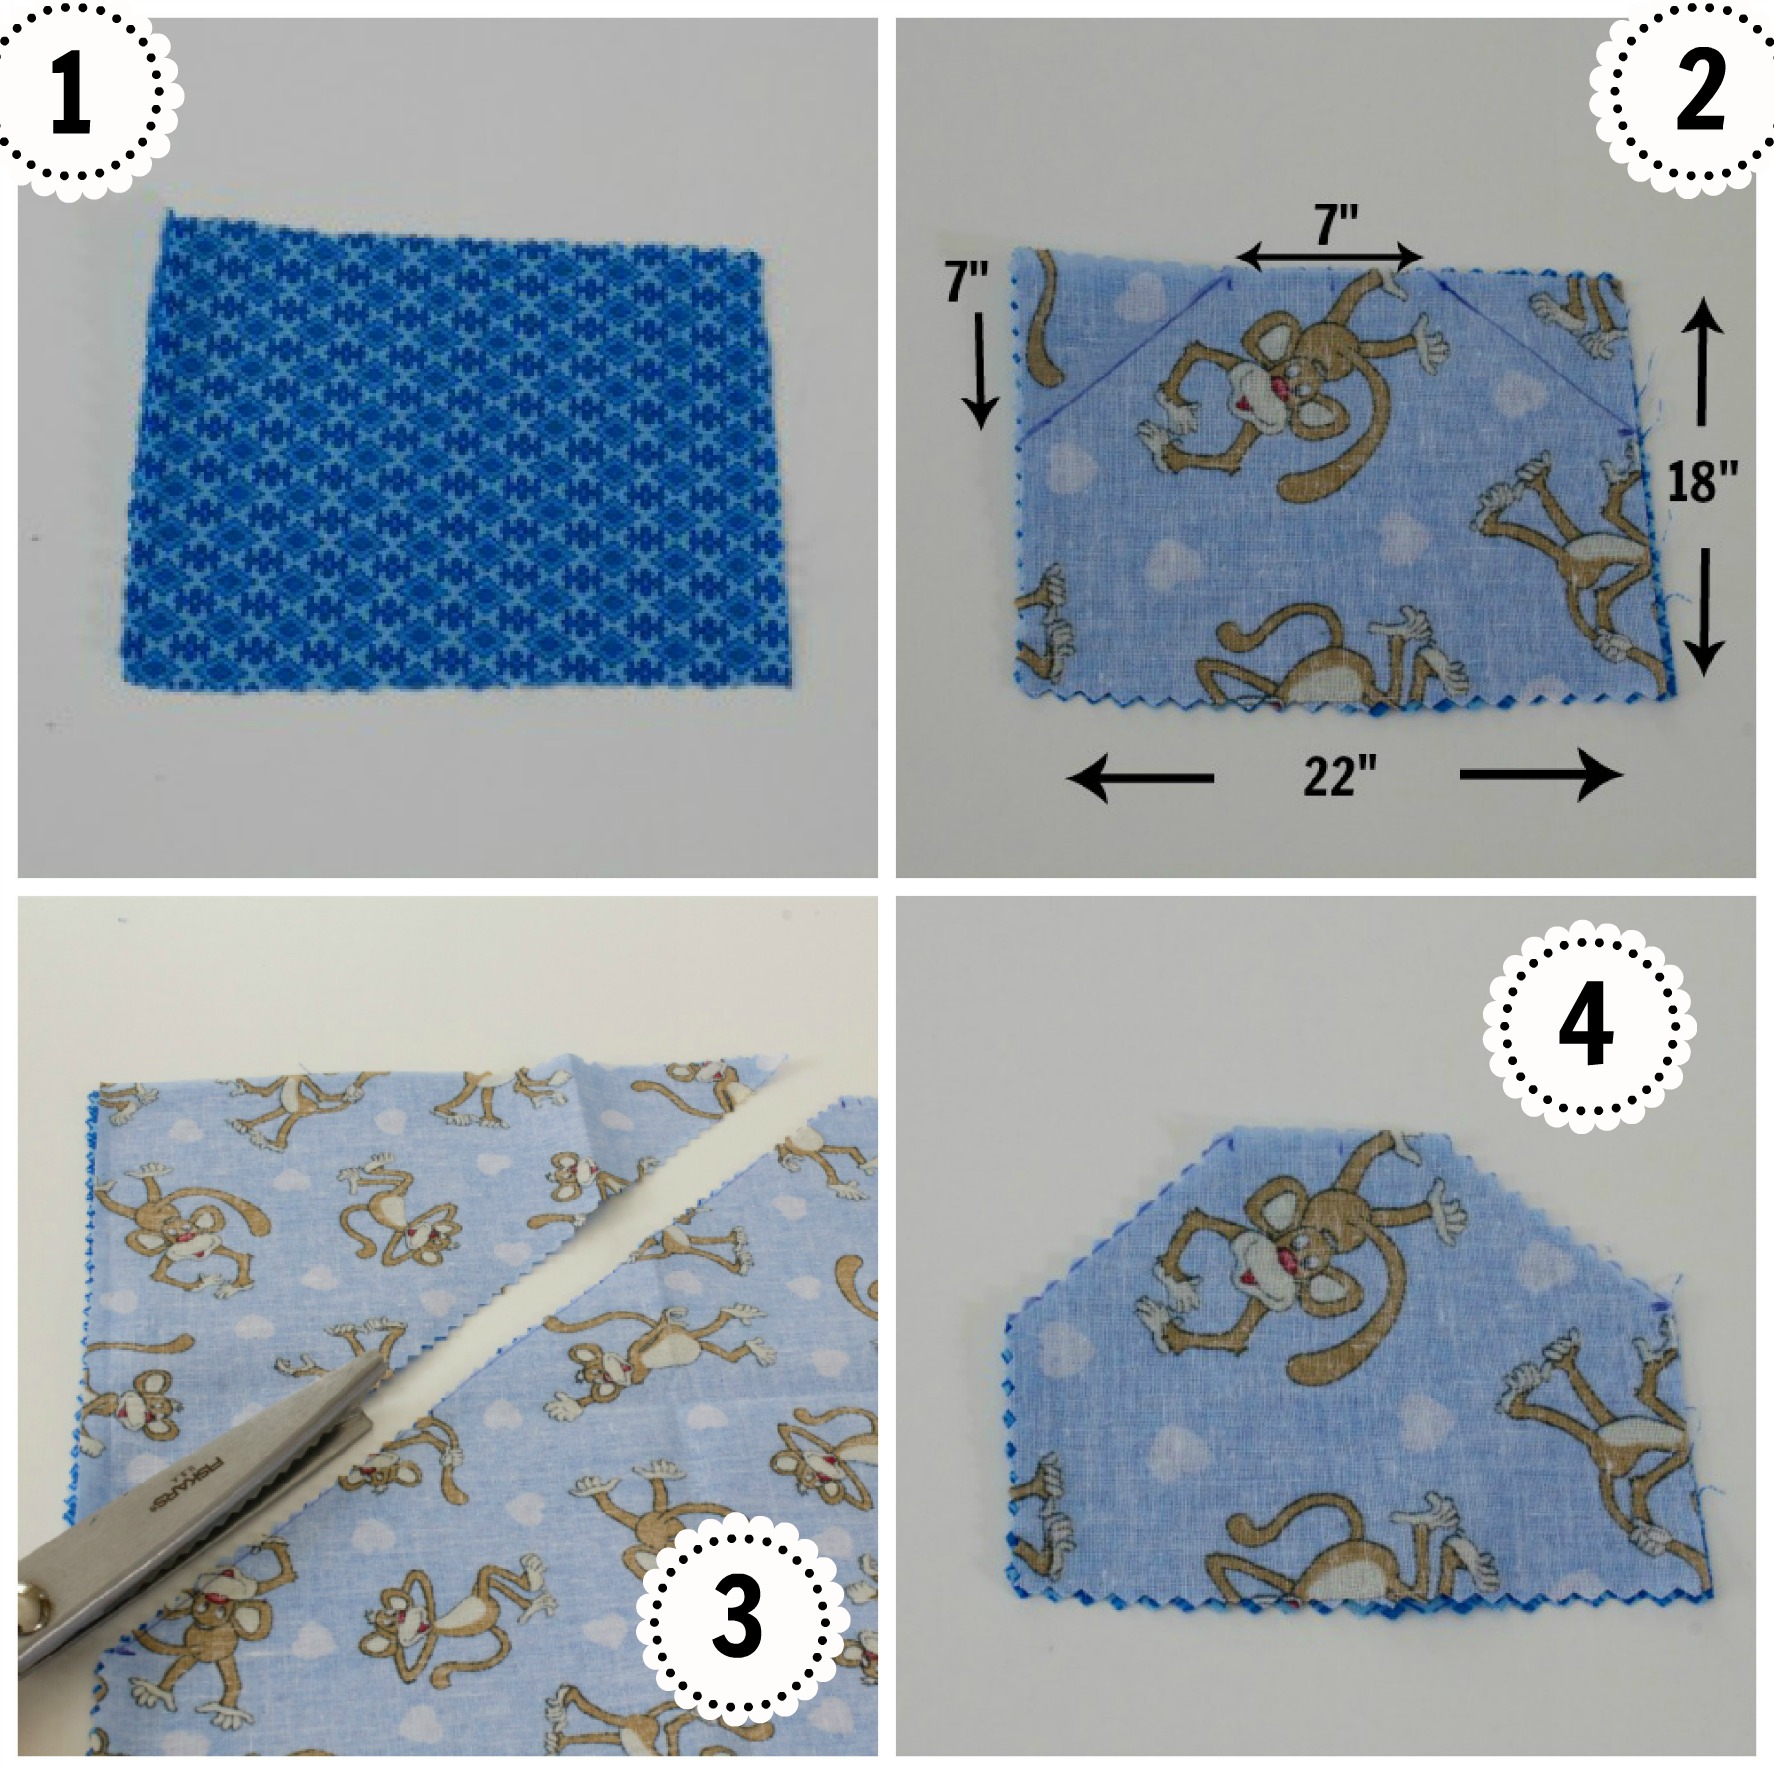
1. Lay one of the fat quarters with right side facing up. Place second fat quarter on top with right side facing down. Trim edges so that both fat quarters are even. Your rectangle should be approximately 18″long x 22″ wide.
2. Find the center of the 22″ top side and mark. Mark 3 1/2″ on either side of the center mark. Mark 7″ down from the top of the 18″ sides. Using a ruler draw a line from the left top side mark to the left side mark and repeat the same on the right. These are your cutting lines.
3. Using the scissors cut the marked pieces away.
4. This is the shape of the apron body you should have.
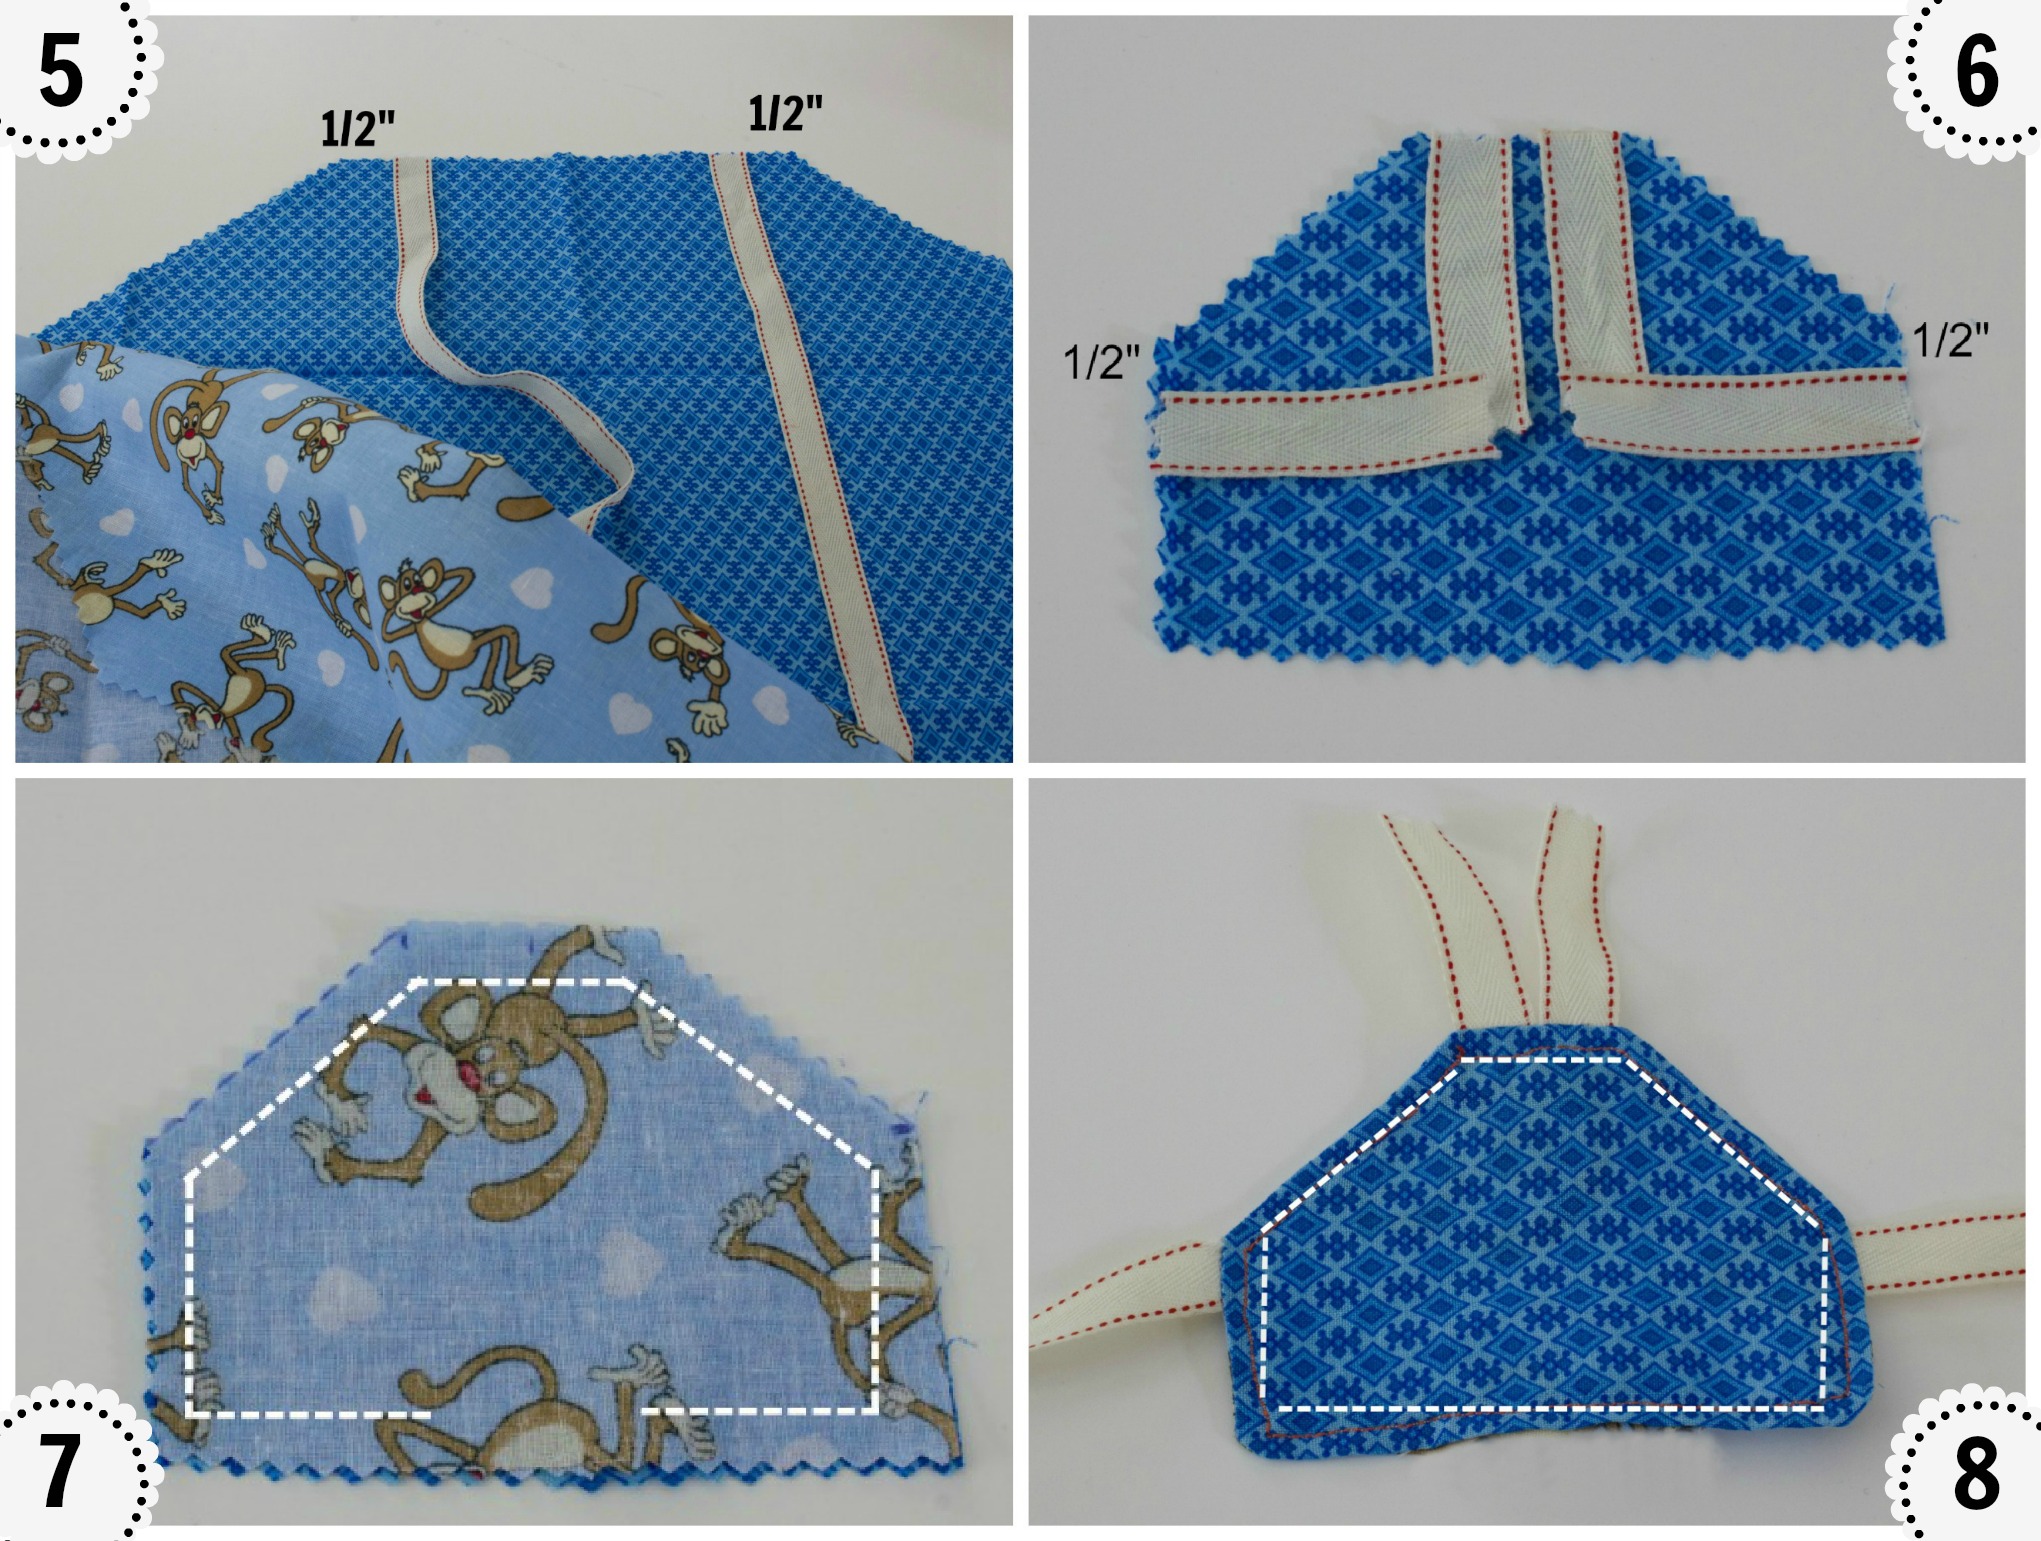
5. Cut the 40″ of ribbon into 4 – 10″ pieces. Pull back the top apron body and pin one ribbon a 1/2″ from corner. Pin one more ribbon 1/2 in towards the center on the other side.
6. Pin side ribbons in place a 1/2″ from top of the side edges. Replace top apron body, right side down lining up edges. Pin together sandwiching the ribbons ends between the layers.
7. Using a 1/2″ seam allowance sew all the way around the apron leaving a 5″ opening at the bottom seam for turning. Clip corners.
8. Turn right side out. Iron. Pin opening shut and top-stitch 1/4″ from apron edges closing the gap in the bottom as you go.
You are done!
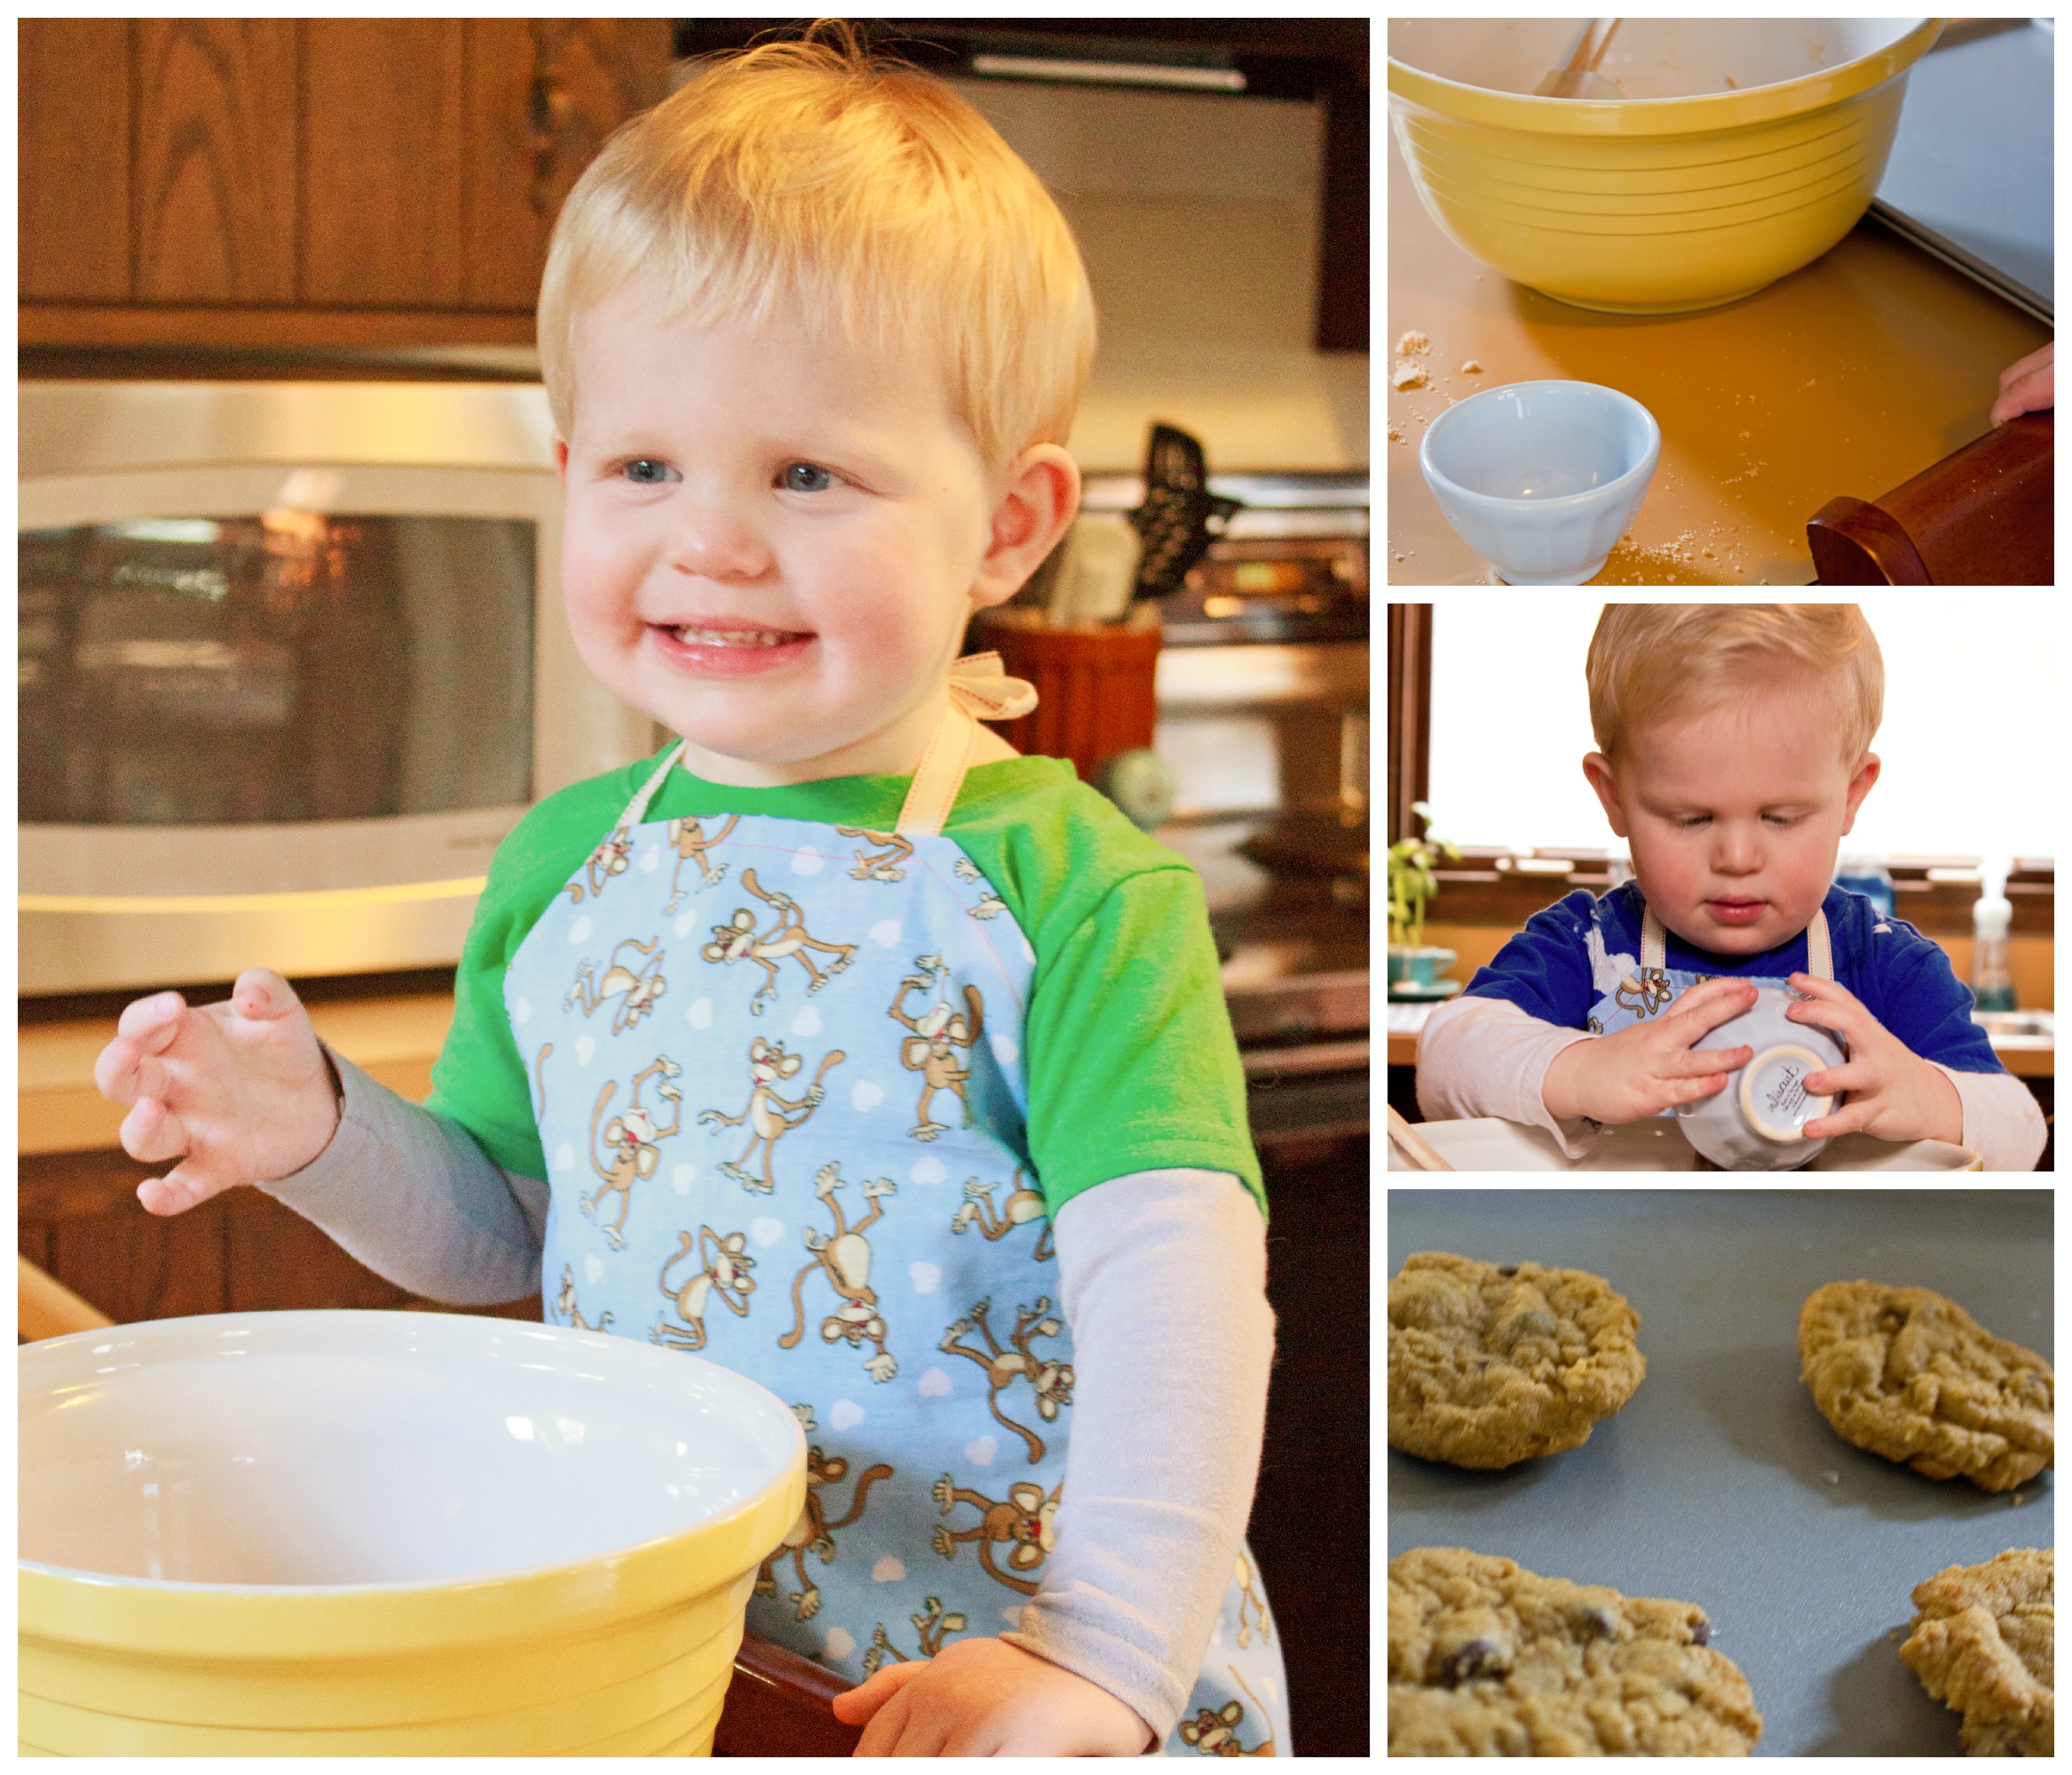
Now it is time to make the cookies. My helper takes his job very seriously.

Note: Because there are strings on this apron that could pose a strangulation hazard, children should always be supervised while wearing the apron.
So cute!! What a handsome little model!!! Such a great idea to make it reversible too.
Your grandson is just adorable! Look at that smile! The apron is so cute and easy, too. On my list to make for the grand kids. They’ve got chef hats, but an apron is in order if they want to help in the kitchen. Fun post Mary!
That is one cute little boy! Your apron is adorable. Now I just need a grandson of my own! 🙂