
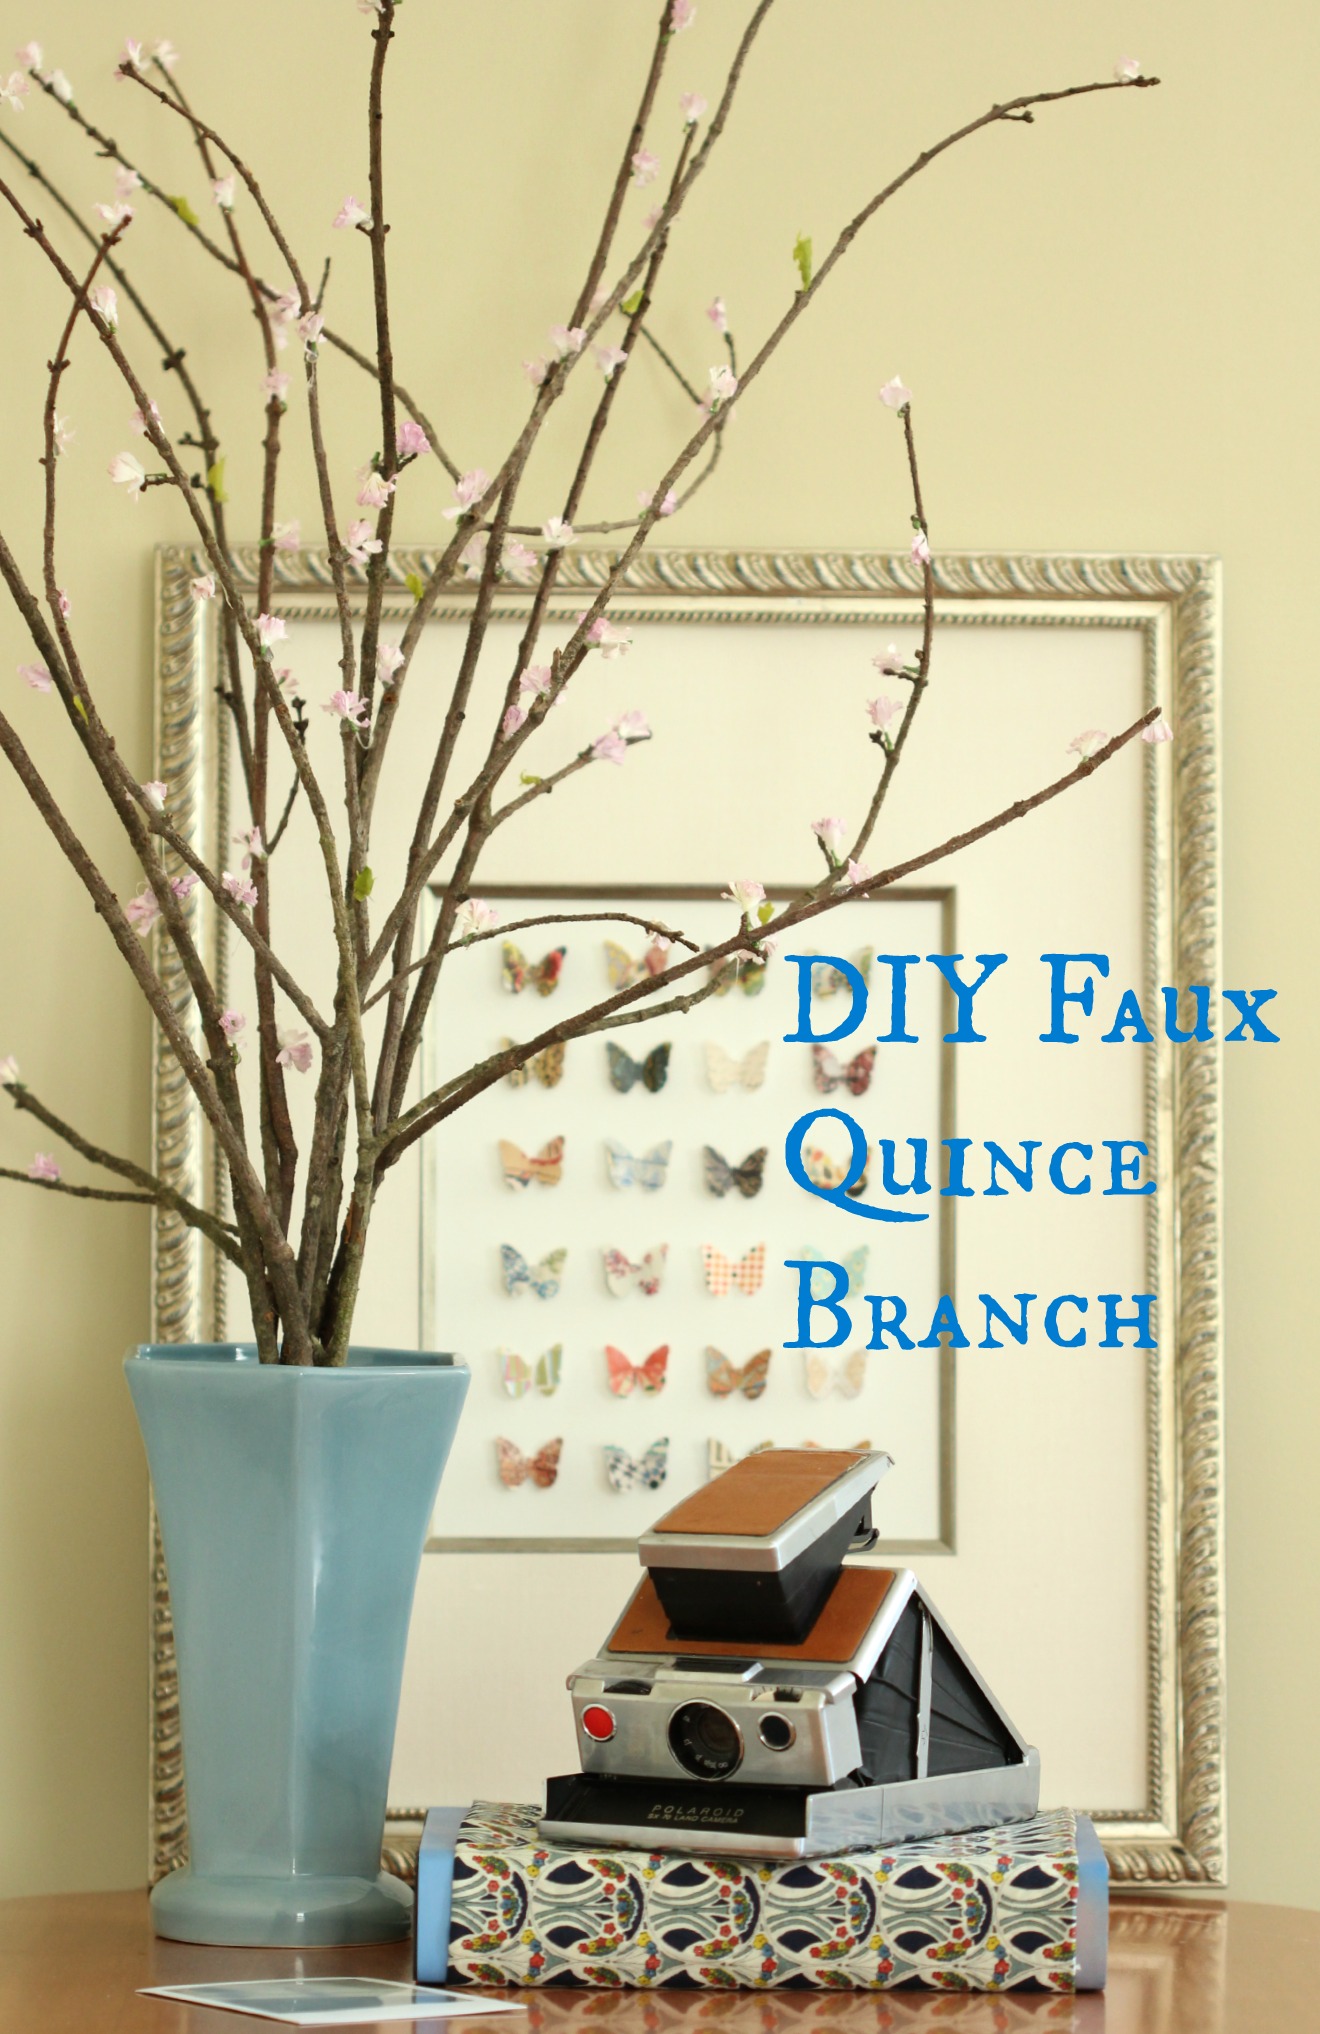
DIY Faux Quince Branch
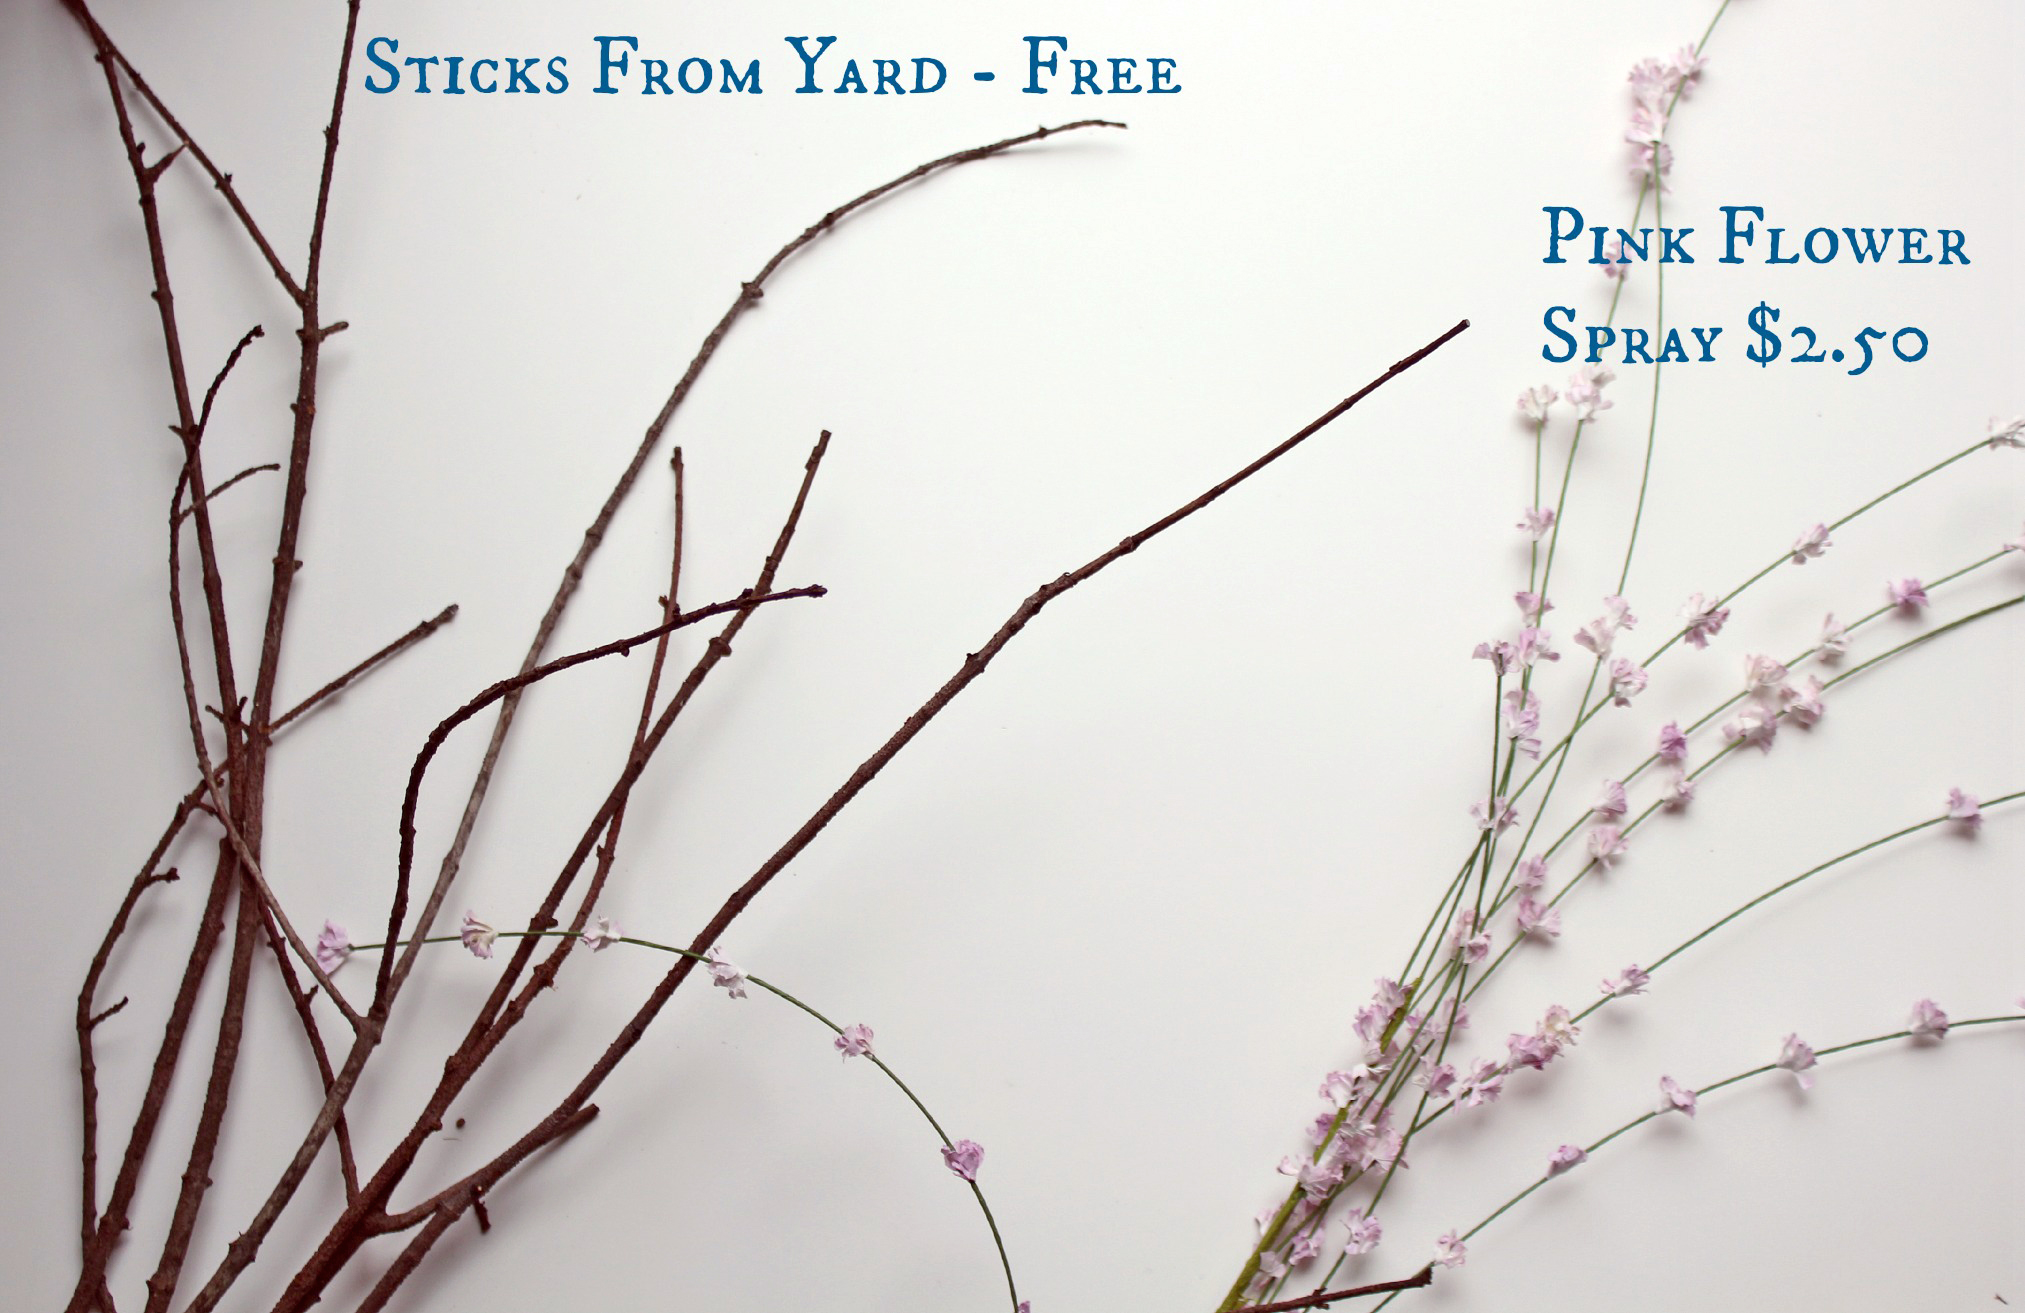
I feel like it’s that time of year when I need to have a reminder that spring is coming. We are over the hump, but looming snow storms and freezing temperatures make spring feel like it is still so far away. I know Punxsutawney Phil predicted that spring was coming sooner rather than later, but I need some visual reminders around the house. I love the faux quince branches that Pottery Barn is selling. They almost look real, but at $39.50 a branch they are just not in this girl’s budget. The floral sprays at the local craft stores are less expensive, but they look it too. There lies the problem, but I like a challenge.
I bought a pretty and more realistic looking pink flower spray for $2.50, and grabbed some sticks from my yard.
I cut the faux flowers off their stems, some of them even slid off easily.
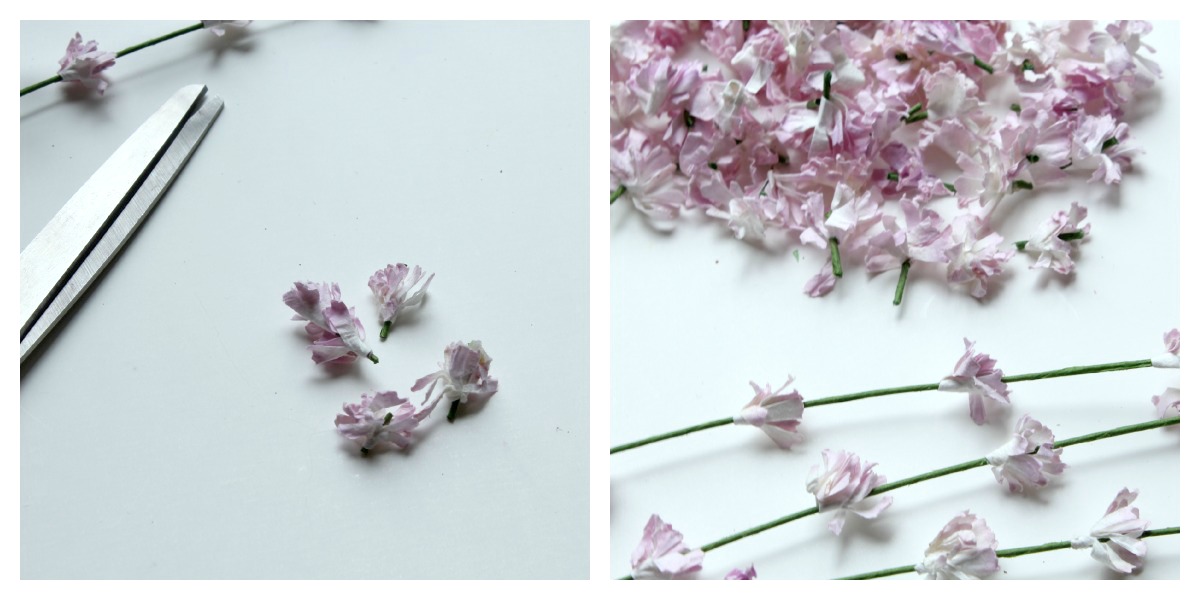
I stood the twigs up in a vase (This made it easier to glue on the flowers.) and hot glued the flowers onto the twigs. At the last minute I noticed some of the green floral tape had unraveled from the faux stems and I decided to cut little bits of it off, and glue the little pieces to the sticks too.
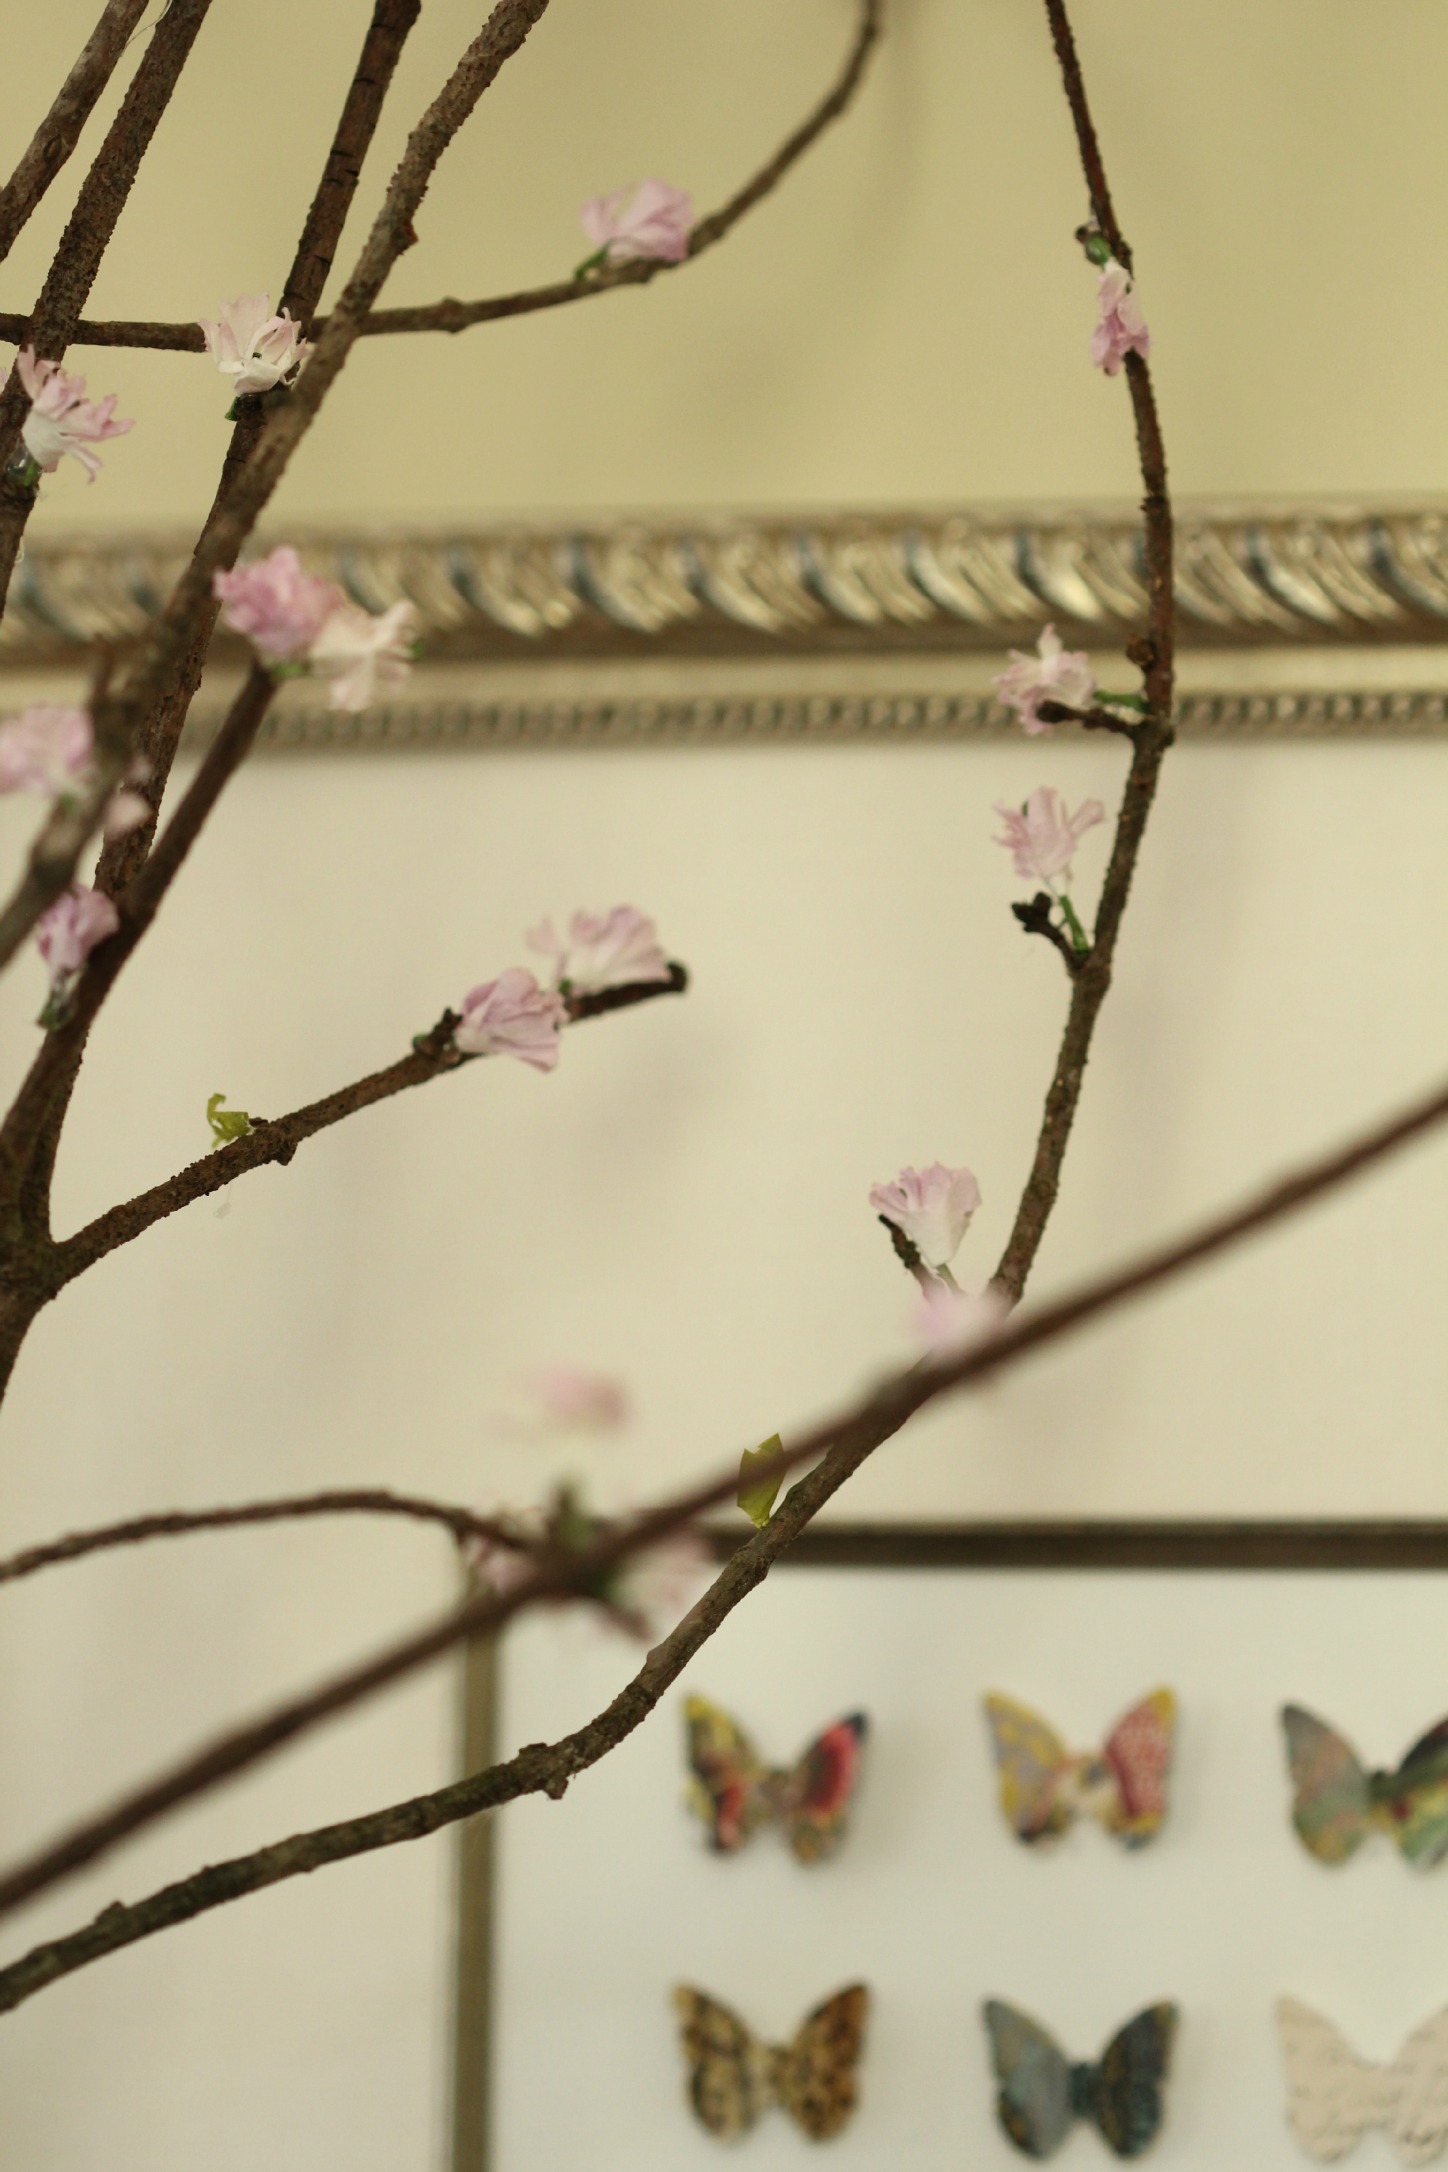
When you are satisfied with how everything looks, then you have to remove all the glue “spider webs”. (I think that’s the technical term.) You could do this with any color flower.
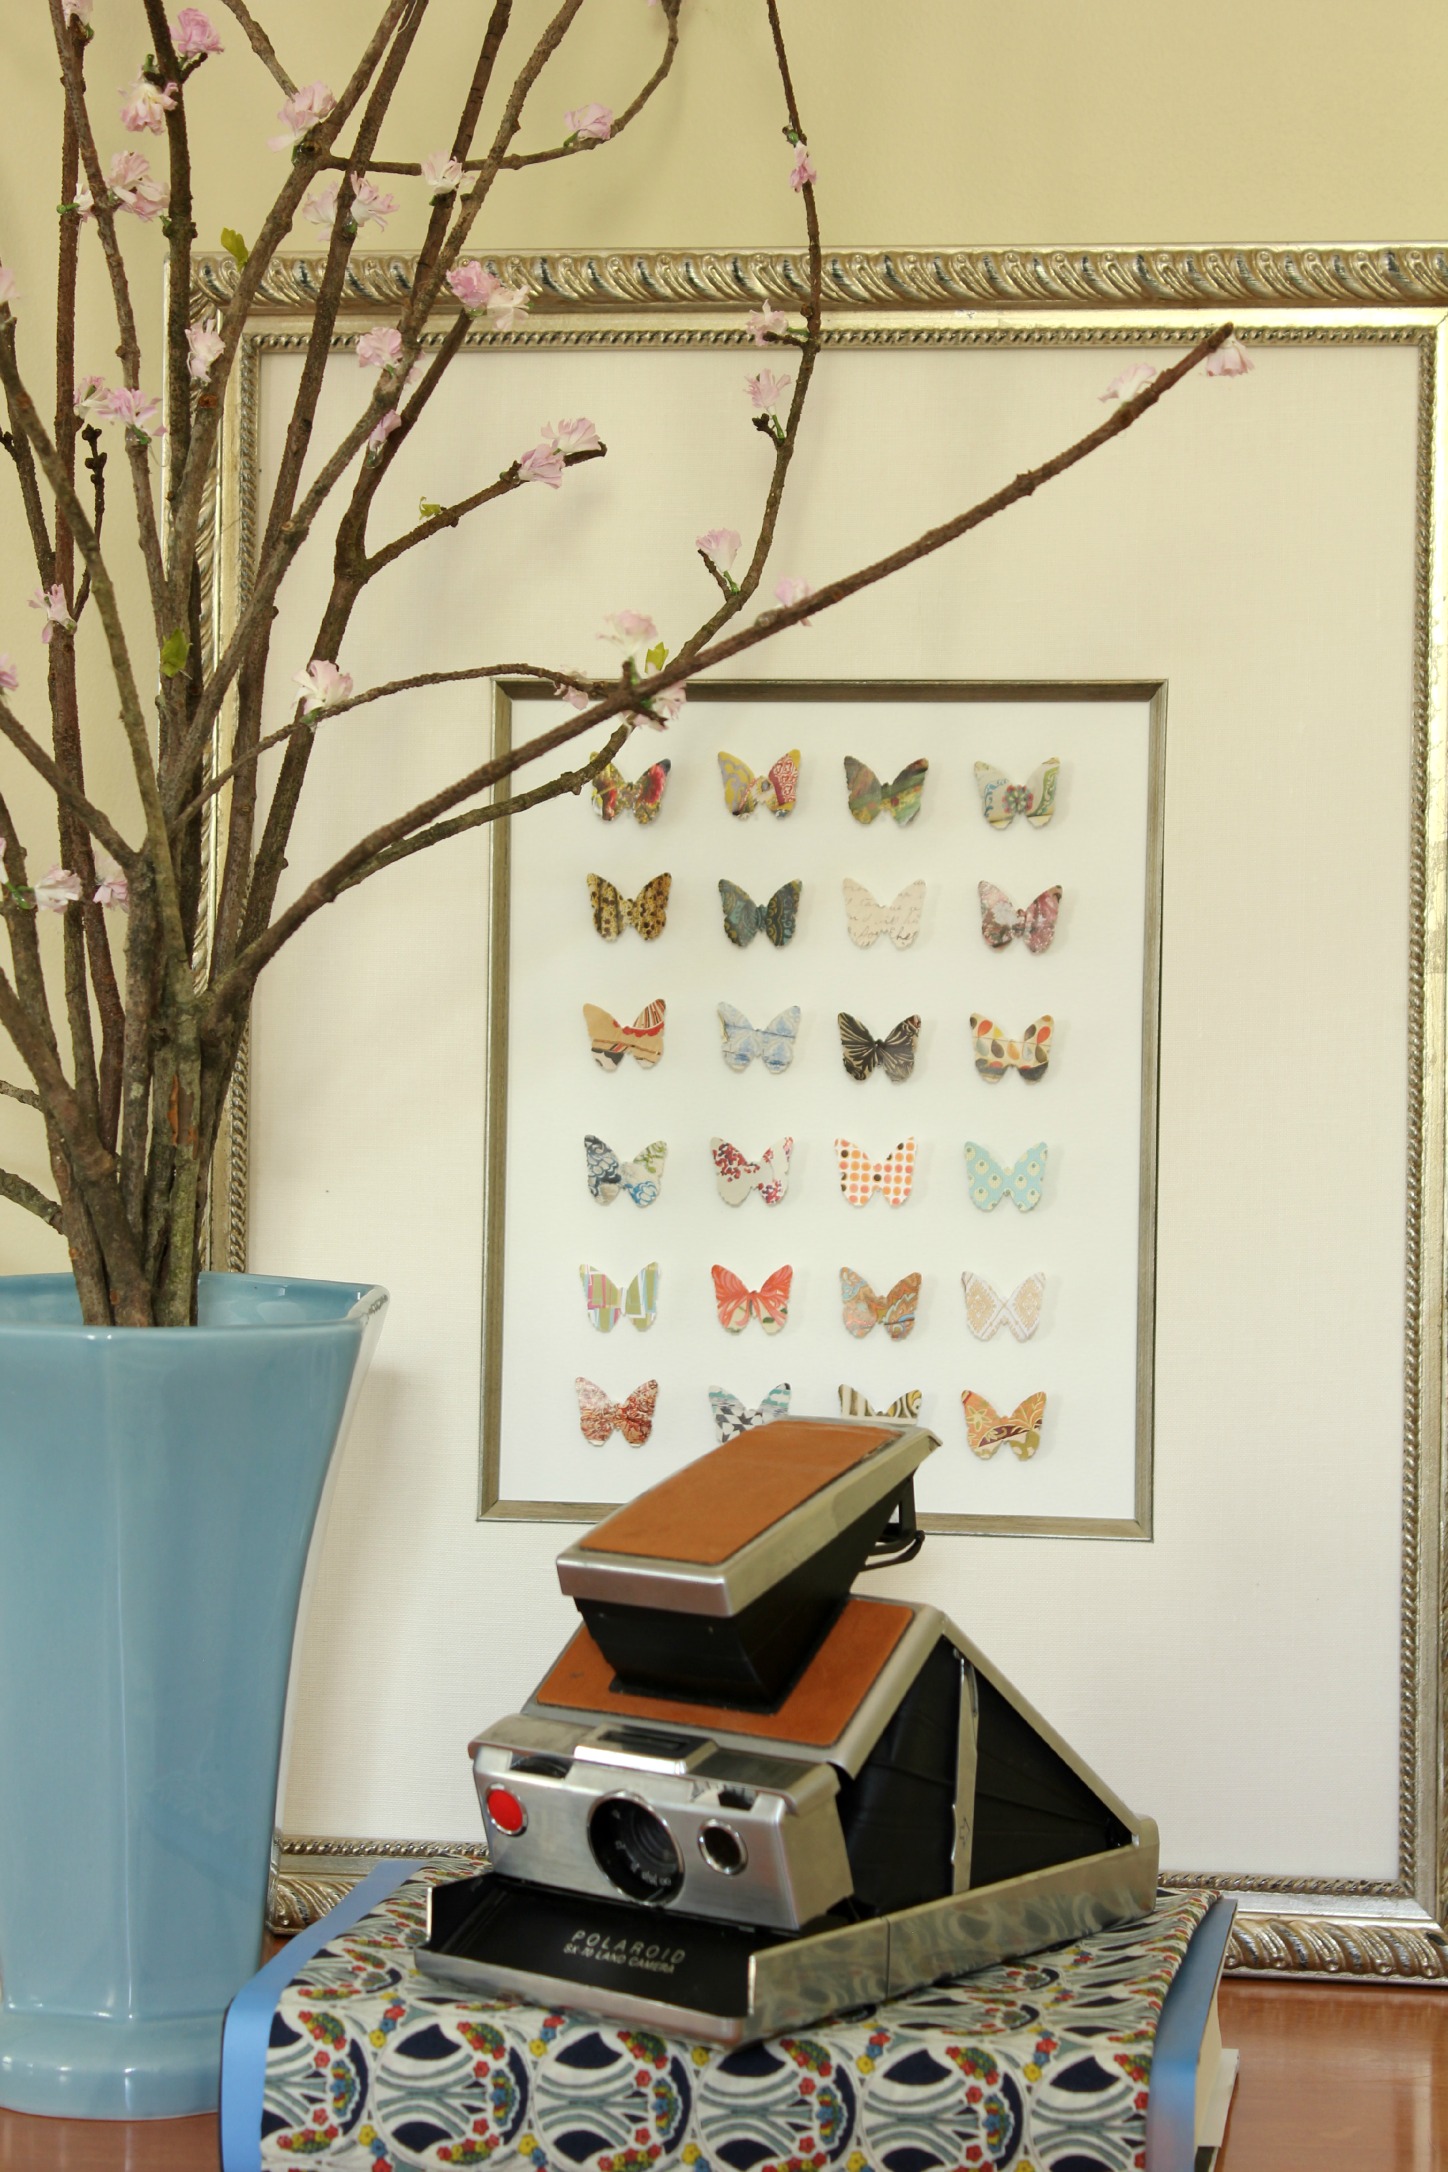
The sticks add that natural element that is missing from the plastic stems.

Sharing with:
Really cute idea Mary. I love the vase too. I may do that when I get home again.
Gosh, what a great idea! I, too, love the vase.
What a very clever idea! They look so real!
Thanks for the great tutorial and sharing it at TUTORIALS TIPS AND TIDBITS!
Your branches look like you cut them just as the blossoms opened. And the butterfly art is wonderful, too! Is it another of your creations?
Wow, that’s fantastic! I have lots of “stick trees,” as my daughter calls them, around the house and I usually just cut out leaves from old books and glue them on. These tiny flowers would be a great update! thanks for the idea 🙂
Oh, I love that! What a great idea. I actually have a quince in my yard, but I’m never organized enough to go out there and get branches and force them, yadda yadda yadda. This is way better.
I love your butterfly specimen art, too — did you make that too? I really want that! 🙂
~Angela~
What a great idea! I love your project!! It turned out so good.
Gorgeous gorgeous gorgeous!! I love this idea and am totally gonna try it for spring. I actually love the whole vignette with the butterfly Art and camera. Beautiful job!
Found your blog via Knock Off Décor. Love this project! So cute, easy, and inexpensive!!!
Oh, I need to find some sticks, so I can copy your wonderful idea!
I love it! What a ingenious idea! Beautiful vignette!
What a smart idea! Love this….
Now that is just as clever as can be!
Thanks for showing us how, I love how it turned out.
Now out to dig in the snow for some branches!
Cindy
Just love this so much I made it my Craft of the Week. Thanks for the inspiration!
http://homemademodern.blogspot.com/2013/02/craft-of-week-faux-forced-branches.html
Really cute! I have some branches in the living room that I’m now tired of. But this will bring new life to them. Thanks!