Faux Mushroom Terrarium Ornaments
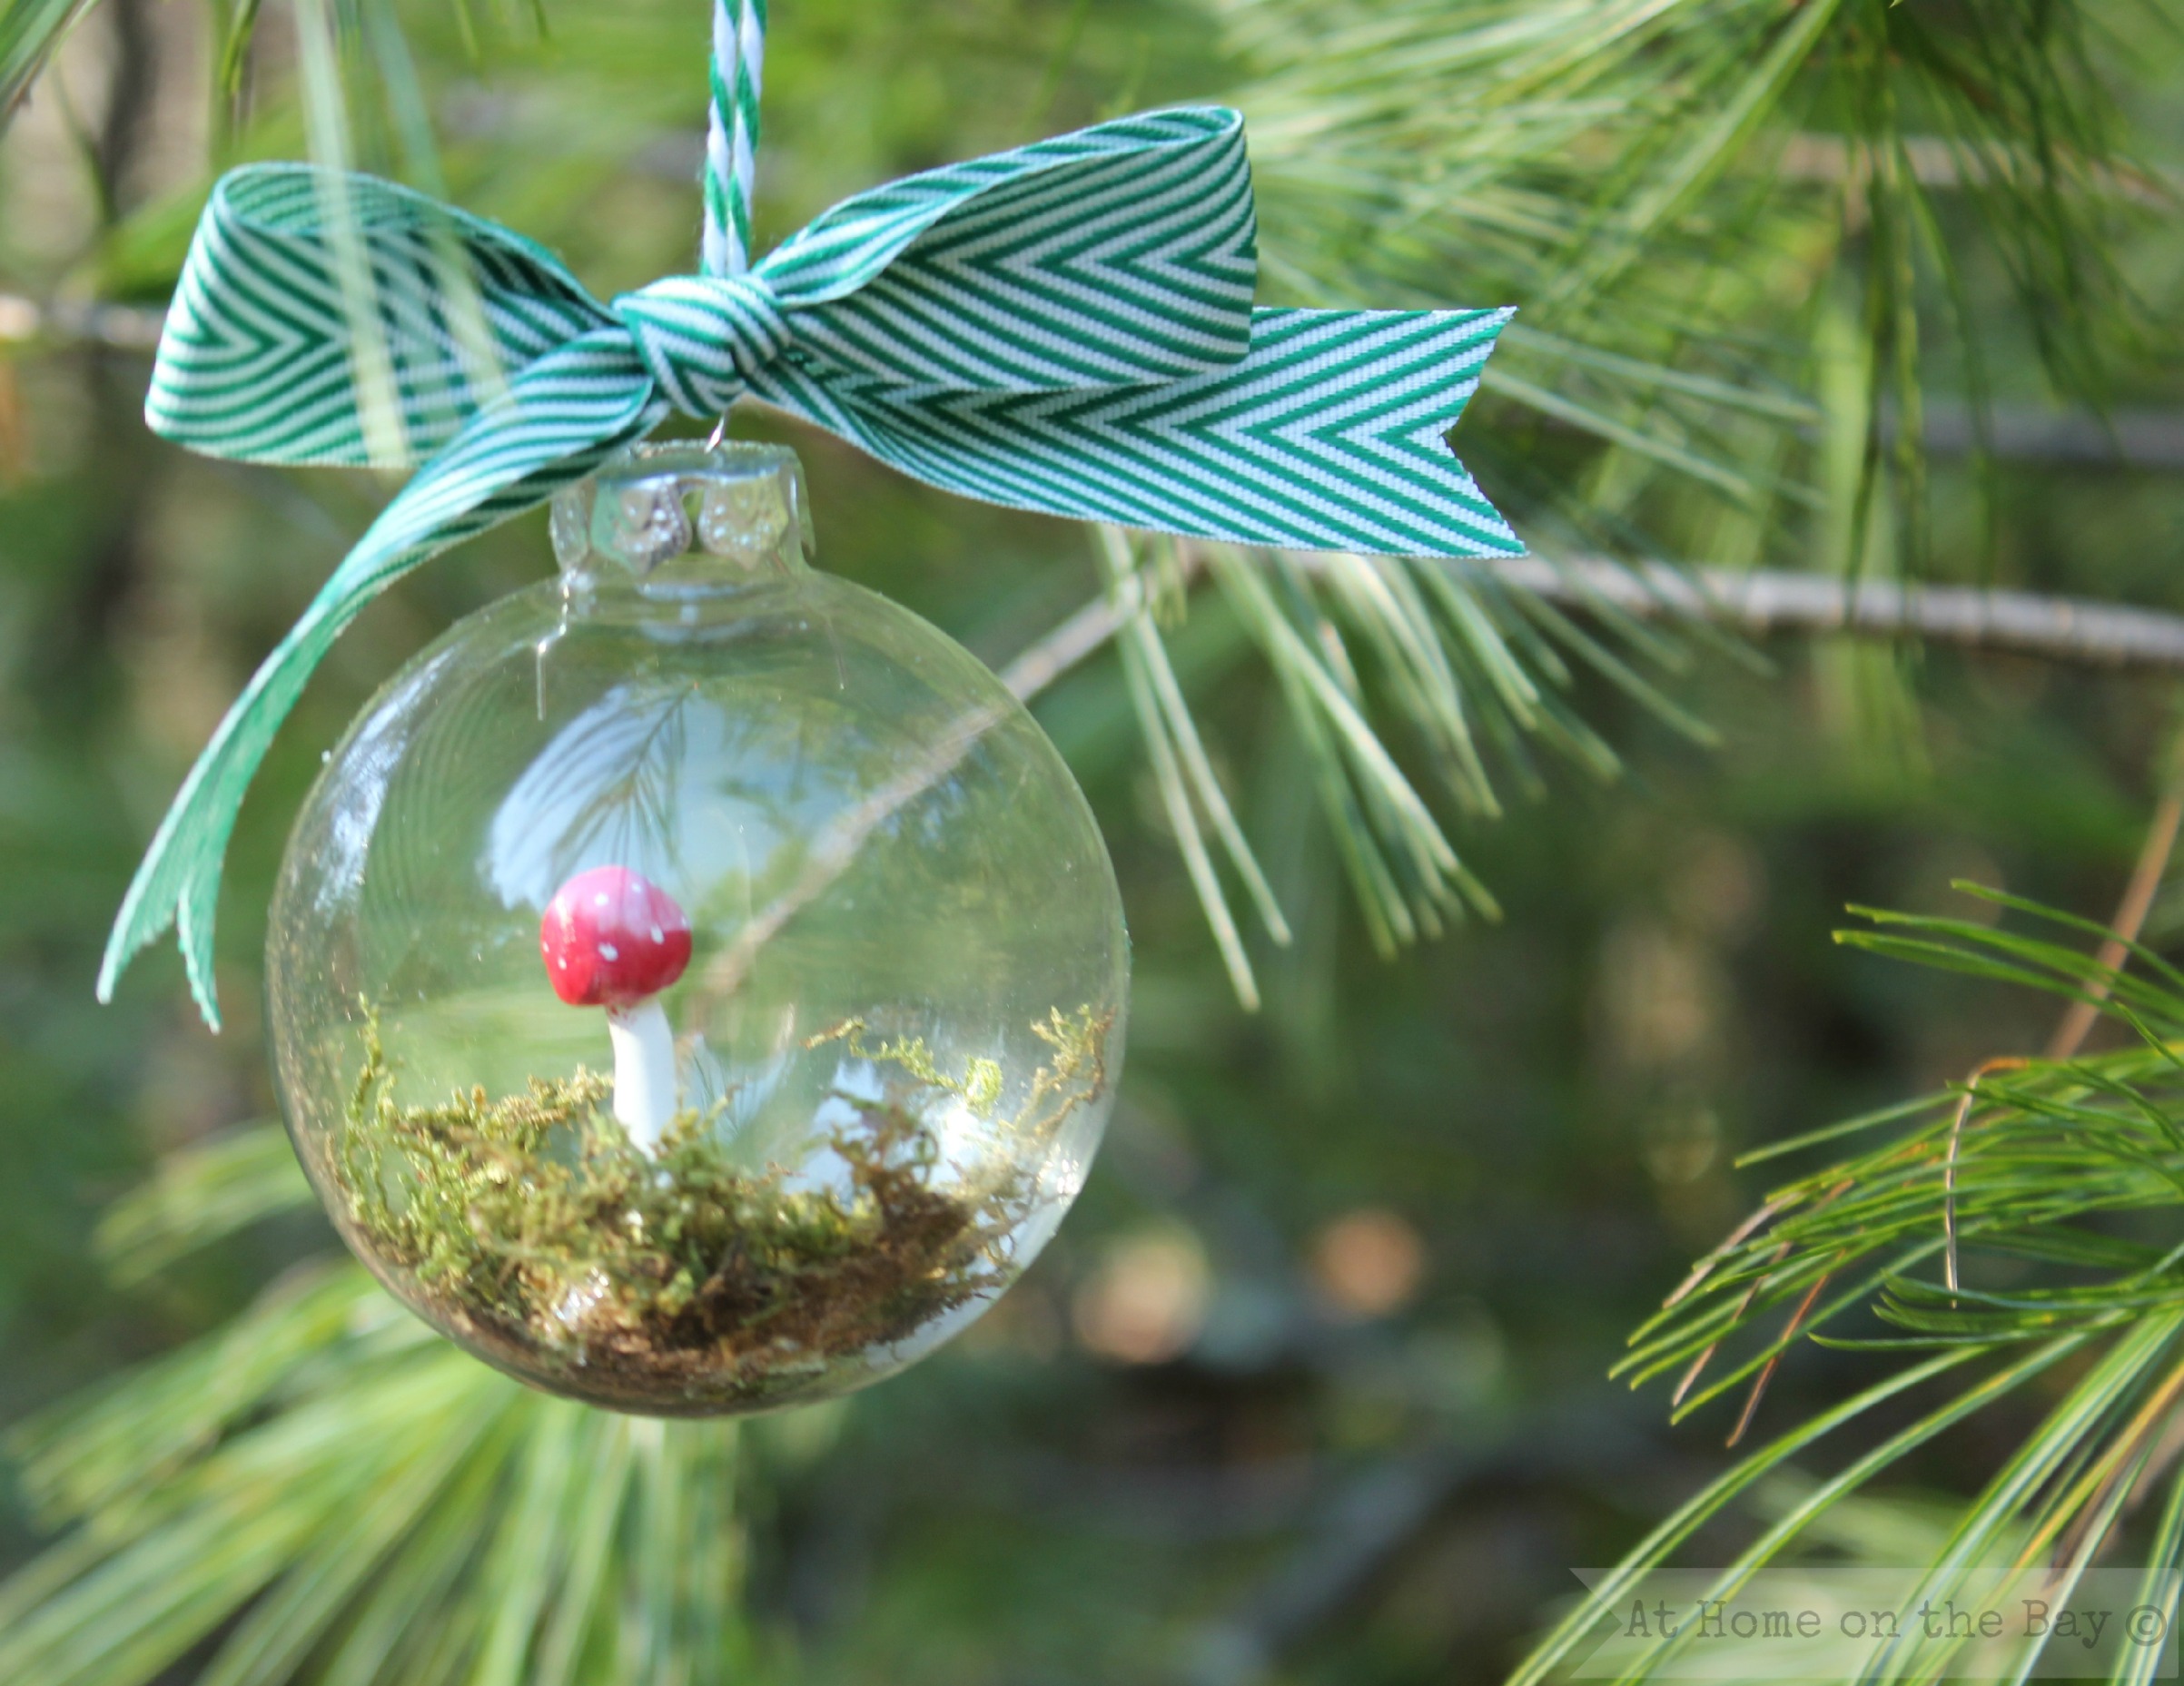
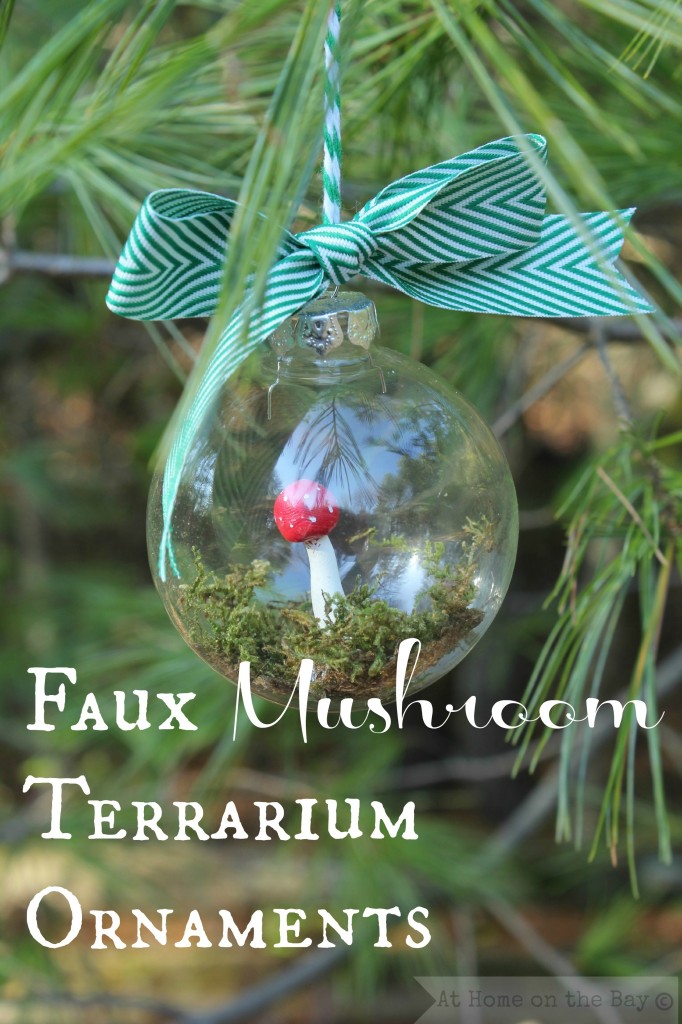
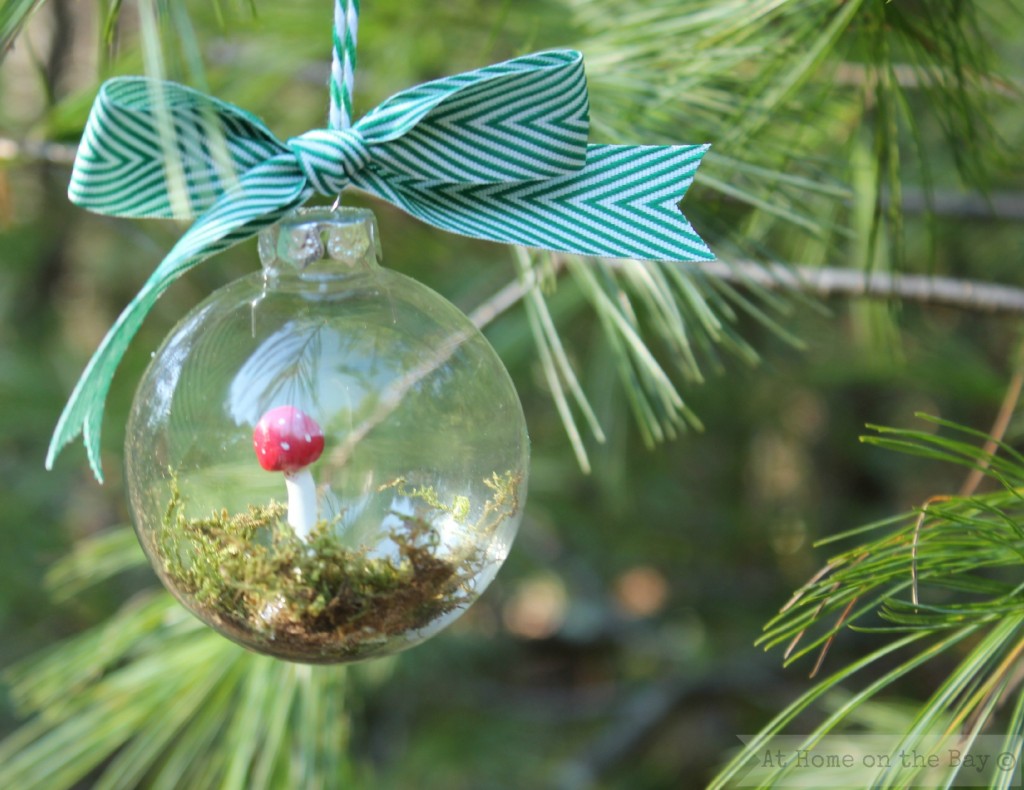
Terrariums are fun, classic holiday gifts. I love these glass hanging orbs from Terrain. Sweet … right? I decided to make some “no green thumb required” terrariums … as in faux terrariums. The little mushrooms are made from Sculpey Clay.
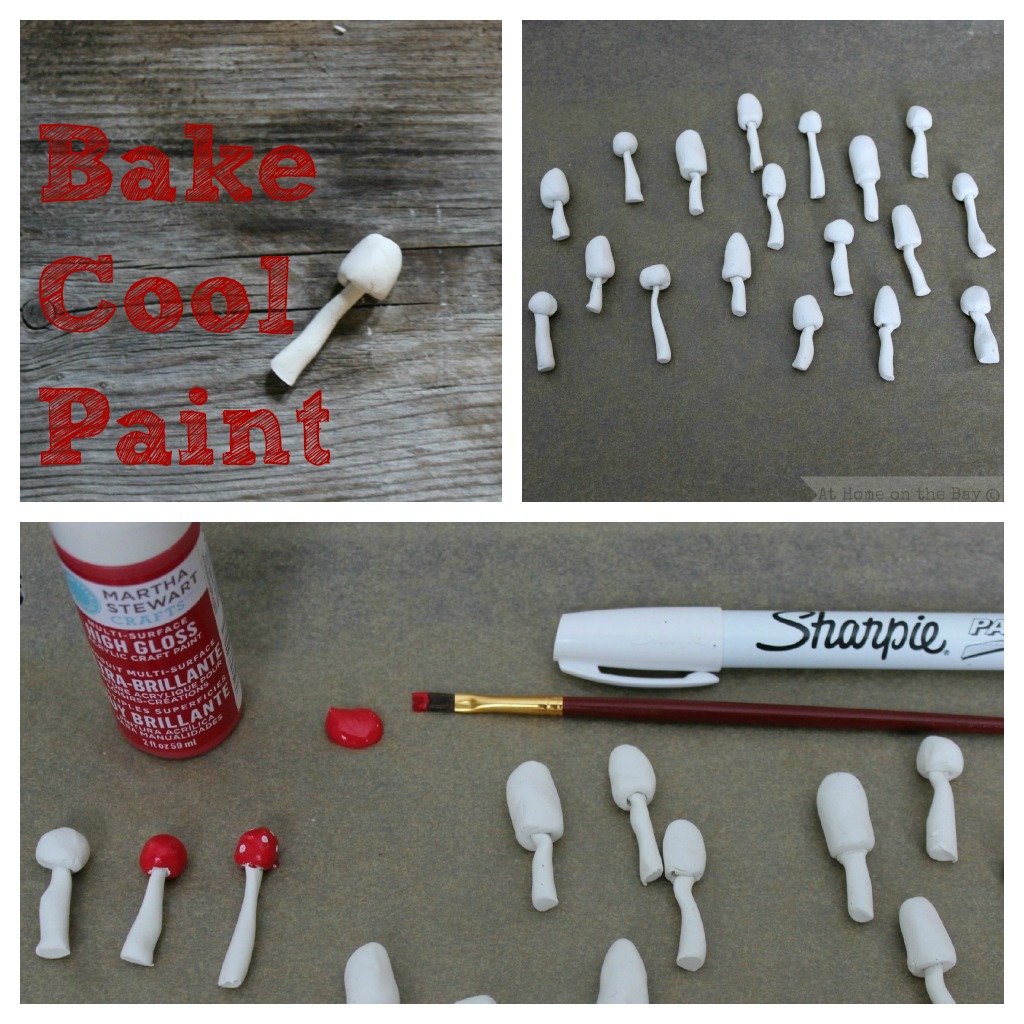
One 2 oz. package of white Sculpey Clay made a whole lot of tiny mushrooms. I started by softening the clay which you can do by warming it up in your hands. For the stems, I took a piece of clay and rolled it into a small log, cut off 1 inch pieces and then shaped them into stems by making one side a little wider than the other (1). For the mushroom caps, I rolled a thicker log and cut of small pieces and shaped them into half round mushroom caps (2). Tip: Make sure your caps are smaller than the opening of your ornaments. Next, I used a toothpick to make an indentation in the mushroom cap and then stuck the stem into it (3). Make a bunch of the mushrooms (4).
I baked the mushrooms on a parchment paper covered cookie sheet in a 275* oven for 20 minutes according to the package directions. After they were cool, I painted the caps with Martha Stewart high gloss acrylic paint in Habanero red. When they were dry I used a Sharpie paint pen in white to make little dots on the caps.
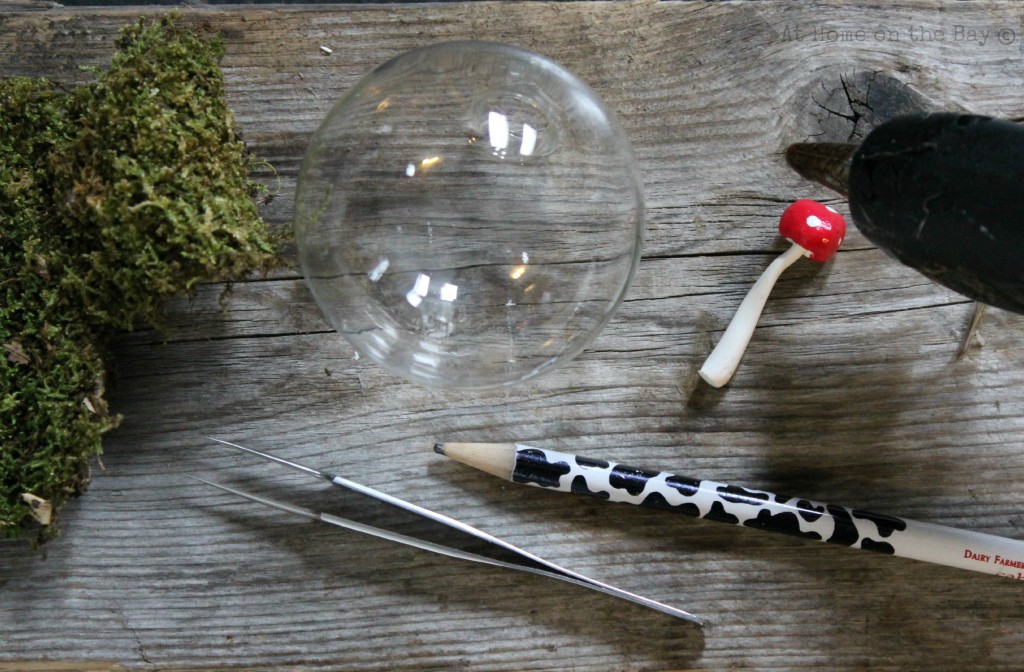
Now, to put it all together you’ll need some moss ( I had some leftover from the paperwhite project), a hot glue gun, tweezers, pencil, clear glass ornaments, and the clay mushrooms. This can be a little tricky, but I first broke apart a little moss and got it ready to put inside the ornament. Next, I used the pencil to put a couple of hot glue dots at the bottom of the ornament and then quickly added the moss, pressing it down with the other end of the pencil. Once the moss was in place, I used the tweezers to hold the mushroom cap, added some hot glue to the bottom of the mushroom and then pressed it into place inside the ornament. The eraser side of the pencil was great for pressing the mushroom into place. I added extra mushrooms and small rocks to some of the ornaments. Have fun with it. Finally, I added a little ribbon and baker twine to the top and snapped it in place.
Wouldn’t it make a cute teacher gift!



these are AWESOME!!! i pinned it! i hope i have time to make some…. they are SO me! 🙂
Awww, how adorable! These sort of remind me of Alice in Wonderland! 🙂 Thanks so much for sharing this tutorial with us; this seems very doable, and fun, too!
They are utterly charming.
Those mini mushrooms are so cute! I think the ornaments would make a good gift for just about anybody!
Mary – these are adorable!! All that’s missing is a little gnome to sit under the mushroom! Don’t worry, I have a gnome collection – maybe I can send one your way!
Kelly
OMG how cute is that?! You did an amazing job on that. 🙂 Thanks for sharing at The Fun In Functional!
Aw such a cute little ornament! AND mushroom in there! 🙂 xx Holly
It’s just beautiful Mary…xo
That is SO cute! Love little mushrooms.
These are so adorable. I made little mushrooms this week too. So great!
Wow, these are really lovely! One of the nicest uses I’ve see for those clear Christmas baubles.
Super cute! What a great idea! Those mushrooms are one of the cutest things I have ever seen 🙂
Mary, These are sooo cute! Thanks for linking to the Open House party and check this week’s party for your feature.
Hugs, Sherry
I love these, they are so cute! I’m definitely going to try something similar.
This is seriously the cutest DIY ornament idea I have seen all year!! Makes me think I might like to have a whimsical theme next year so that I can whip some of these up 🙂
How perfectly sweet these are! I bought mushrooms to do something with this year but couldn’t figure out what I wanted. This just might be the ticket! Thanks for sharing, I’ll be pinning this one!
I saw you sharing at The Space Between’s A Crafty Christmas.
Debbie 🙂
So adorable! I would have to look twice to make sure it wasn’t real.
This is super duper adorable!! Thank you so much for linking up to our party!